

General
The General tab has three cards: Agent details (Agent ID, Size, Name), Credits limit, and Danger zone (Delete all conversations, Delete AI agent).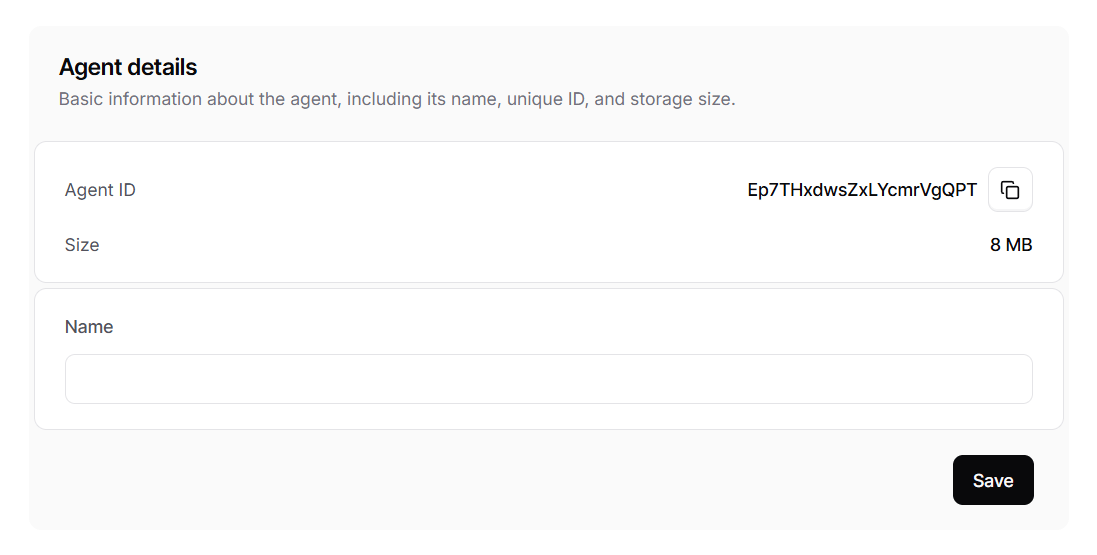
Credits limit
The Credits limit card sets the “Maximum credits to be used by this agent from the credits available on the workspace.” Turn on Set credits limit on agent and enter the cap. Use it to stop one AI agent from using up the credits your other AI agents need. When the AI agent reaches its limit, it stops replying, and visitors see: “This chatbot is currently unavailable. If you are the owner please check your account”. Raise or remove the limit to bring it back. Workspaces billed per conversation don’t see this card.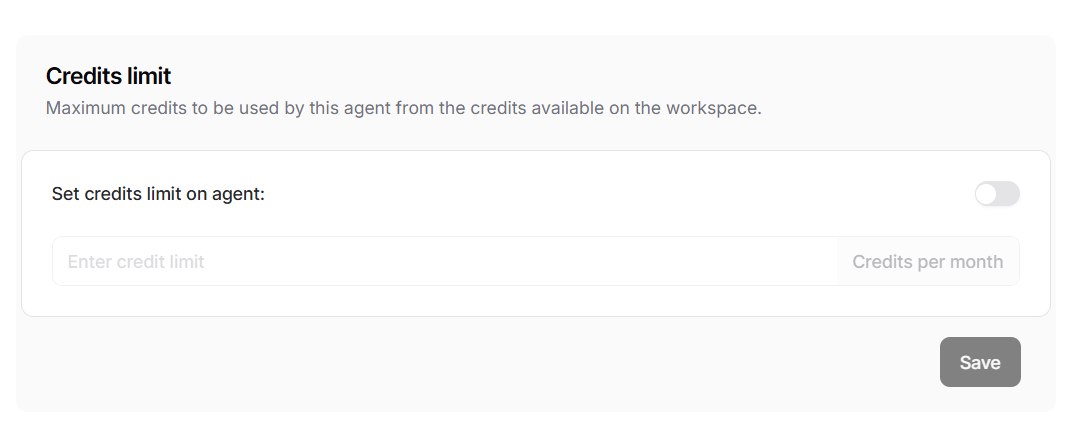
Danger zone
The actions in this section aren’t reversible. Once you delete the AI agent or its conversations, you can’t retrieve them.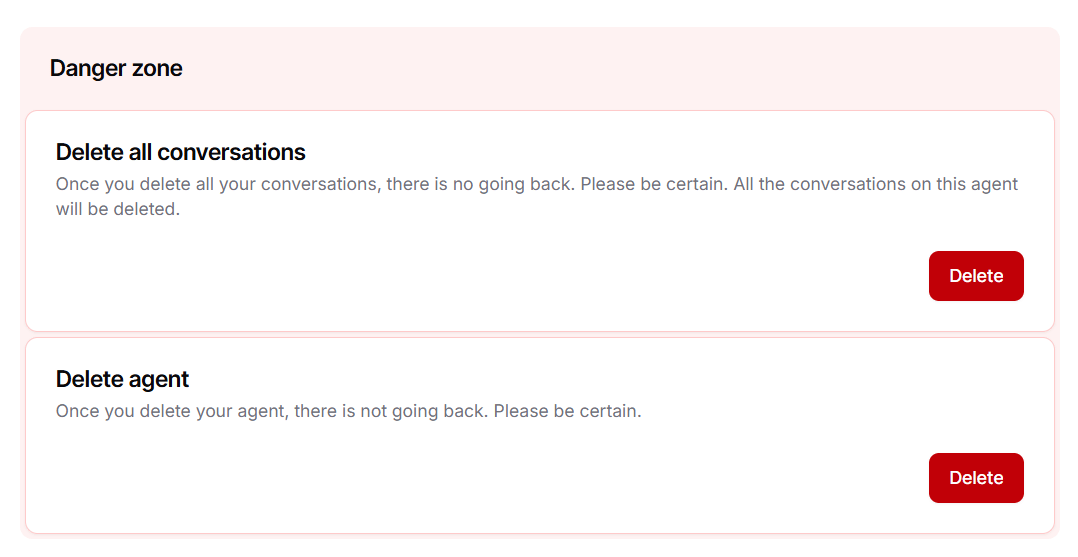
Delete all conversations
Delete all conversations removes every conversation from the AI agent’s Activity > Conversations page. Deleted conversations are permanently erased once they’re 30 days old, counted from when each conversation started. Your role needs permission to delete conversations.
Kept items are no longer linked to the deleted conversation.
Delete AI agent
Delete AI agent permanently deletes the AI agent. To confirm, type “I understand” in the dialog. There’s no recovery window. Deleting an AI agent also deletes:- Conversations, contacts, and contact custom attributes
- Helpdesk tickets and their messages
- Tests and test runs
- Sources, Actions, Procedures, and webhooks
- Backstage sessions and scheduled audits
- WhatsApp connection records. Phone numbers connected to the AI agent are disconnected.
- Agent email address - your AI agent’s dedicated
agent@….chatbase-mail.comaddress for receiving and replying to customer emails, with a copy button next to it. - Email configuration - the addresses on your own domains that send and receive email. Click New email address to add one. Existing addresses are listed under their domain, with the domain’s authentication status, each address’s Automatic forwarding status, and edit and delete icons per row.
Helpdesk
The Helpdesk tab has its own sub-navigation. Each entry opens the settings for one part of your Helpdesk:- Email - the address that receives tickets and sends replies, and who is alerted about delivery failures. See Email sub-tab below.
- Members - every AI agent with their teams and availability status. See Assignment algorithm.
- Teams & assignment - create teams and set each team’s auto-assignment rules. See Teams.
- Scheduling - shifts, AI agent schedules, and time off. See Scheduling.
- Ticket reuse - add a customer’s new emails and chats to the ticket they already have open. See Ticket reuse.
- Triggers - automation rules that run when tickets are created or updated. See Triggers.
- Ticket statuses - add your own statuses alongside the built-in ones. See Helpdesk overview.
- Tags - define the labels your team applies to tickets. See Tags.
- Translation - detect and translate customer messages automatically. See Translation.
- AI draft replies - generate suggested responses that AI agents review before sending. See AI draft replies.
Email sub-tab
The Email sub-tab opens on the Configuration card, which controls which addresses receive and create support tickets:- Helpdesk email address - the address tickets arrive at and replies are sent from. Until you add your own domain, this is the auto-generated Chatbase address (
agent@….chatbase-mail.com), shown with a copy button next to it. Click Configure email settings to add and verify your own domain so replies come from your email instead. Once you have verified addresses, this card lets you pick one or more of them as Helpdesk inboxes. See Email settings. - Deliverability alert contact - the team member who is notified when outgoing Helpdesk emails bounce or fail to deliver. Defaults to None, in which case nobody is alerted.
- Display name - the name recipients see in the “From” field: the responding support associate’s name, or a custom name. See Display name.
- Signature - a rich-text signature added to the replies your teammates send by email. Trigger emails don’t include it. See Email signature.
- Preview - a sample email showing how the sender name, address, and footer will look to recipients. See Preview.
Custom fields
The Custom fields tab lists the details your AI agent collects from customers, such as an order number or a company size. Define a field once, then add it to the actions that should ask for it.- Built-in fields: Subject and Description are always available and can’t be edited or archived.
- Your fields: Click New field to add one. Each row shows the field’s name, description, and type, with edit and archive icons.
- Archived: Archived fields are kept for history, and data already collected stays intact.
Custom domains
White label the embed script so it loads from a domain you own instead of a Chatbase URL. See Custom domains.Webhooks
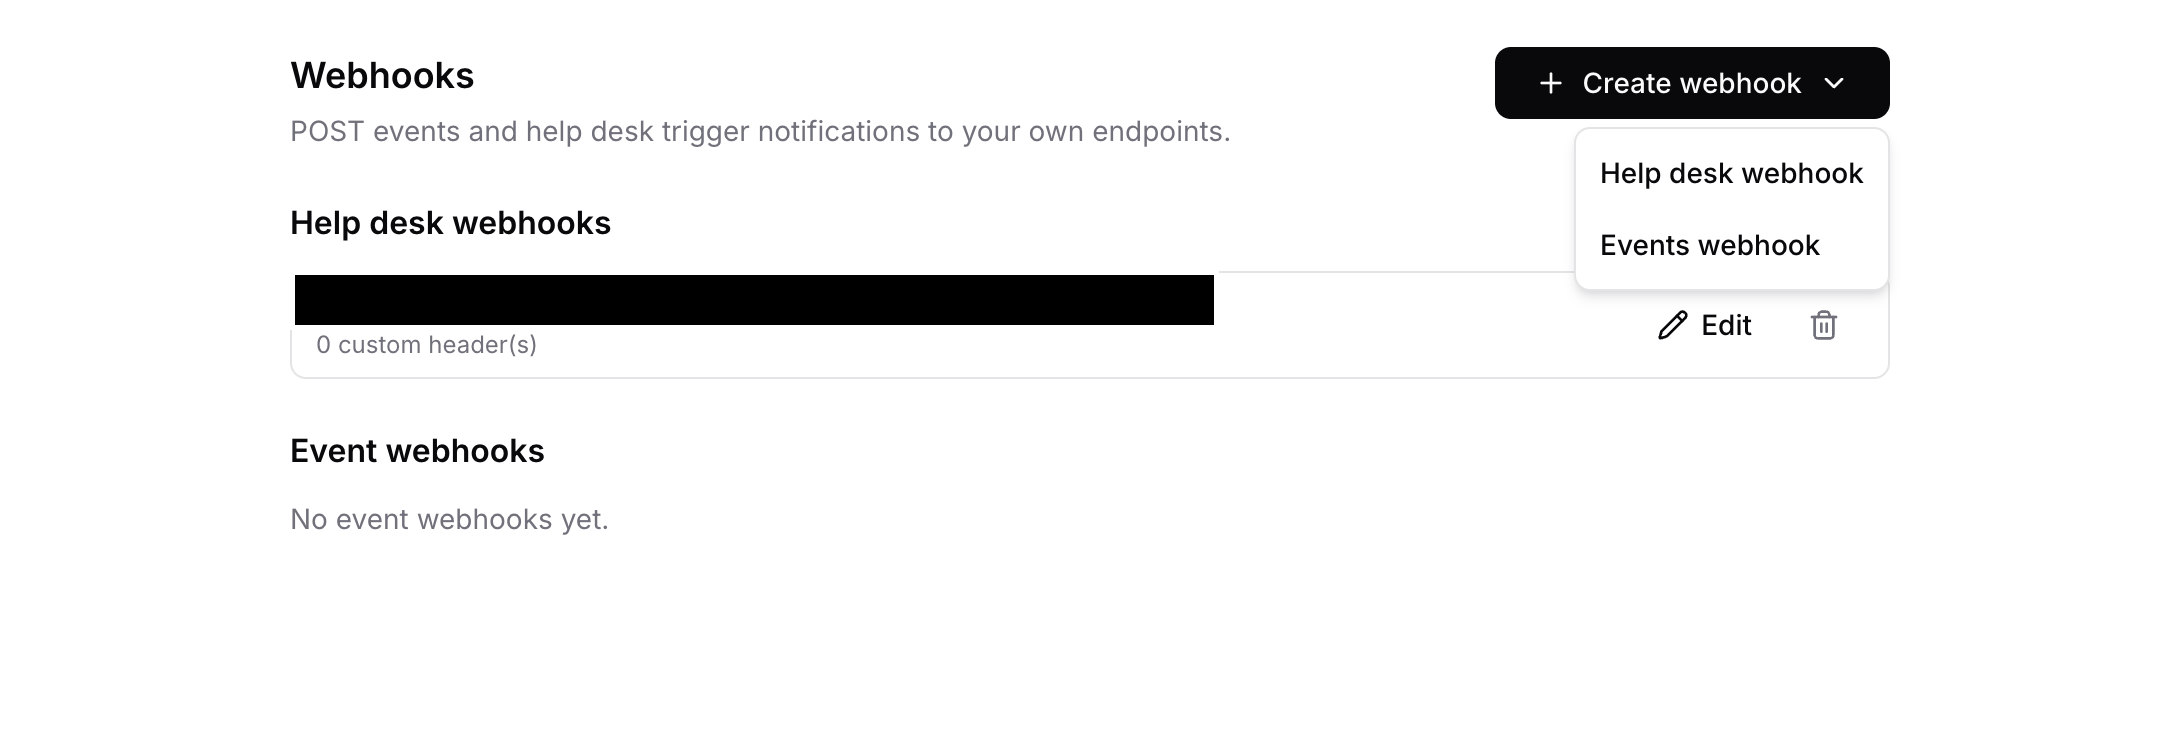
The Webhooks tab POSTs AI agent events and Helpdesk trigger notifications to your own endpoints. It has two cards:Event webhooks
Fires a POST when a subscribed event occurs. Today the available events are custom form submissions, so the Events list is empty until you create and enable at least one custom form Action.- Under Events, tick the form submissions you want to listen for.
- Enter the URL that receives them in Endpoint.
- Click Create webhook.
Webhooks for collected leads and collected data are not configured here. Open the Action itself and use its Destinations section. See Collect Leads.
Helpdesk webhooks
Reusable connections that Helpdesk Triggers POST to when their conditions match. Click Create webhook on the card and set the endpoint URL, optional custom headers, and a request body template (insert ticket fields with{{ticket.*}} placeholders). When you create one, Chatbase shows a signing secret once - every delivery carries an X-Chatbase-Signature header your endpoint can verify with it.
Existing connections are listed on the card, where you can edit or delete them. To actually send a webhook, pick the connection in a trigger’s Send webhook action.
Notifications
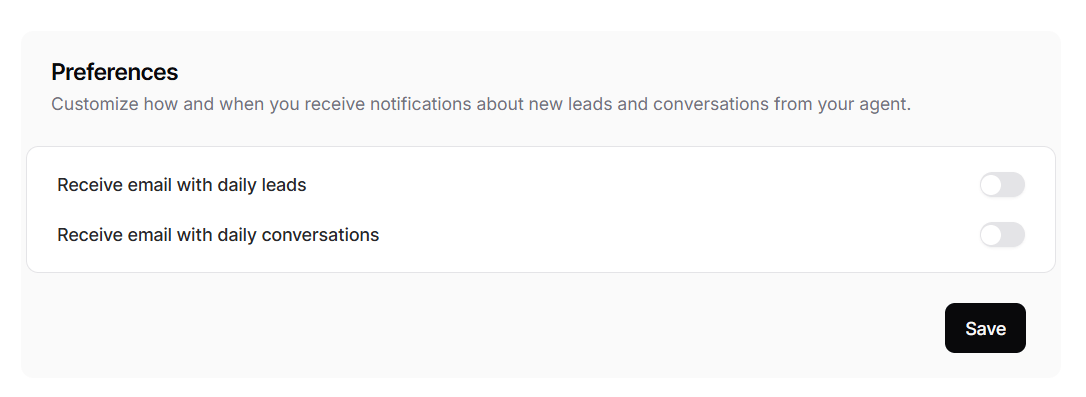
The Notifications tab has a Preferences card to “Customize how and when you receive notifications about new leads and conversations from your agent.” It has two toggles:- Receive email with daily leads: one email a day with the leads submitted the previous day, attached as a CSV file.
- Receive email with daily conversations: one email a day with the previous day’s conversations, attached as a PDF.
Daily conversations and leads emails are not available for HIPAA accounts.
Frequently asked questions
Can a deleted AI agent be restored?
Can a deleted AI agent be restored?
No. Deleting an AI agent is permanent, and there’s no recovery window. Its conversations, contacts, Helpdesk tickets, Tests, sources, and Actions are deleted with it.
Does deleting an AI agent free up a slot on my plan?
Does deleting an AI agent free up a slot on my plan?
Yes, right away. Your AI agent count only includes agents that exist now.
Does Delete all conversations also delete Helpdesk tickets and leads?
Does Delete all conversations also delete Helpdesk tickets and leads?
No. Tickets, leads, collected data, and knowledge gaps are kept, but they’re no longer linked to the deleted conversations.
What do visitors see when the AI agent hits its credits limit?
What do visitors see when the AI agent hits its credits limit?
The chat stops with “This chatbot is currently unavailable. If you are the owner please check your account”. Raise or turn off the limit in Settings > General to restore it.
Why don't I get the daily conversations email?
Why don't I get the daily conversations email?
Check that Receive email with daily conversations is on and your address is listed. HIPAA accounts don’t receive daily conversations or leads emails.