

What you can do:
Separate AI agents by team, client, or environment, and control who can change settings versus who can only work on the AI agents.
Creating a workspace
1
Open the workspace menu
Click your avatar at the bottom-left of the sidebar and select Create or join workspace.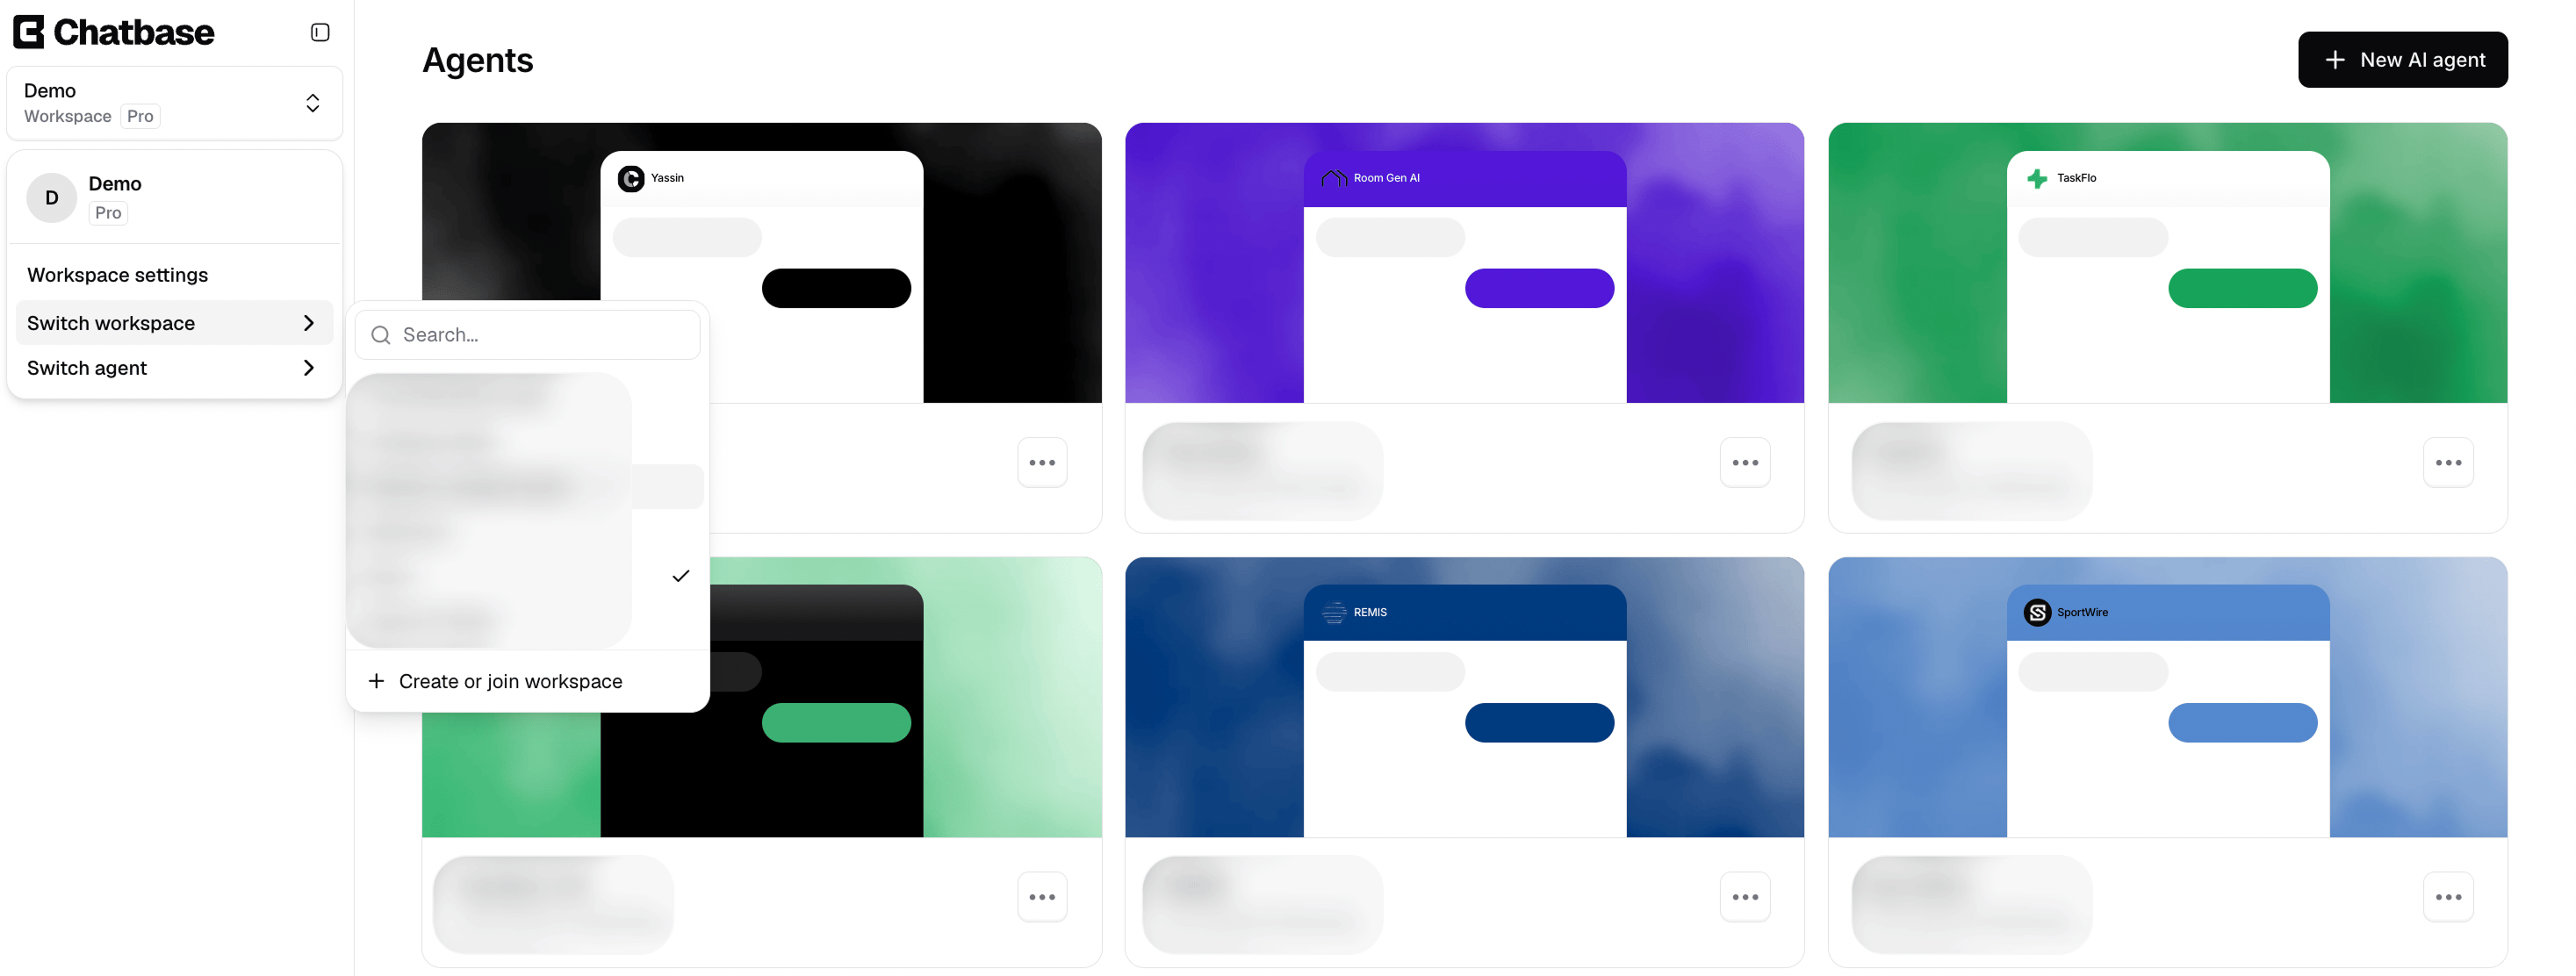
2
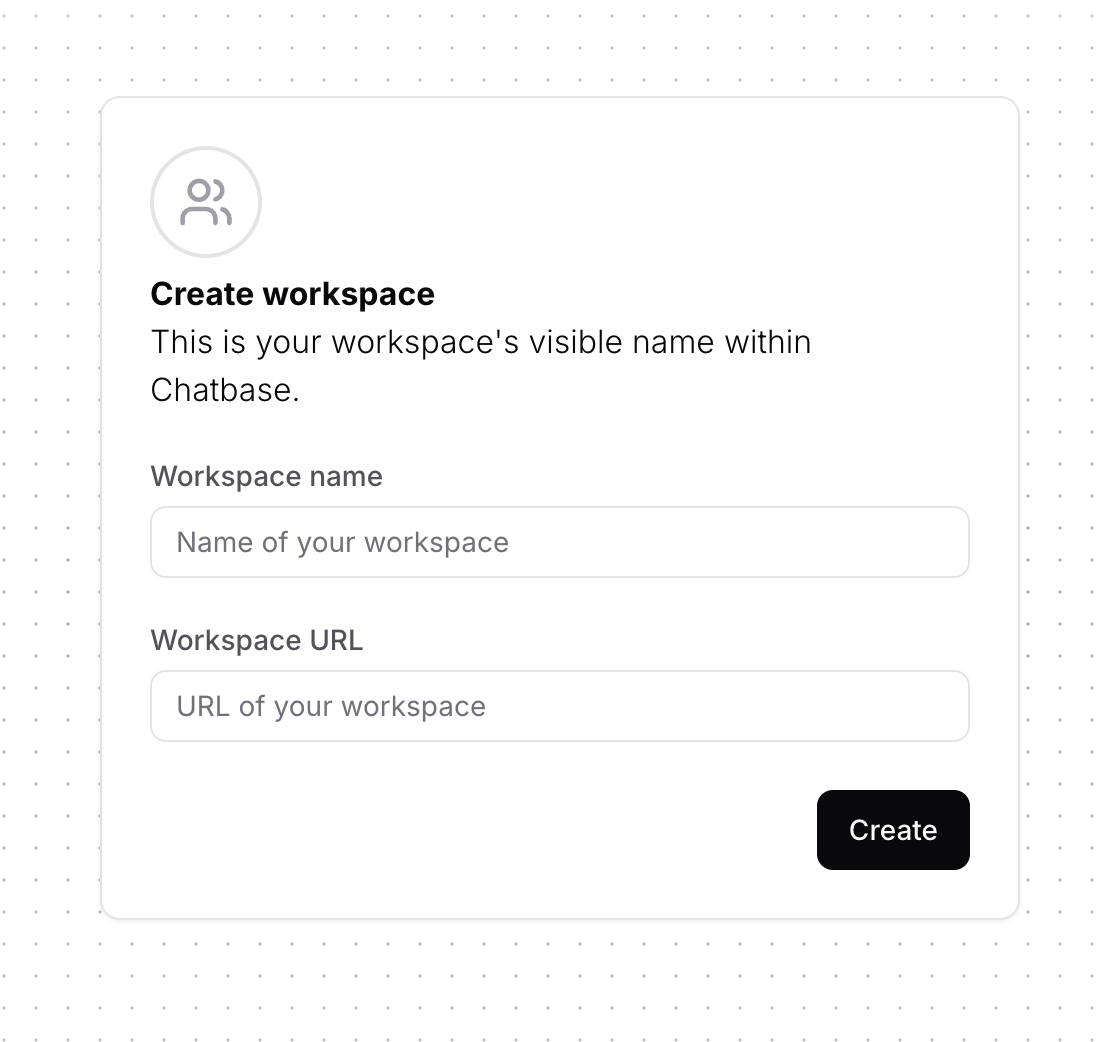
Add the workspace details
- Workspace Name: the AI agent’s display name within the dashboard.
- Workspace URL: the workspace slug, visible only in the URL when accessing the workspace on the dashboard.
You can choose any workspace URL you prefer, as long as it’s unique and doesn’t match an existing workspace.
3
Create your first AI agent
You’ll be taken to a new page where you can click New AI agent and start adding your sources.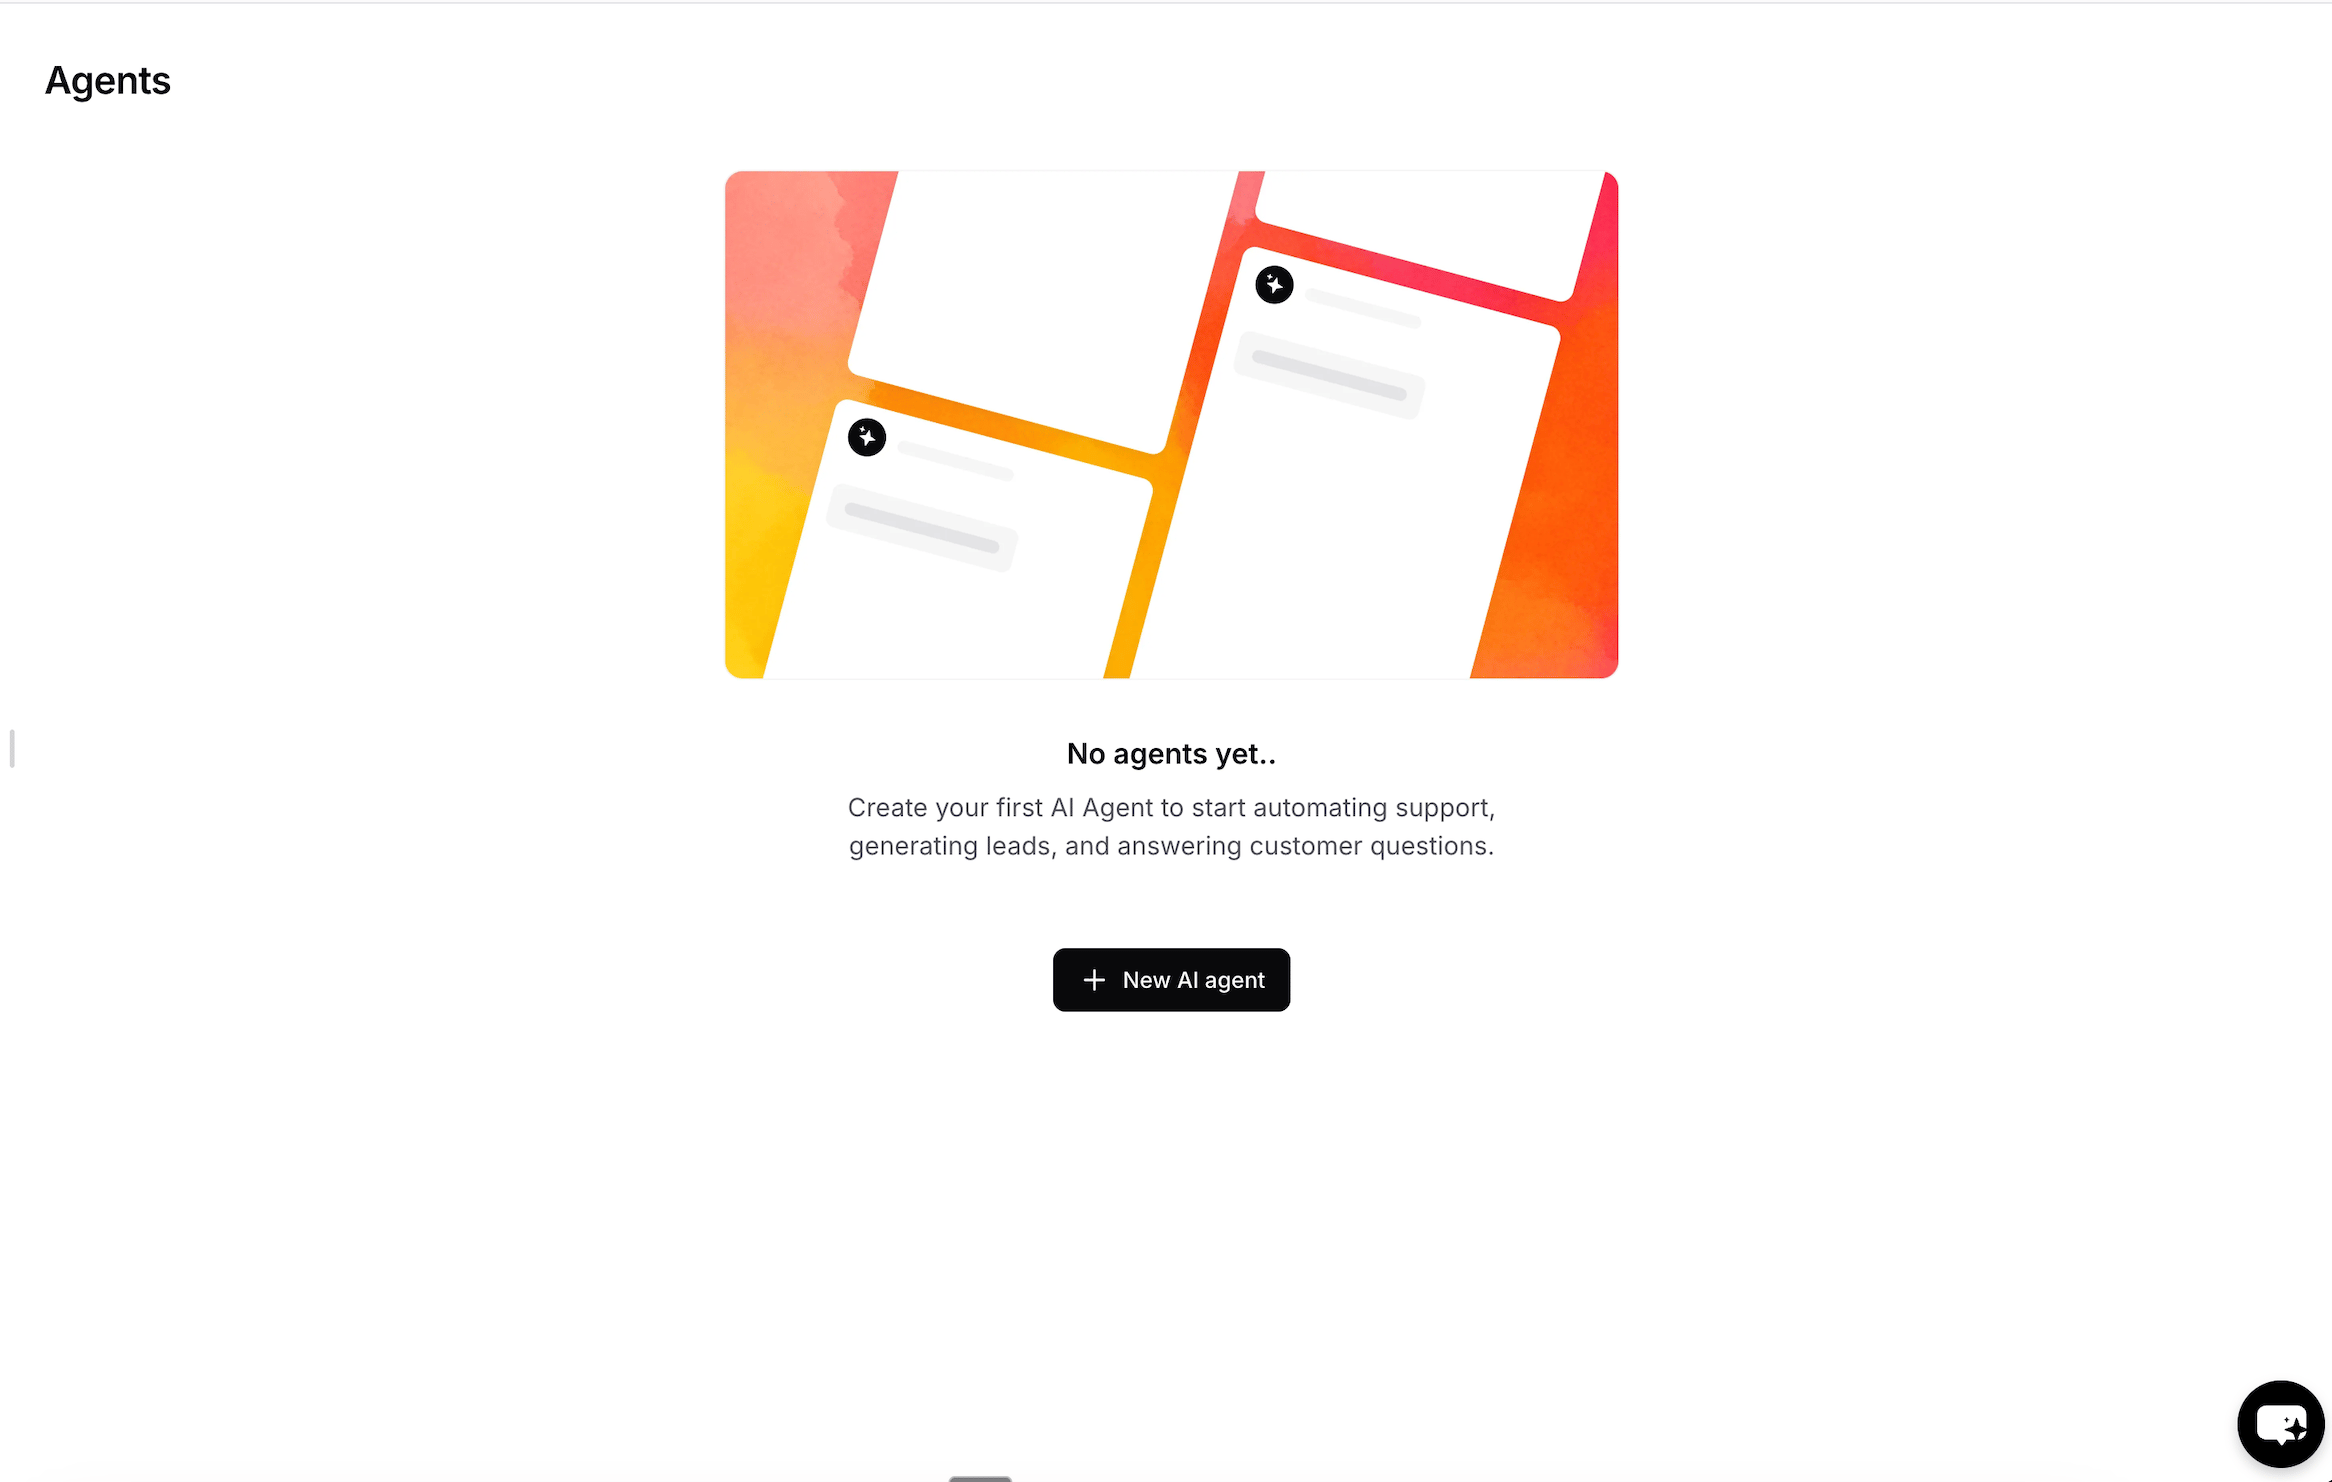
Workspaces and plans
- One user, many workspaces. You can belong to several workspaces and switch between them from the sidebar.
- Each workspace has its own plan. Subscriptions, credits, and limits belong to the workspace, not to your user account.
- AI agents stay in their workspace. Duplicating an AI agent copies it inside the same workspace. Agencies in the Chatbase Experts Program can copy AI agents into a client’s workspace with Remix links. There’s no self-serve way to move an AI agent between your own workspaces; contact support if you need one moved.
Duplicating an AI agent
You can duplicate any AI agent by clicking the three dots icon and choosing Duplicate Agent.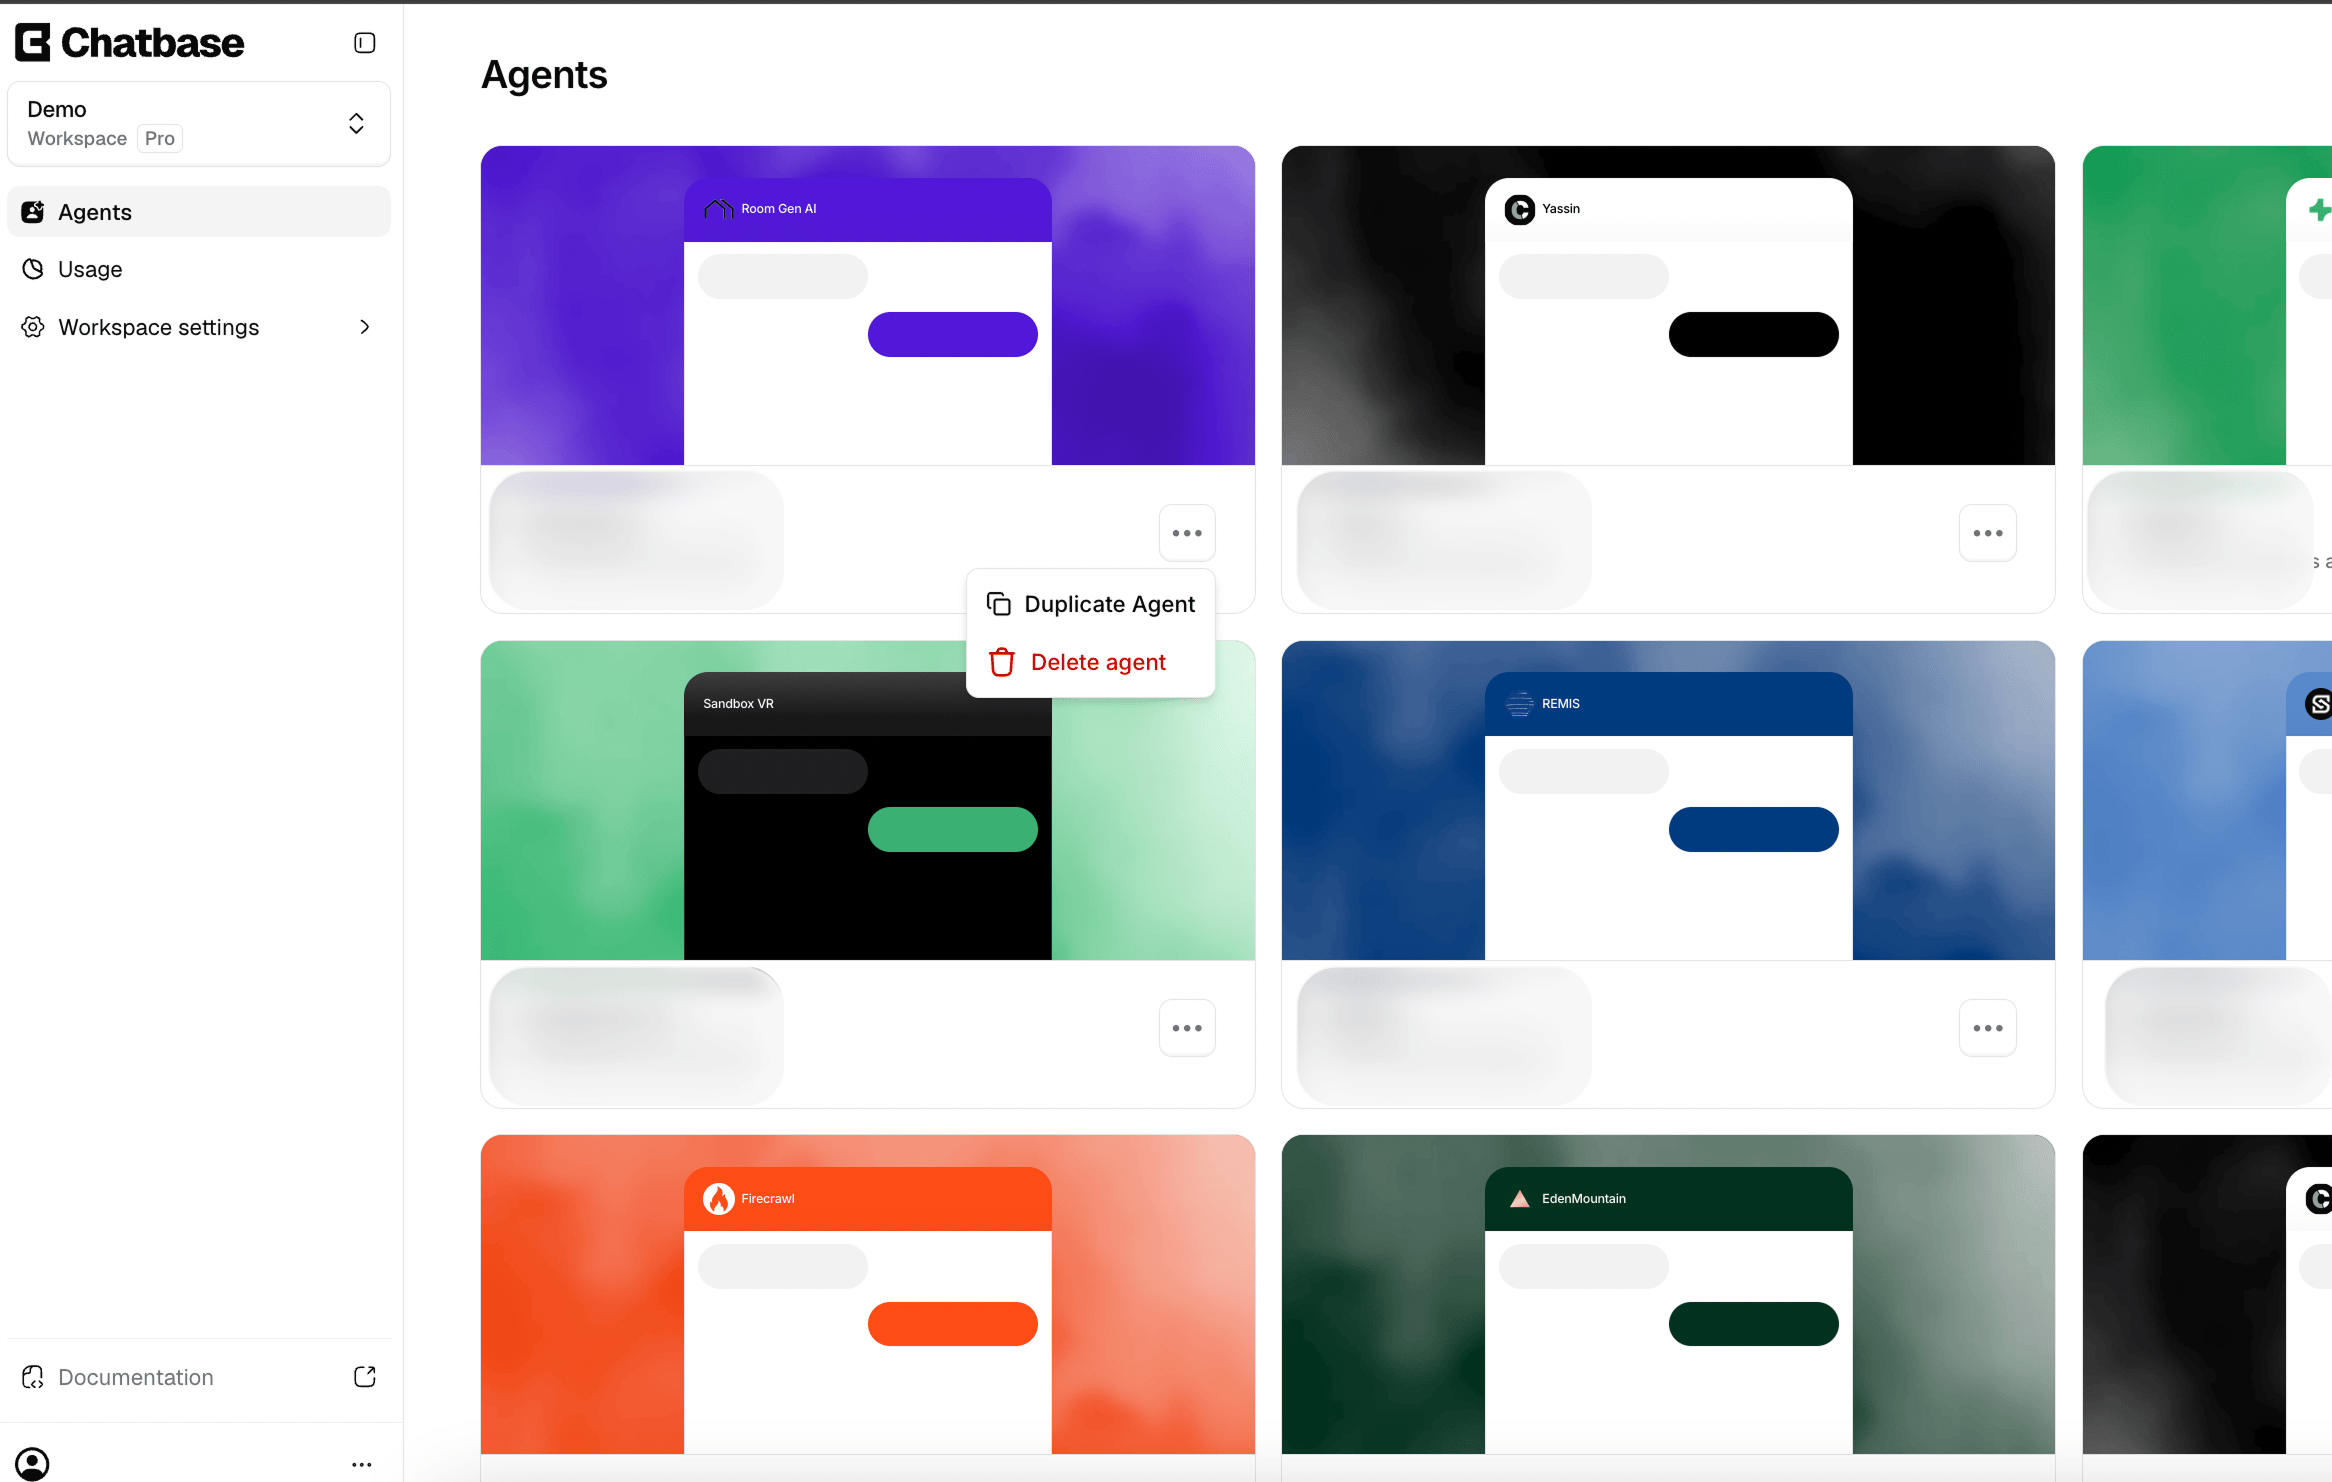
What’s not copied
Most AI agent settings are copied, but the following are not:
Reconnect these on the copy after duplicating. A duplicate counts toward your plan’s AI agent limit, so you need a free slot (see AI agents used).
Organizing AI agents in groups
Group related AI agents together on the Agents page, for example by client, brand, or use case.1
Open the Move to group dialog
On the Agents page, click the three dots icon on an AI agent and choose Move to group.
2
Pick or create a group
Pick an existing group, or type a new name to create one. Then click Save.
Groups are personal. Any workspace member can create them, whatever their role. They’re saved in your browser, so they don’t change what other members see, and they don’t carry over to another browser or device.
Deleting an AI agent
Deleting an AI agent is permanent. To confirm, you type “I understand” in the dialog. If you don’t have permission, the option shows “You do not have permission to delete agents”. When you delete an AI agent, Chatbase also deletes its:- conversations, contacts, and contact custom attributes
- Helpdesk tickets and messages
- sources, Actions, Procedures, and webhooks
- tests and test runs
- Backstage sessions and schedules
- WhatsApp and phone (SIP) number connections
Roles and permissions
Every workspace has four default roles: Owner, Member, Viewer, and Support Associate. Support Associate is only offered on plans that include the Chatbase Helpdesk (Basic plan or higher).
See Modify workspace member role for how to change a role, and Custom roles for Enterprise workspaces.
Owners and ownership
A workspace can have several Owners, because Owner is a role you can give to any member. One of them is the primary owner, marked with a crown icon. The primary owner’s role can’t be changed and they can’t be removed from the workspace. To hand over a workspace, the primary owner leaves it and picks another member as the new primary owner. That member becomes an Owner. If the primary owner deletes their Chatbase account, primary ownership passes to another Owner automatically.Invite links expire 24 hours after they’re sent to an invitee.
Frequently asked questions
Can I be a member of more than one workspace?
Can I be a member of more than one workspace?
Yes. One user can belong to several workspaces. Each workspace has its own plan, so upgrading one workspace doesn’t upgrade the others.
Can a workspace have more than one Owner?
Can a workspace have more than one Owner?
Yes. Any member can be given the Owner role. One Owner is the primary owner (crown icon), who can’t be removed or have their role changed.
How do I transfer ownership of a workspace?
How do I transfer ownership of a workspace?
The primary owner leaves the workspace and selects another member as the new primary owner. The new primary owner becomes an Owner.
Can I move an AI agent to another workspace?
Can I move an AI agent to another workspace?
Not from the dashboard. Duplicate copies an AI agent inside the same workspace, and Remix links into other workspaces are only available from Agency workspaces in the Experts Program. Contact support to move an AI agent between workspaces.
Can a deleted AI agent be restored?
Can a deleted AI agent be restored?
No. Deleting an AI agent permanently removes it and its conversations, contacts, tickets, sources, and Actions. There’s no restore option in the dashboard.
Are Shopify Actions copied when I duplicate an AI agent?
Are Shopify Actions copied when I duplicate an AI agent?
No. Shopify Actions, the Slack Notify Action, the Slack, Shopify, and Linear integrations, deployment channels, and Notion sources aren’t copied. Reconnect them on the copy.
Next steps
Usage
Track message credits consumed across the AI agents in this workspace.
Workspace settings
Manage billing, your plan, and add-ons.
Build Your First AI Agent
Create, train, and deploy an AI agent in the new workspace.
Two-factor authentication
Add a second sign-in step to your own Chatbase account.