

What you can do:
Put your AI agent in front of every visitor to your Webflow site, as a floating Chat Bubble or sized and placed exactly where you want it.
Before you start
- A Chatbase account with an AI agent. If you haven’t built one yet, follow Your first AI agent.
- A Webflow site you can edit in the Designer.
Choose an embed type
We recommend the Website widget script. Identity verification and event listeners only work through the Chat Bubble, and the script handles mobile layout for you. Use the iframe only when you want the chat to sit inside the page layout.
Add the Chat Bubble to every page (recommended)
1
Copy the Website widget script
- Go to the dashboard of your Chatbase account and click your AI agent.
- Click Channels in the left sidebar, then click Manage on the Chat Bubble card (or Setup, if you haven’t configured it yet).
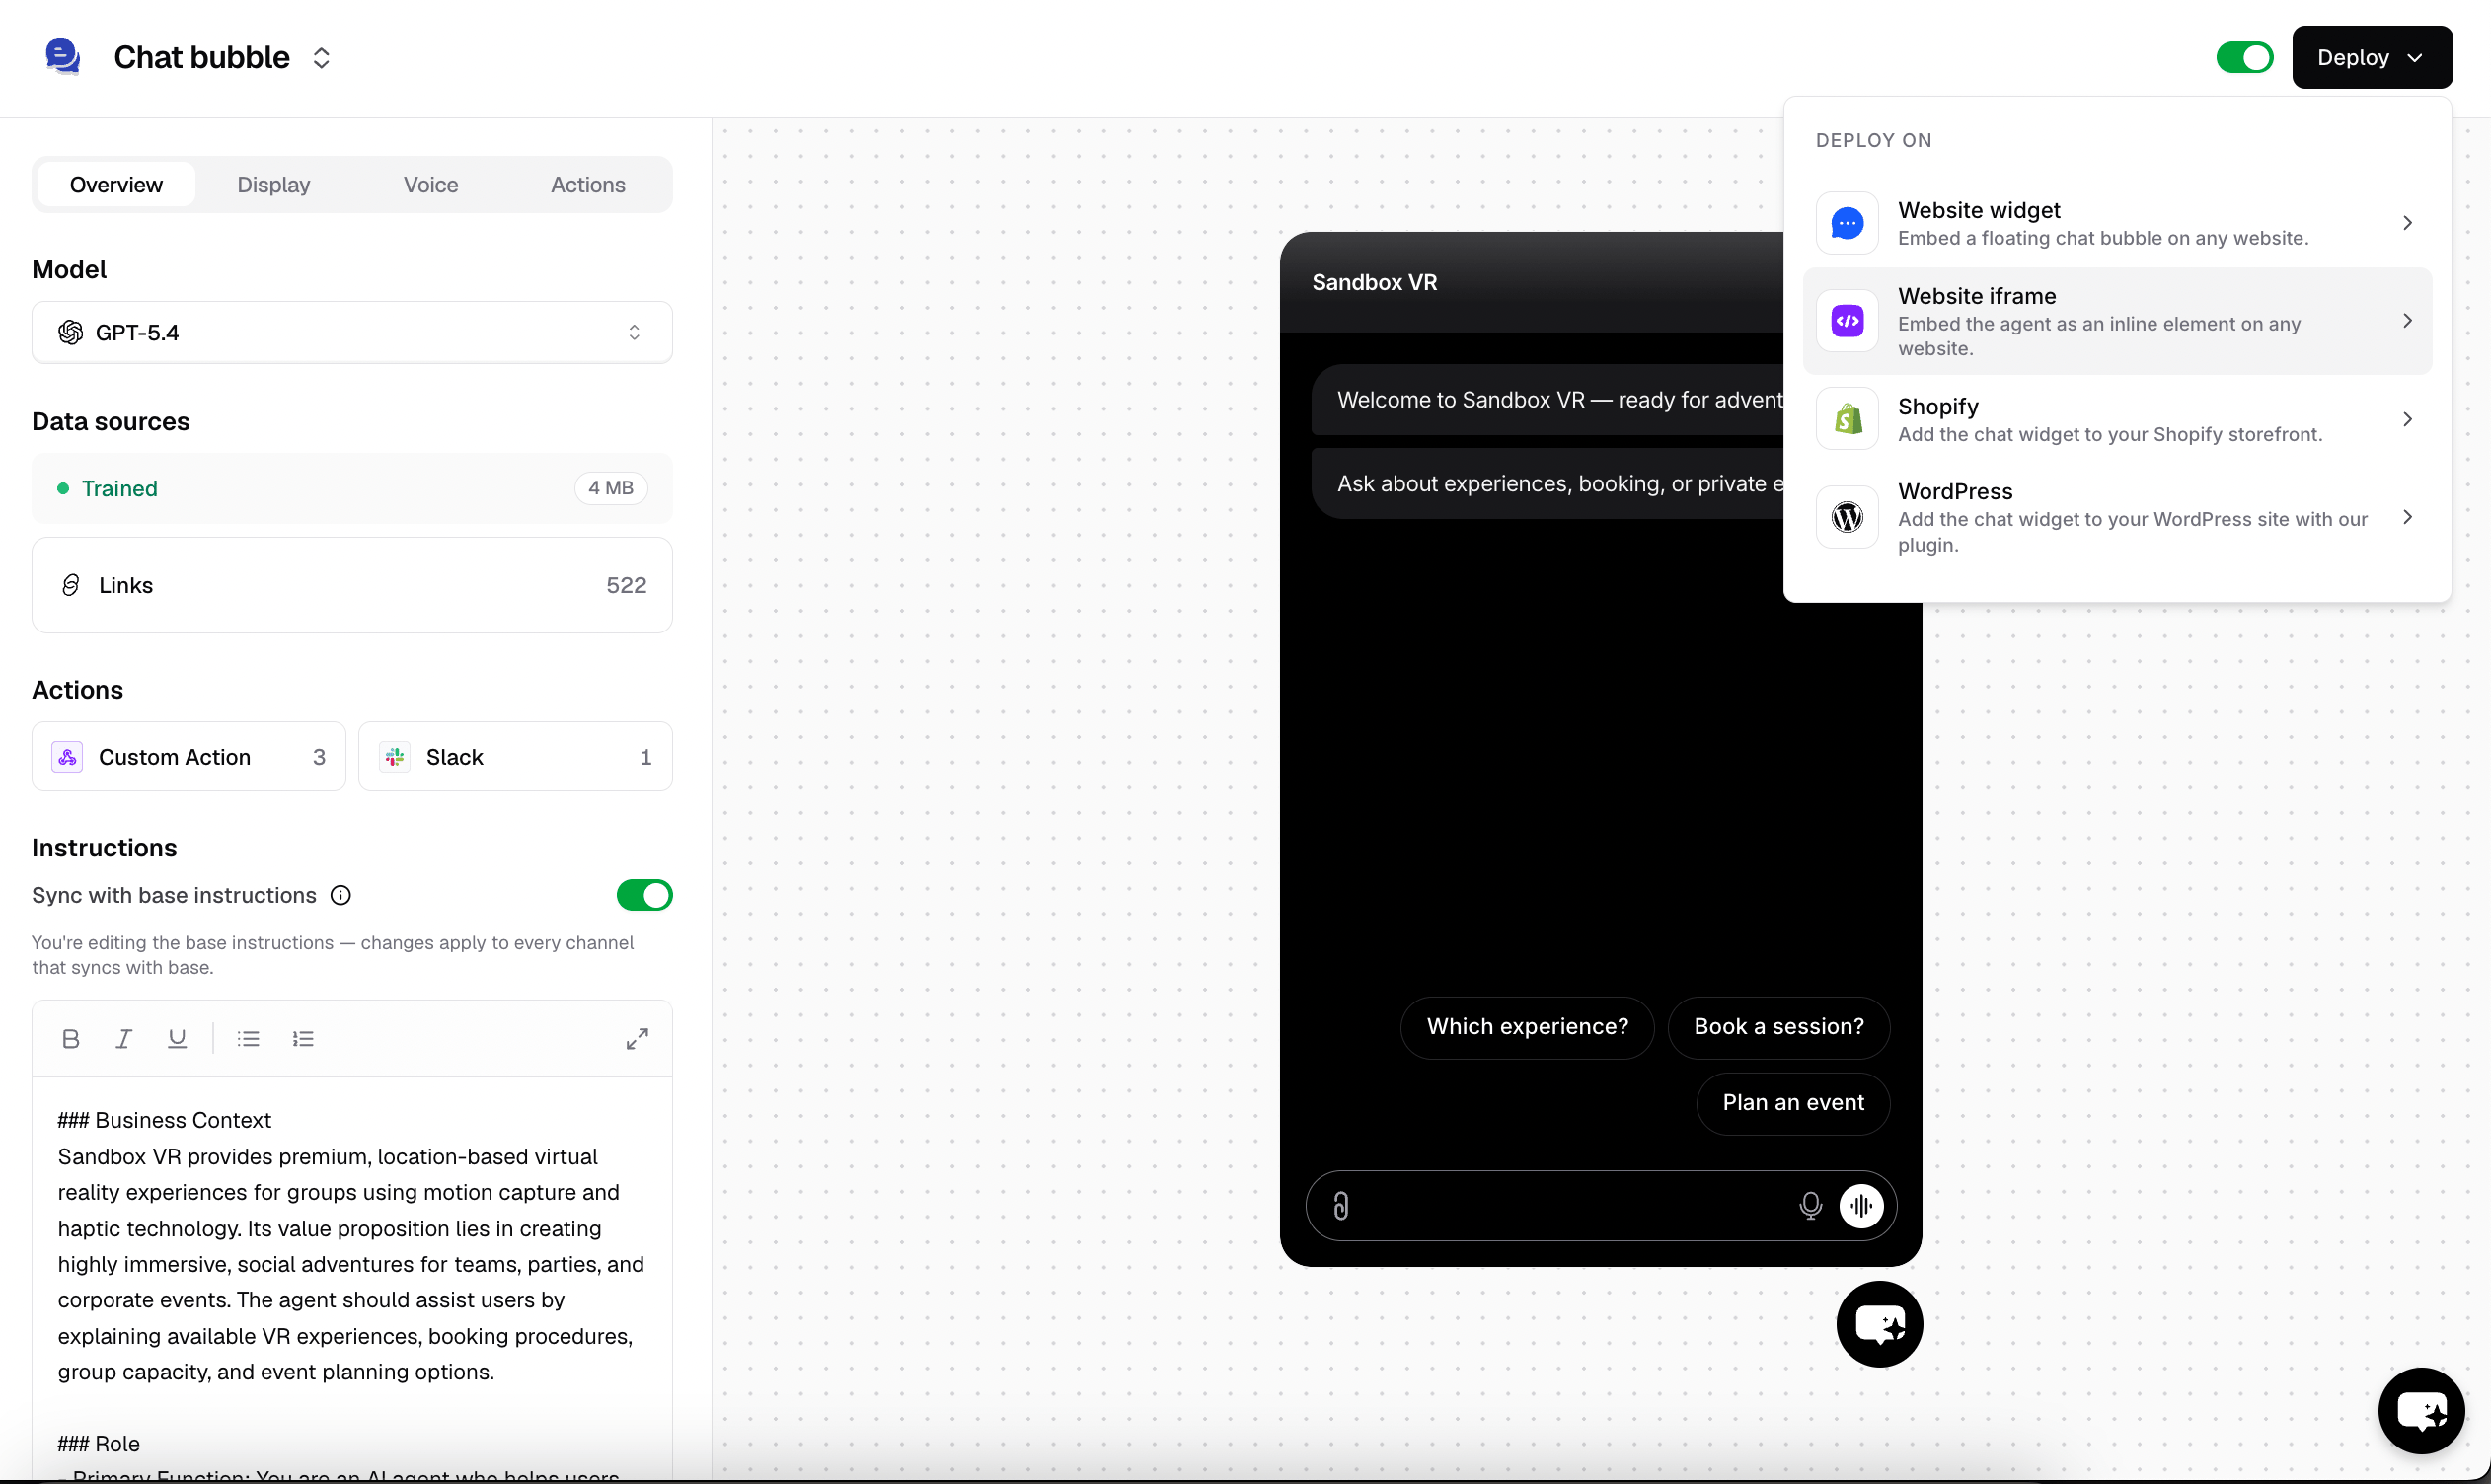
- Click Deploy, select Website widget, and copy the script.
2
Paste it into Webflow's site-wide custom code
Open your site settings in Webflow and paste the script into the custom code field that is added before the closing
</body> tag. Code placed there loads on every page, which is where Chatbase recommends putting the script. Webflow’s own documentation on custom code shows where this field is.3
Publish your site
Publish the site, then open the published URL and check that the Chat Bubble appears in the bottom corner.
Embed the chat inline with an iframe
1
Copy your embed code
- Go to the dashboard of your Chatbase account.
- Click the AI agent you wish to integrate into your Webflow website.
- Click Channels in the left sidebar, then click Manage on the Chat Bubble card (or Setup, if you haven’t configured it yet).
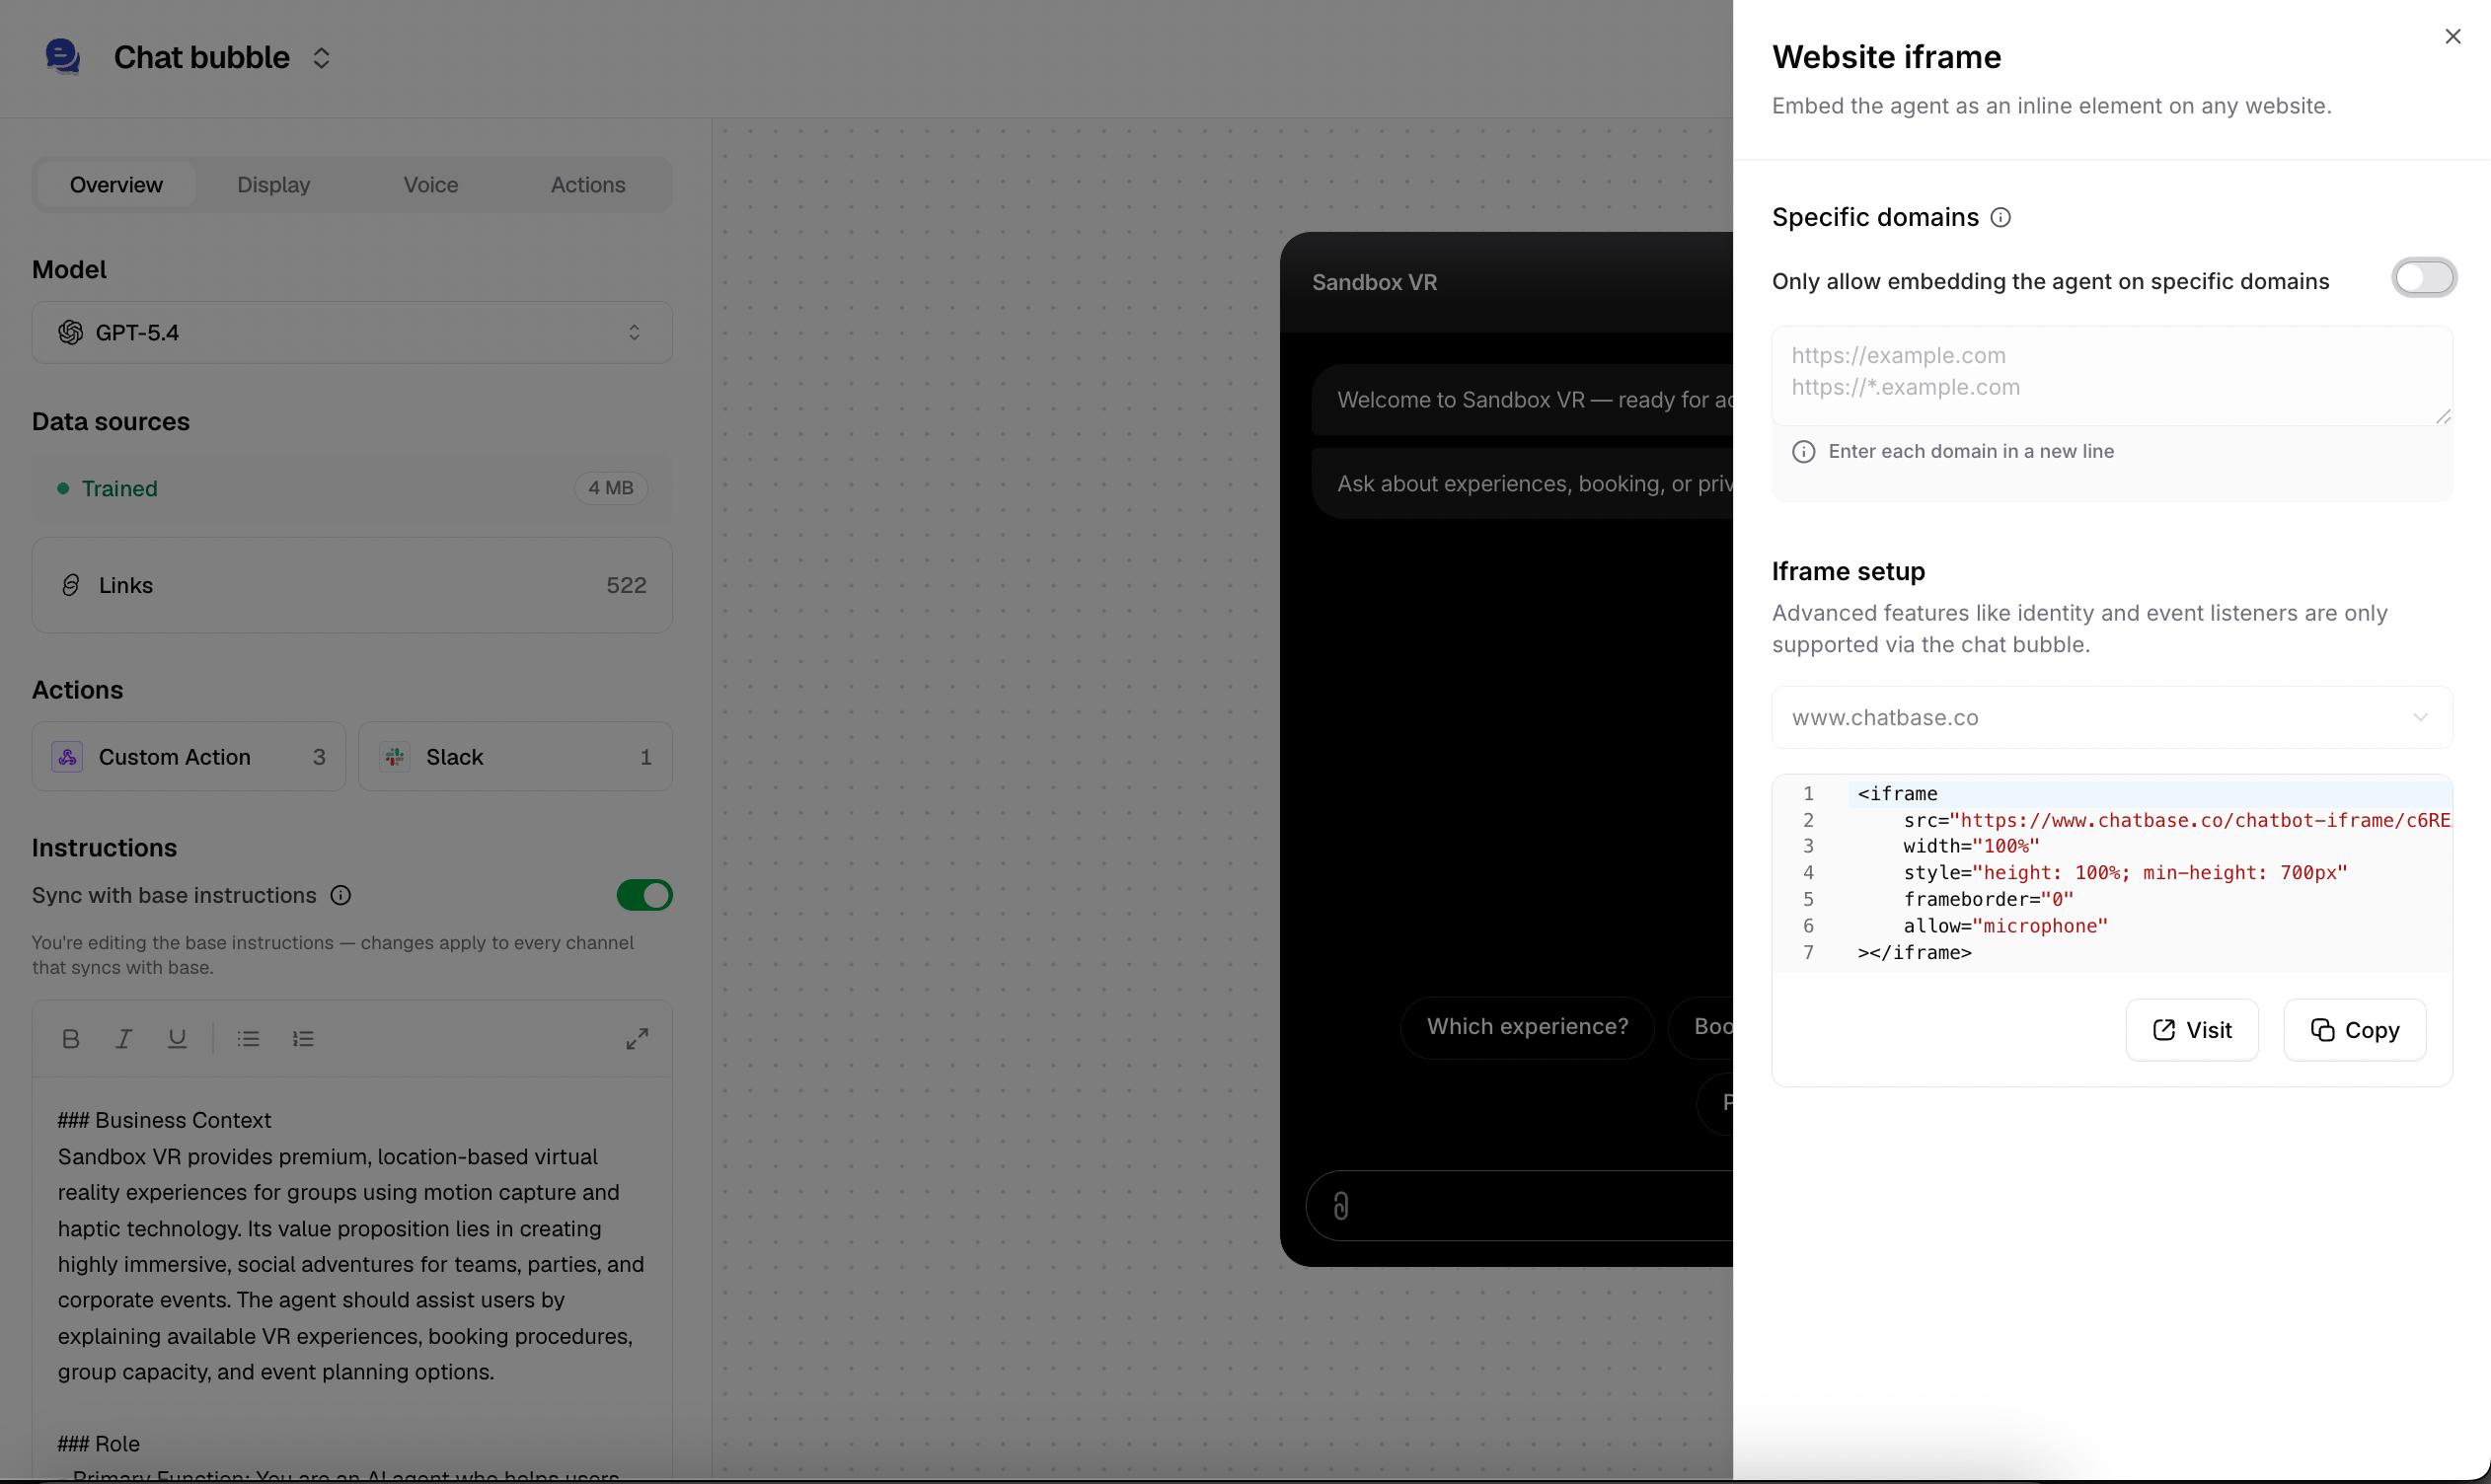
- Click Deploy and select the Website iframe embed type. Click Copy to copy the provided HTML code.
2
Open your site in the Webflow Designer
Log into Webflow and go to your dashboard. Hover over the site you want to add the AI agent to and click Open Designer.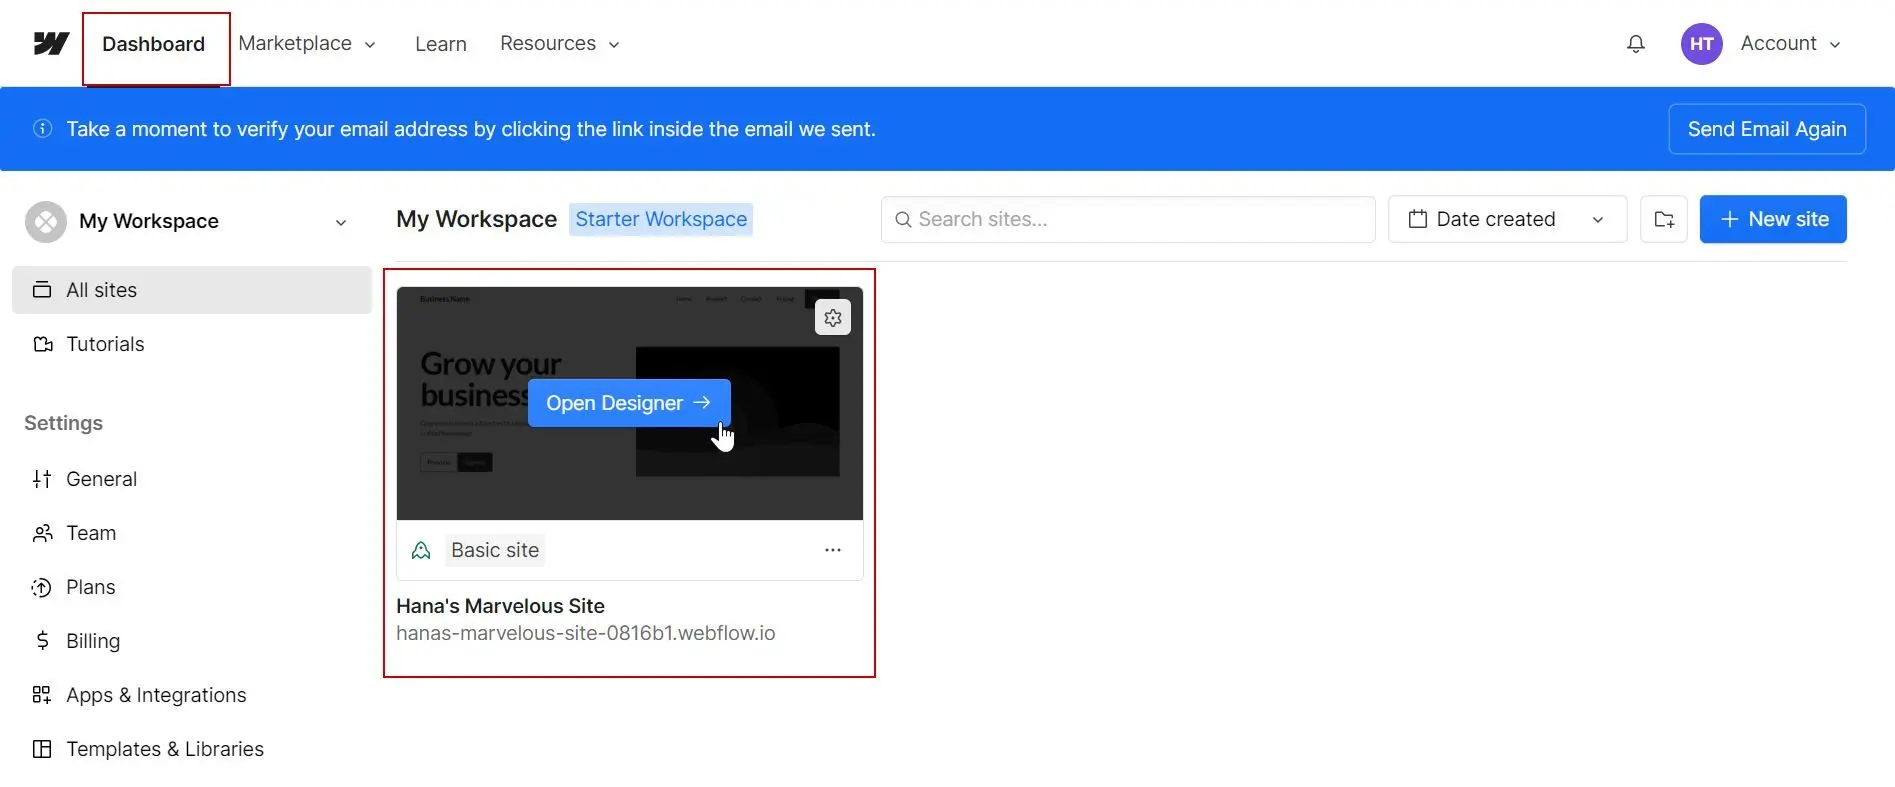
3
Build a container for the widget
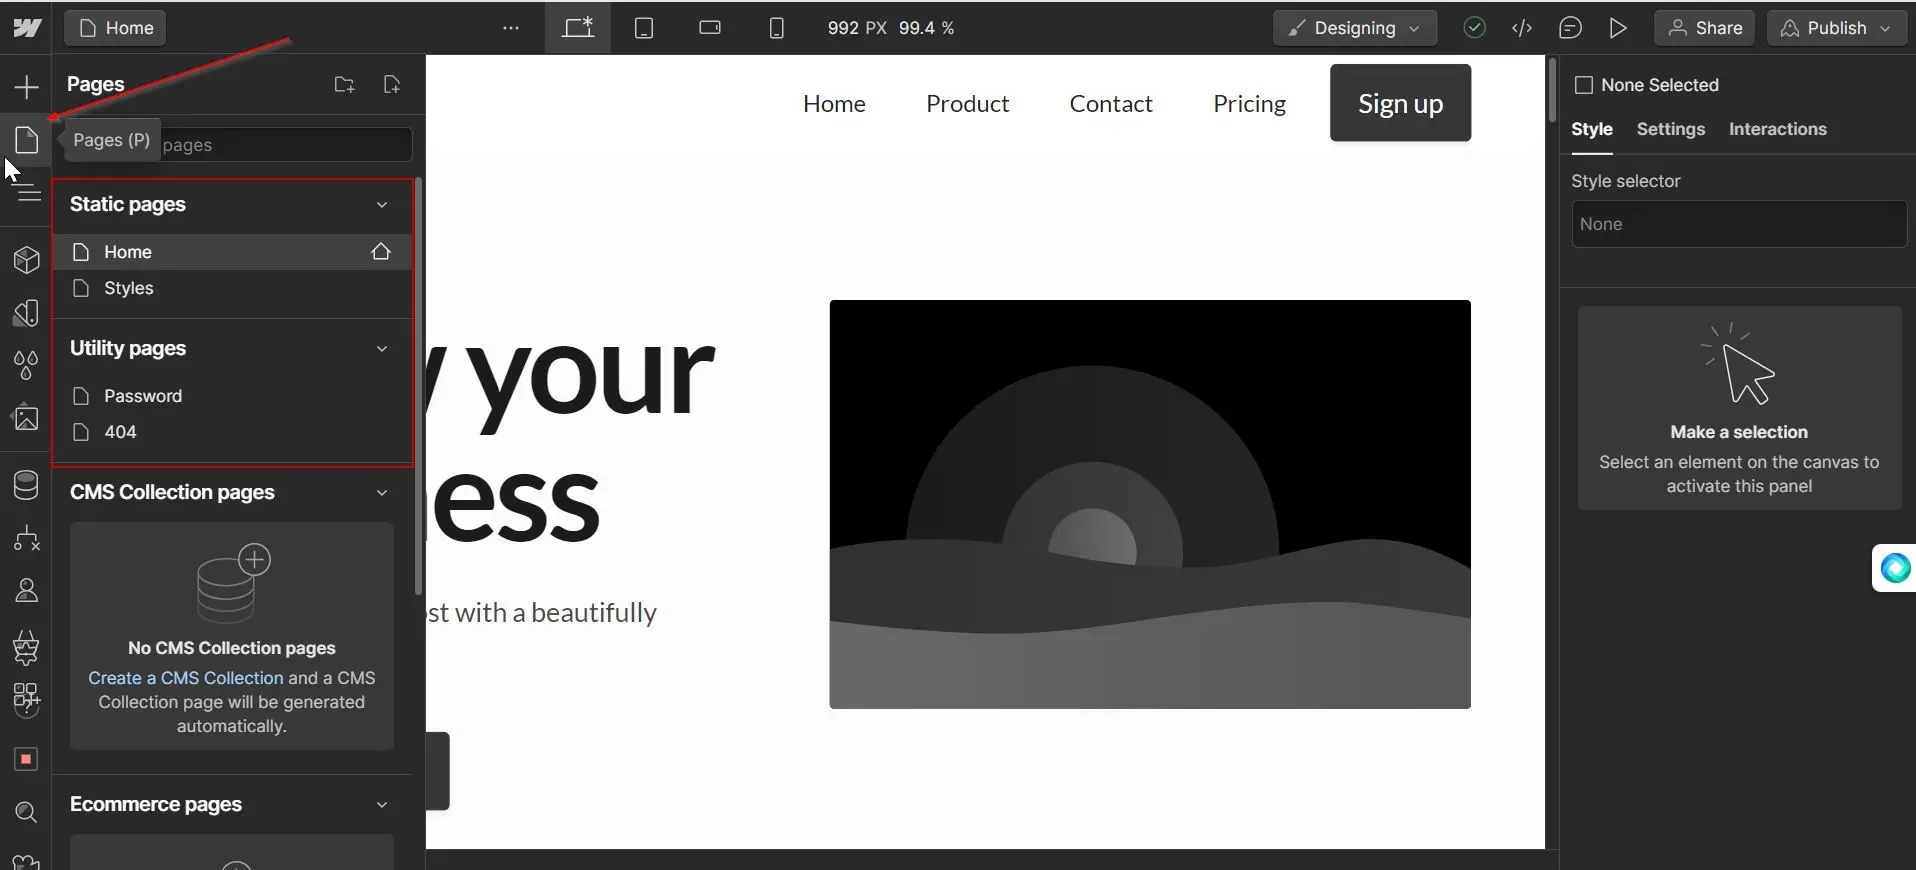
A container keeps the iframe from spanning the entire width of the page and gives it a height. The iframe fills the width of its container, but its height doesn’t adapt to the conversation, so the Div must set it.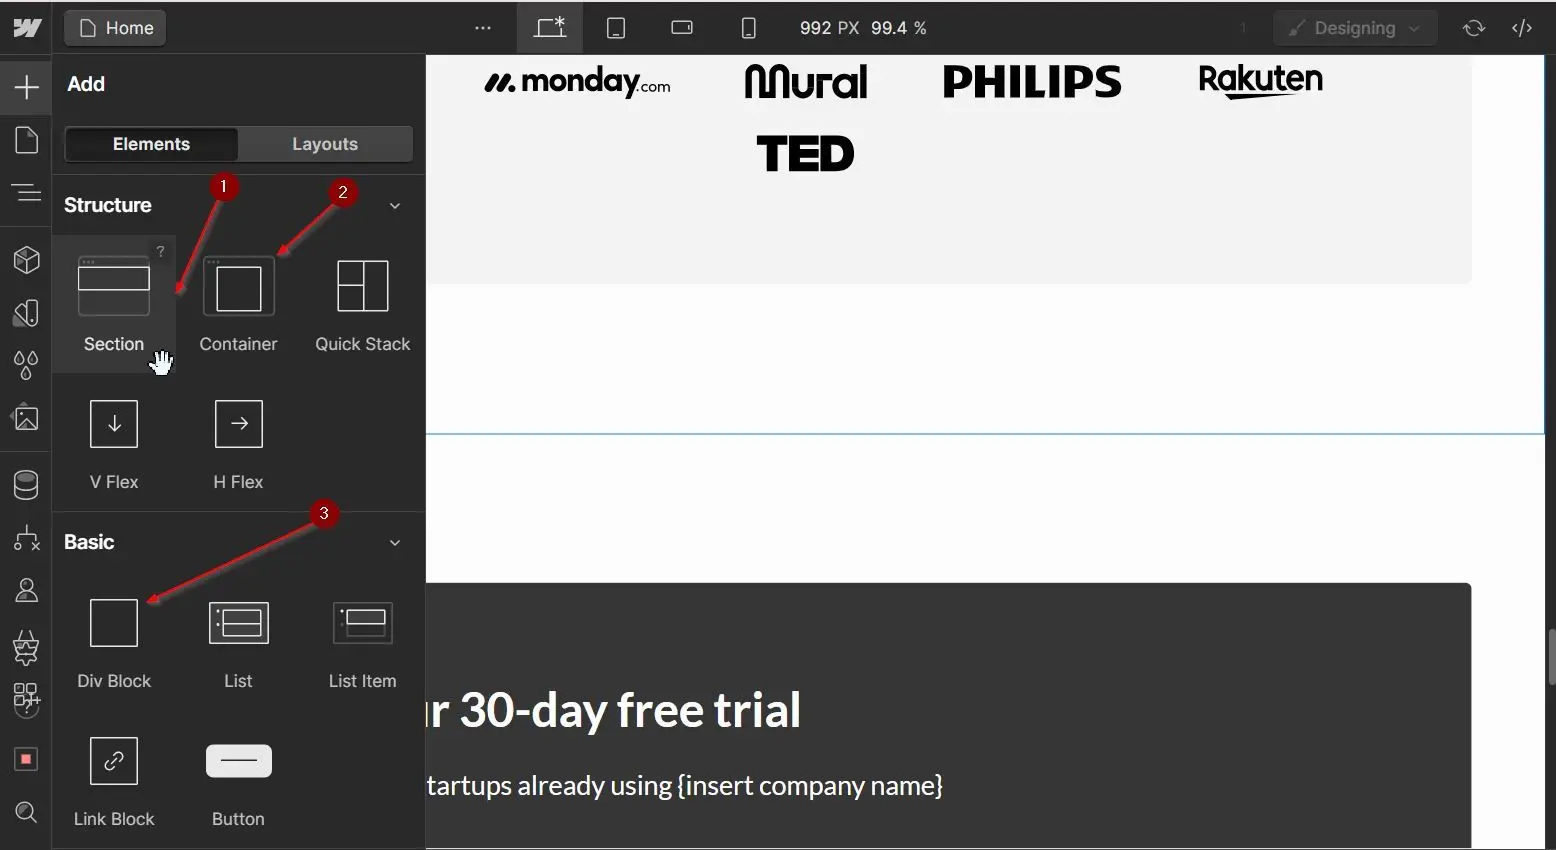
- Click the plus button (Add elements) in the top-left corner of the Designer.
- Drag a Section element to the part of the page where you want the AI agent.
- Drag a Container element onto the Section.
- Drag a Div element onto the Container, and give it a fixed width and height so the AI agent stays contained.
4
Add the Embed element and paste your code
Scroll down the list of elements and drag the Embed element onto the Div you just added.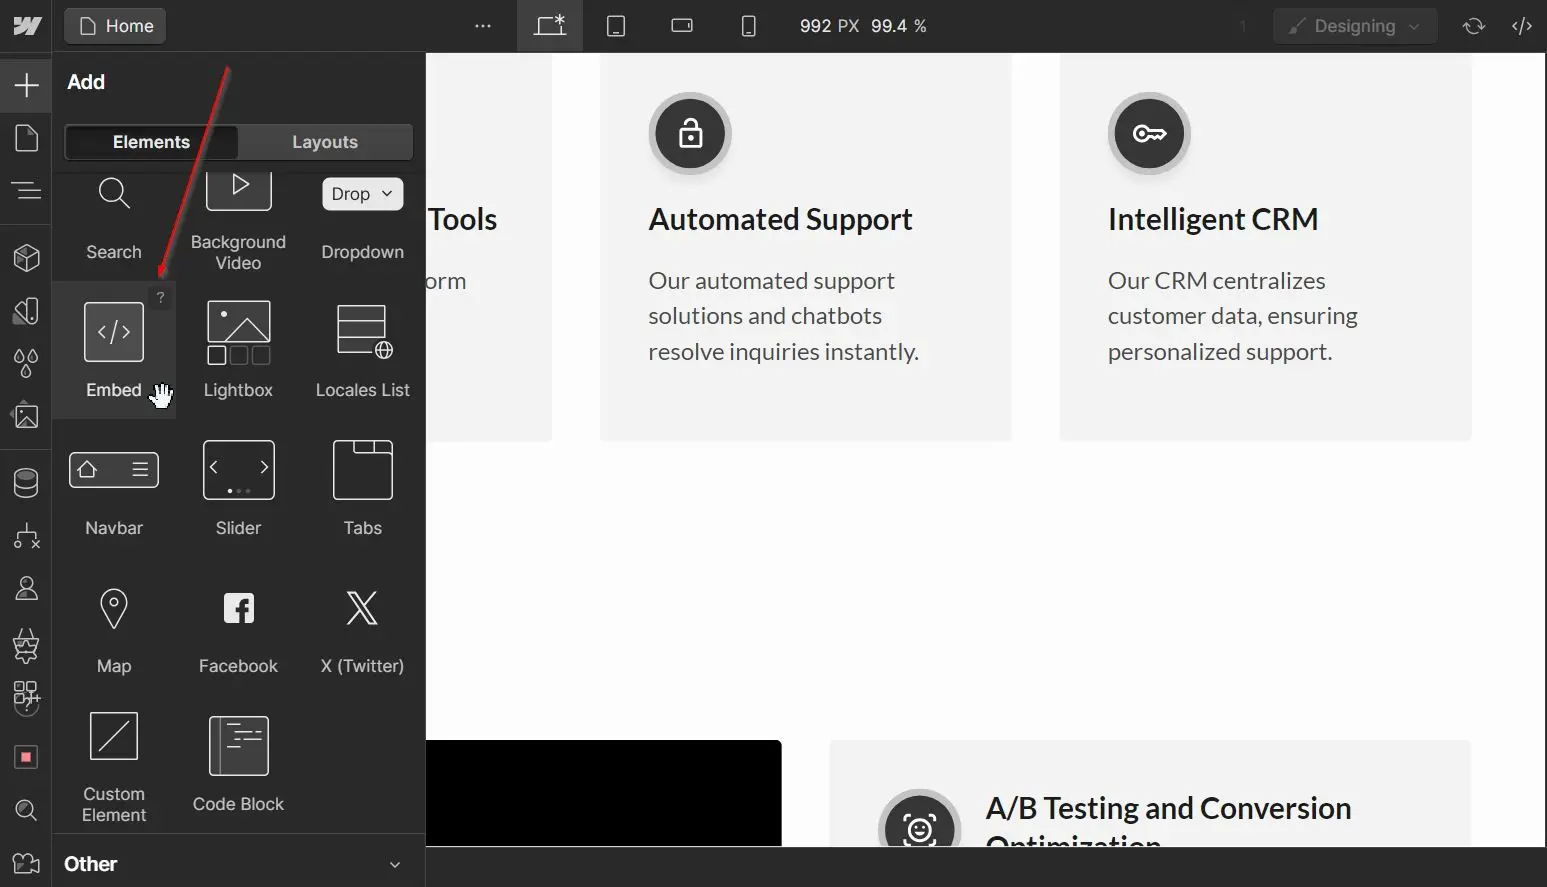
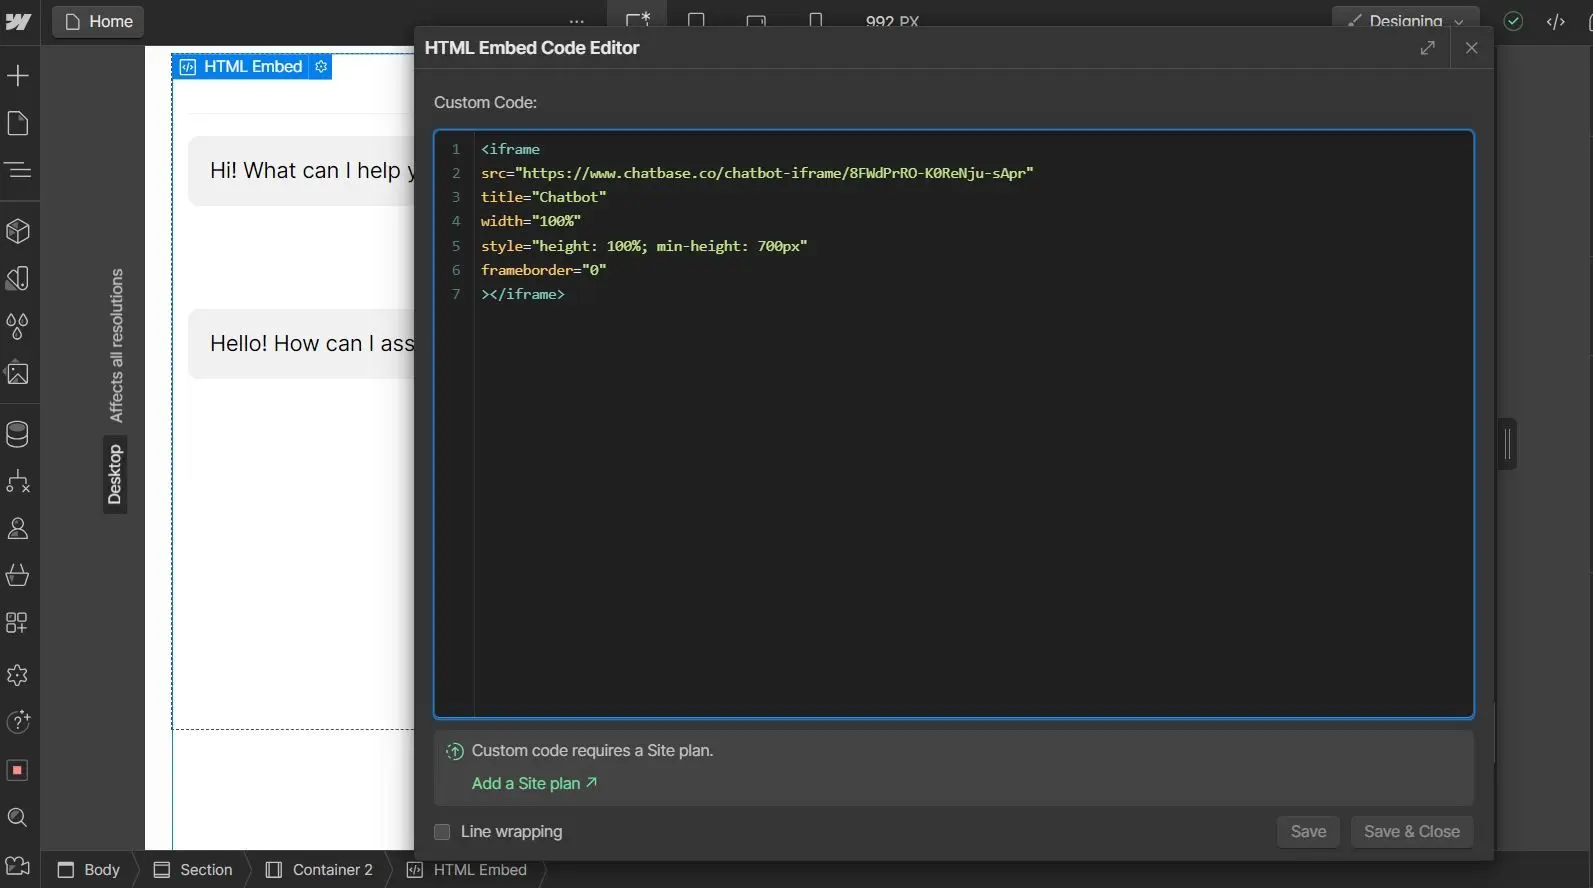
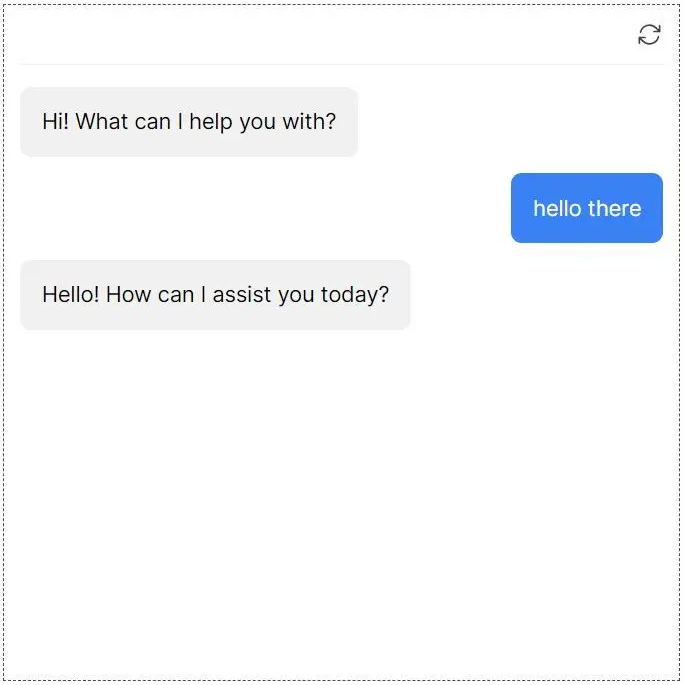
You should see a preview of the AI agent on the live preview of your Webflow site, right inside the Designer.
Allow your webflow.io address
If you turned on Only allow embedding the agent on specific domains in the Specific domains card of the Deploy sheet, list every address your Webflow site runs on, including the staging address. For example (example values):https://*.acme.com matches subdomains of acme.com but not acme.com itself, and an entry without https:// or http:// matches only https pages. Avoid https://*.webflow.io: it works, but it lets every Webflow site embed your AI agent. See Deploy button.
Troubleshooting
The embed or AI agent element is the wrong size
The embed or AI agent element is the wrong size
Possible cause: the Embed element inherits its size from the Div you placed it in. The iframe code fills the width of the Div and has a minimum height of 700px, but it doesn’t grow or shrink with the conversation.Solution: set an explicit height on the Div that wraps the Embed element. Webflow’s official documentation on the Embed element covers embedding third-party tools in more detail.
The Chat Bubble doesn't appear on the published site
The Chat Bubble doesn't appear on the published site
Possible causes:
- Specific domains is on and the address you’re visiting isn’t listed. The browser console shows a message starting with
[Chatbase] Agentthat says the agent is not allowed on that origin. - The visitor’s country is in your blocked countries.
- Show to a percentage of visitors is on under Display > A/B testing, and this visitor isn’t in the sample.
- The script was pasted into an Embed element instead of site-wide custom code. If the builder runs that element in its own frame, the bubble is clipped to the element’s box.
You can customize the appearance and colors of your AI agent on your Chatbase dashboard. Go to your dashboard, choose an AI agent, click Channels in the left sidebar, click Manage on the Chat Bubble card, then open the Display tab to edit Content, Capabilities, Colors, Floating bubble, and Localization.
Frequently asked questions
Should I use the script or the iframe on Webflow?
Should I use the script or the iframe on Webflow?
Use the Website widget script unless you specifically want the chat inline. It’s the only option that supports identity verification and event listeners, and it switches to full screen on phones automatically.
How do I size the iframe on mobile?
How do I size the iframe on mobile?
The iframe takes the full width of its Div, but its height stays whatever the Div gives it, so pick a Div height that also fits a phone screen. The Chat Bubble doesn’t need this: below 640px wide it opens full screen.
Can I move the Chat Bubble away from the corner?
Can I move the Chat Bubble away from the corner?
You can switch it between the bottom left and bottom right with Position in Display > Floating bubble. There is no offset setting, so it always sits at the bottom of the screen near the edge. See Floating bubble.
Can I show the AI agent on some Webflow pages only?
Can I show the AI agent on some Webflow pages only?
Yes. Instead of the site-wide custom code field, paste the script into the custom code of only the pages where the Chat Bubble should appear. For the iframe, add the Embed element only to those pages.
Next steps
Customize the Chat Bubble
Match the widget to your brand colors, position, and copy.