

support@yourdomain.com, which forwards to your AI agent, and the AI agent replies from your domain using its Data Sources. It needs a paid plan, and email conversations appear in your conversation logs, where your team can take over at any time.
What you can do:
Have routine email support answered the moment it arrives, in your brand’s voice, with your team notified the instant delivery goes wrong.
Before you start
- Create a Chatbase account and build your AI agent
- Subscribe to a paid plan. Without one, the Enable button’s tooltip reads “Upgrade to a paid plan to use the emails feature”. The Email channel isn’t available on HIPAA-compliant workspaces.
- Configure your email domain in Email settings with forwarding, DKIM, and SPF
How Email integration works
The integration lets your AI agent monitor and respond to incoming emails through your configured addresses:- Email reception: Incoming emails are forwarded to your Chatbase AI agent. Mail is routed to the AI agent that owns the agent address it was forwarded to.
- AI processing: The AI agent reads the email’s plain-text body and any attachments its model supports, then writes a reply.
- Automated reply: With Reply Delay at 0, the reply is sent as soon as it’s generated. With a delay set, it’s held first (see Reply Delay).
- Delivery monitoring: The system tracks delivery and alerts your Deliverability Alert Contact of any issues
This loop pauses when your AI agent escalates by creating a Zendesk ticket. The AI agent stops replying to the email thread, your team answers from Zendesk, and the AI agent resumes once the ticket is Solved or Closed. See Email handover with Zendesk.
Who the AI agent replies to
- Everyone on the thread. The reply goes to the sender’s Reply-To address, and everyone else on the original To and CC lines is copied, except the sender and your AI agent’s own addresses.
- Forwarded emails. If someone forwards an email chain to your support address, the AI agent reads the whole body, including the forwarded content, and replies to the person who forwarded it, not the original author.
Emails the AI agent doesn’t answer
These emails are saved to your conversations but don’t get an AI reply:- No-reply and system senders. Addresses whose name before the @ is
noreply,no-reply,donotreply,no-response,mailer-daemon,postmaster,bounce,auto-reply,autoresponder,auto-notification, orauto-mailer. - Blocked senders you list in Blocked senders.
- Suspected spam, when Spam detection is on.
How to connect Email
1
Open your Chatbase AI agent
Navigate to your Chatbase dashboard and select the AI agent you want to integrate with email.
2
Configure your email domain
Navigate to Settings → Email and follow the domain configuration process. See Email settings for detailed instructions.
Verify all configuration steps are complete before proceeding. Email addresses with configuration issues will display warnings.
3
Enable the Email channel
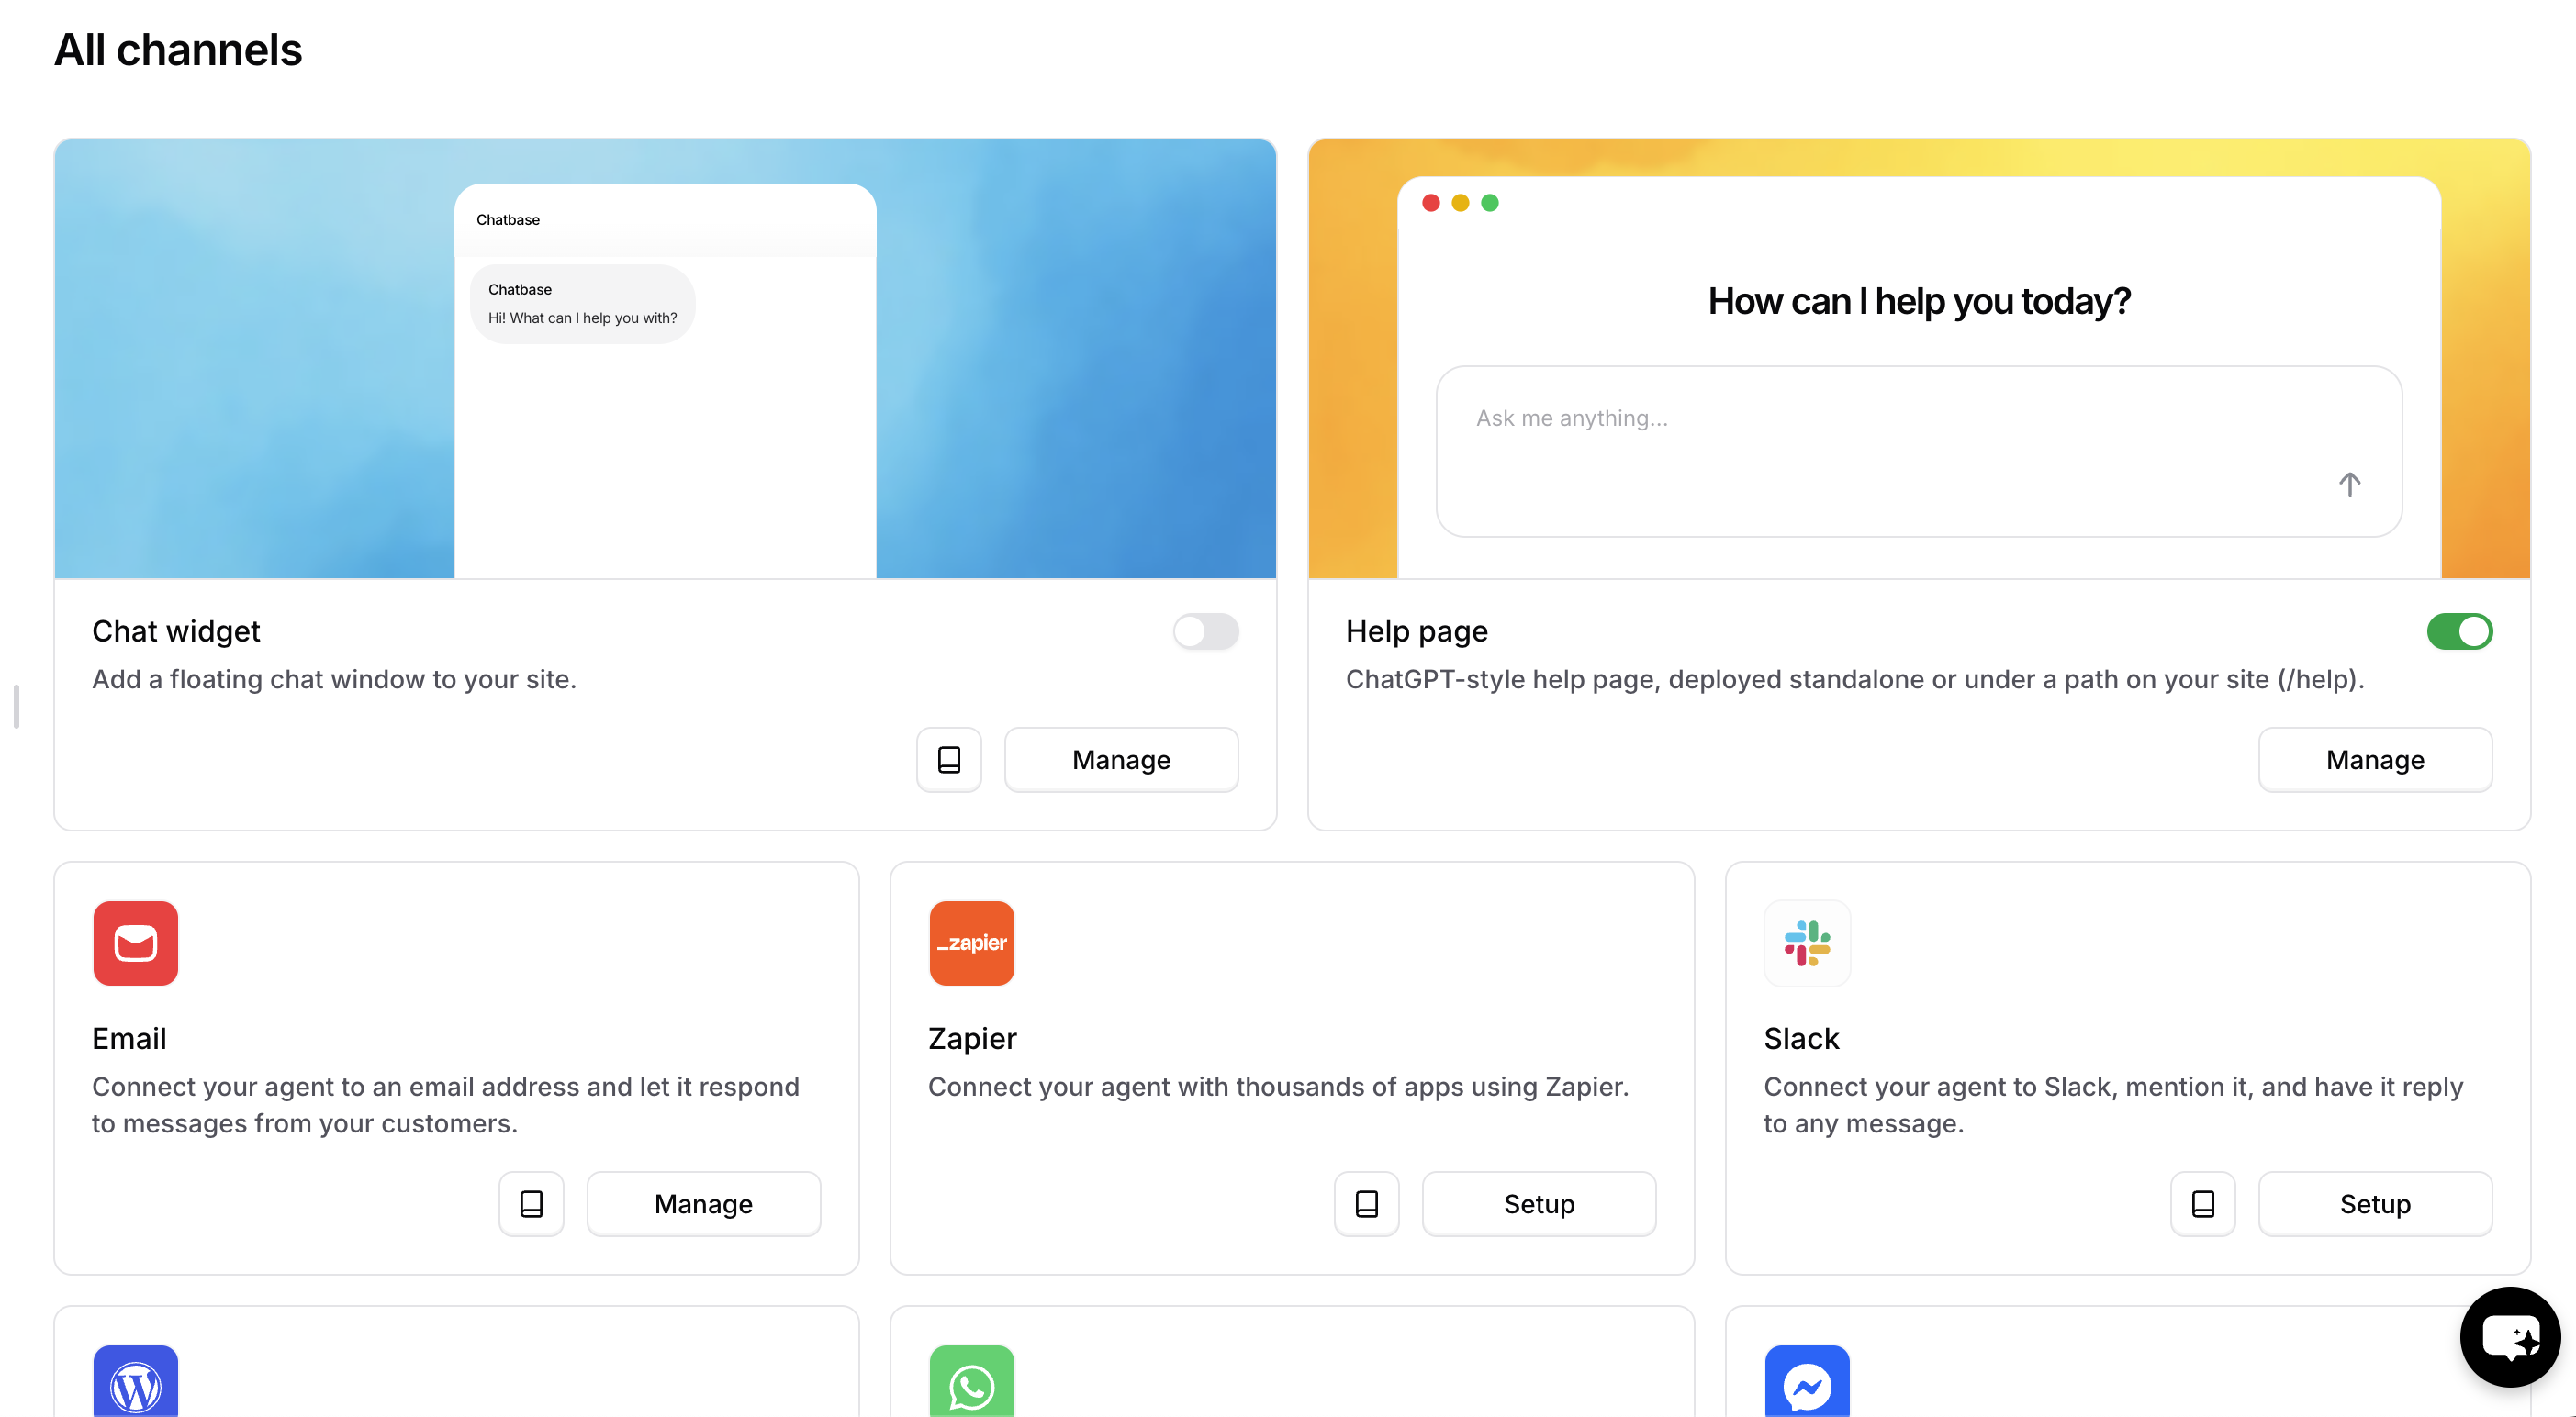
- Navigate to Channels → Email.
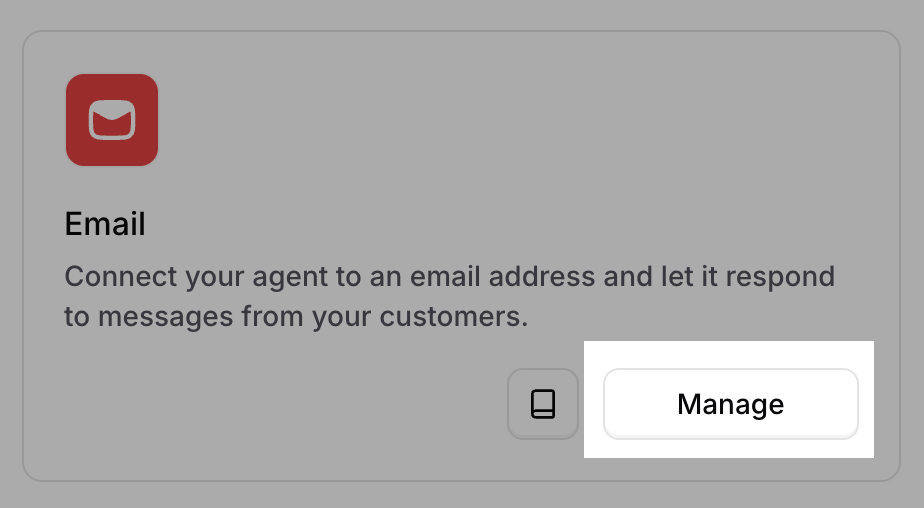
- Click Manage to access email deployment settings.
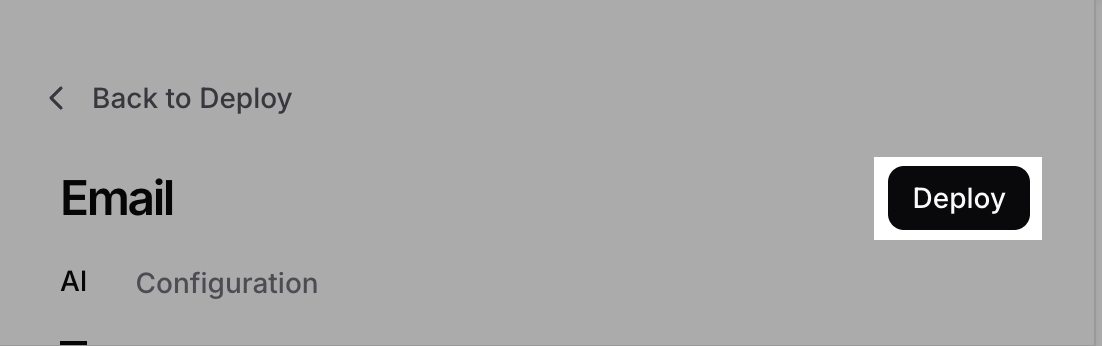
- Click Deploy and toggle the channel to Enabled.
4
Customize email settings
Configure your AI agent’s email behavior and appearance from Channels → Email → Manage. See Settings below.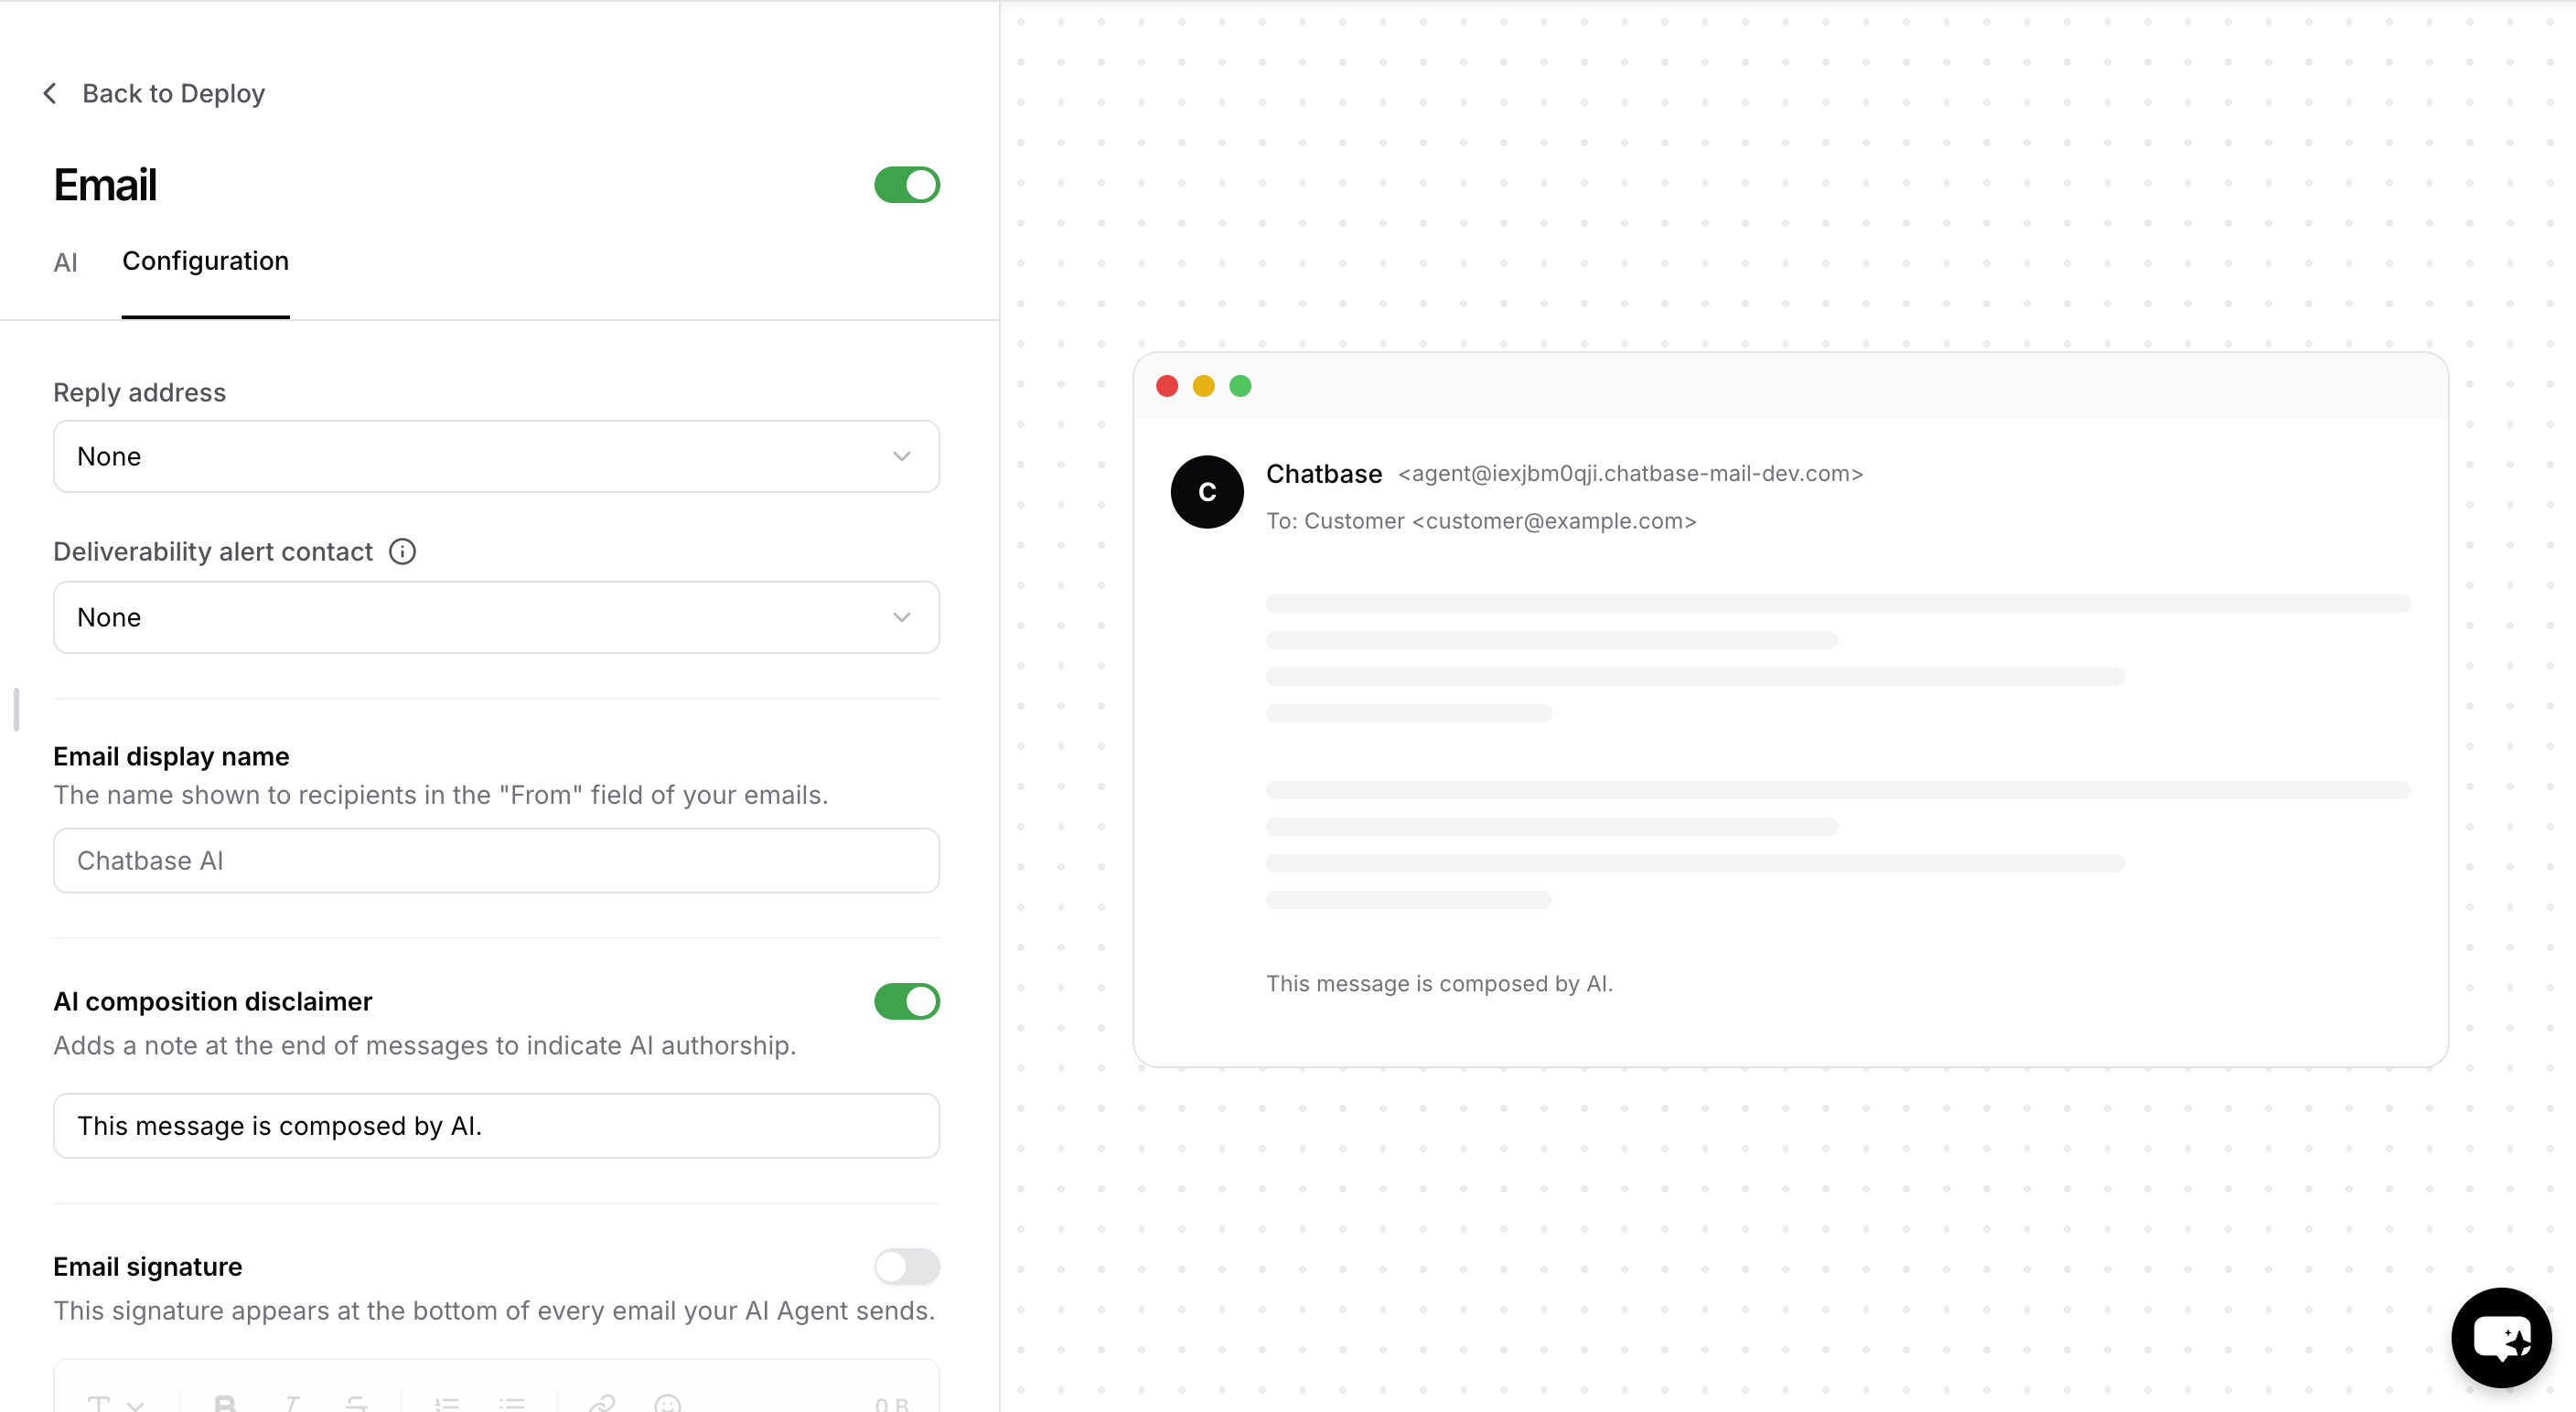
Send an email to your configured address and confirm your AI agent replies, with the display name and signature you set.
Settings
Customize how your AI agent sends and formats emails to match your brand and communication standards.Reply addresses
Choose which of your verified addresses the AI agent sends replies from. Click Add email and select an address from the dropdown. Repeat for each address you want to reply from. Several addresses can forward to the same AI agent: each AI agent accepts up to 3 domains with up to 20 addresses each.Configuration
Choose from your verified email addresses. Addresses with configuration issues (forwarding, DKIM, or SPF not enabled) display warnings, and you won’t be able to select them.
- If the customer emailed an address that’s in the list, the AI agent replies from that same address.
- Otherwise, it replies from the first address in the list.
- If the list is empty, it replies from the AI agent’s built-in
agent@subdomain.chatbase-mail.comaddress.
help@yourdomain.com and support@yourdomain.com are in the list, a customer who writes to help@ gets a reply from help@, and a customer who writes to support@ gets a reply from support@.
Deliverability Alert Contact
Designate a team member to receive notifications about email delivery failures and issues.Monitoring
Select from your account members, or choose “None” to disable delivery alerts.
Blocked senders
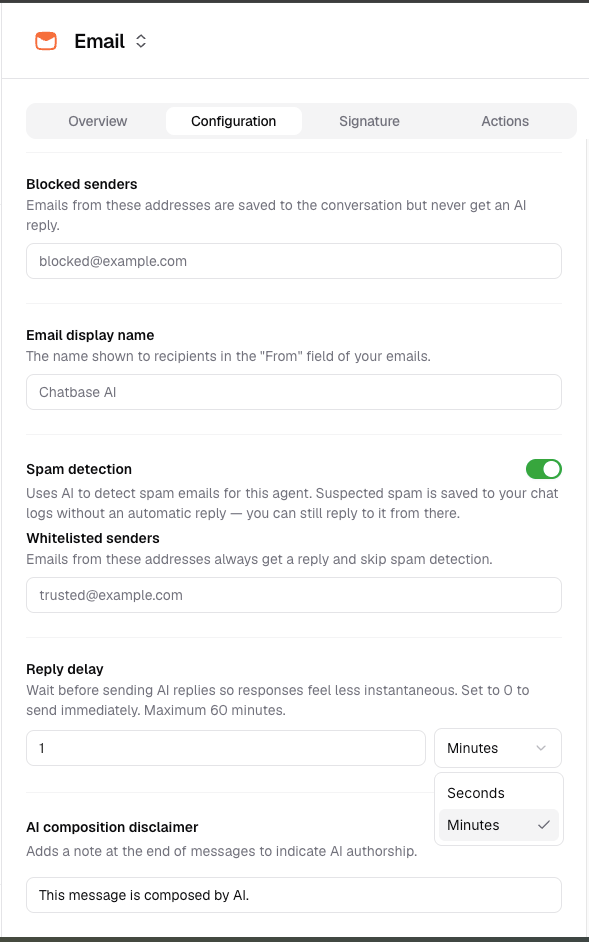
Add email addresses that should never receive an AI reply. Emails from blocked senders are still saved to your conversations.Email Display Name
Set the sender name recipients see when they receive emails from your AI agent.Branding
This name appears in the “From” field and represents your brand identity in customer communications.
Spam detection
Enable Spam detection to use AI to identify suspected spam. Suspected spam is saved to your conversation logs but doesn’t receive an automatic AI reply. You can still reply to these conversations manually.Whitelisted senders
Add email addresses that should always receive an AI reply and bypass Spam detection.Reply Delay
Hold each AI-generated reply for a set time before it’s sent. An instant response can feel automated; a short delay makes replies read like they came from a person, and gives your team a window to step in before an email goes out.Pacing
Enter a duration and choose seconds or minutes. The setting reads “Set to 0 to send immediately. Maximum 60 minutes.” Leaving it empty also sends replies immediately.
- The AI agent composes its reply as soon as the customer’s email arrives, but the send is held for the configured time.
- While a reply is waiting, it appears in your conversation logs as a pending message with a countdown.
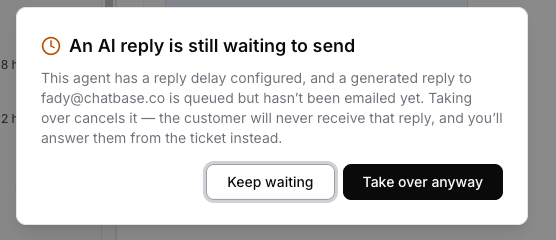
- Taking over the conversation cancels any waiting replies. You’re warned first, and if you proceed the customer never receives them and the unsent drafts are removed.
The delay applies only to automatic AI replies. Replies your team sends from the Helpdesk, and spam conversations you release manually with Reply anyway, are always sent immediately.
AI Composition Disclaimer
Add transparency by including a disclaimer that identifies AI-generated content.Transparency
When enabled, adds a customizable disclaimer at the end of emails. The default is “This message is composed by AI.”
Email Signature
Create a signature that appears at the bottom of all AI-generated emails.Customization
Supports rich text formatting including multiple lines, links, styling, and contact information.
Remove Powered by Chatbase branding from your emails by purchasing the white-label add-on. See Pricing for details.
Attachments
The AI agent can read files customers attach to their emails. Every attachment is saved with the conversation, except files flagged as viruses. The AI agent reads up to 5 attachments per email, and only if its AI model supports attachments.
A larger file is still saved and shown in Activity > Conversations, and the AI agent tells the customer in one sentence that it couldn’t read it.
The AI agent can’t send attachments in its replies. Attachments use extra message credits. See Attachments.
Message credits
Each AI reply uses message credits based on your AI agent’s model, the same as on any other channel. A reply that triggers an Action costs twice the model’s usual credits, and attachments add credits per image or per PDF page. Emails that get no AI reply, such as blocked senders or suspected spam, don’t use credits for a reply.Common use cases
- Customer support automation: Handle common inquiries and FAQs automatically
- Employee self-service: Answer HR, IT, or administrative questions instantly
- Lead qualification: Screen and respond to sales inquiries with relevant information
- Appointment scheduling: Assist with booking and calendar management
- Order status updates: Provide shipping and order information on demand
Limitations
- A configured company domain is required. An address can’t send replies until forwarding, DKIM, and SPF are set up, and addresses on free email providers can’t be added.
- 3 domains per AI agent, 20 addresses per domain.
- 2 AI replies per minute per sender. Extra emails from the same sender in that window get a single “Email Rate Limit Exceeded” notice.
- No outgoing attachments. The AI agent can read attachments but can’t send them.
Frequently asked questions
Which Chatbase plan includes the Email channel?
Which Chatbase plan includes the Email channel?
Any paid plan. Without one, the Enable button’s tooltip reads “Upgrade to a paid plan to use the emails feature”. The Email channel isn’t available on HIPAA-compliant workspaces.
How fast does the AI agent reply to emails?
How fast does the AI agent reply to emails?
With Reply Delay at 0, the reply is sent as soon as the AI agent has generated it. The total time depends on mail delivery and how long the model takes to write the reply. You can add a delay of up to 60 minutes.
Can several support addresses forward to one AI agent?
Can several support addresses forward to one AI agent?
Yes. One AI agent accepts up to 3 domains with up to 20 addresses each. Add each address in Email settings, and add it to Reply addresses so customers get replies from the address they wrote to.
Does the AI agent reply to everyone on CC?
Does the AI agent reply to everyone on CC?
Yes. The reply goes to the sender, and everyone else on the original To and CC lines is copied, except your AI agent’s own addresses.
Do I need a DMARC or MX record?
Do I need a DMARC or MX record?
No. Forwarding, DKIM, and SPF are what allow an address to send replies. DMARC is shown with a status but isn’t required, and you don’t change your MX records because mail reaches the AI agent through forwarding. See Email settings.
Next steps
Email settings
Configure your domain, authentication records, and verified sending addresses.