

What you can do:
Answer “what am I paying?”, “when does it renew?”, and “was my payment processed?” instantly, from live Stripe data, without a human touching the ticket.
What customers can do once Stripe is connected
Connecting Stripe doesn’t change what your AI agent does on its own. Each capability is a Stripe Action that you create and enable:
Get subscription information and Get invoice history only read data from Stripe. Manage subscriptions and Change billing information change data in Stripe, so they deserve the most testing before you turn them on.
Example: a customer asks when their plan renews
A customer signed in to your website opens the chat bubble and asks, “When does my subscription renew?”- Your site has already identified the customer with identity verification, so Chatbase knows their user ID.
- Chatbase matches that user ID to the customer’s contact record, which holds their Stripe account ID.
- The AI agent calls the Get subscription information Action, which reads only that customer’s subscription from Stripe.
- The AI agent replies with the renewal date and plan details from live Stripe data. No one on your team has to open a ticket.
Security and permissions
Stripe Actions are built so each customer sees and changes only their own billing data:- Customers must be identified. Every Stripe Action reads or writes the signed-in customer’s own Stripe record, matched through their contact record. Anonymous visitors can’t use them.
- Stripe IDs stay hidden from the AI agent. When you pass Stripe account IDs in an identity verification token, the AI agent can’t see them, but it can use them to run Stripe Actions. See Identity verification.
- You choose how much access Chatbase gets. The Stripe app is the recommended way to connect. It has read and write access, because Actions such as Manage subscriptions and Change billing information update customers and subscriptions. A restricted API key lets you grant only the permissions the Actions you use need. If a key doesn’t grant what an Action needs, that Action can return no data.
- Compliance. Chatbase is SOC 2 Type II, GDPR, and HIPAA compliant, and Stripe is one of the HIPAA compliant integrations.
Before you start
- A Chatbase account with an AI agent. If you haven’t built one yet, create a free Chatbase account and follow Your first AI agent.
- A Stripe account you can authorize, or a restricted API key from it.
Connection methods
Method 1: Install the Stripe app
1
Open the Stripe integration
- Head to your dashboard and click the AI agent you wish to integrate with Stripe.
- Click Integrations in the left sidebar.
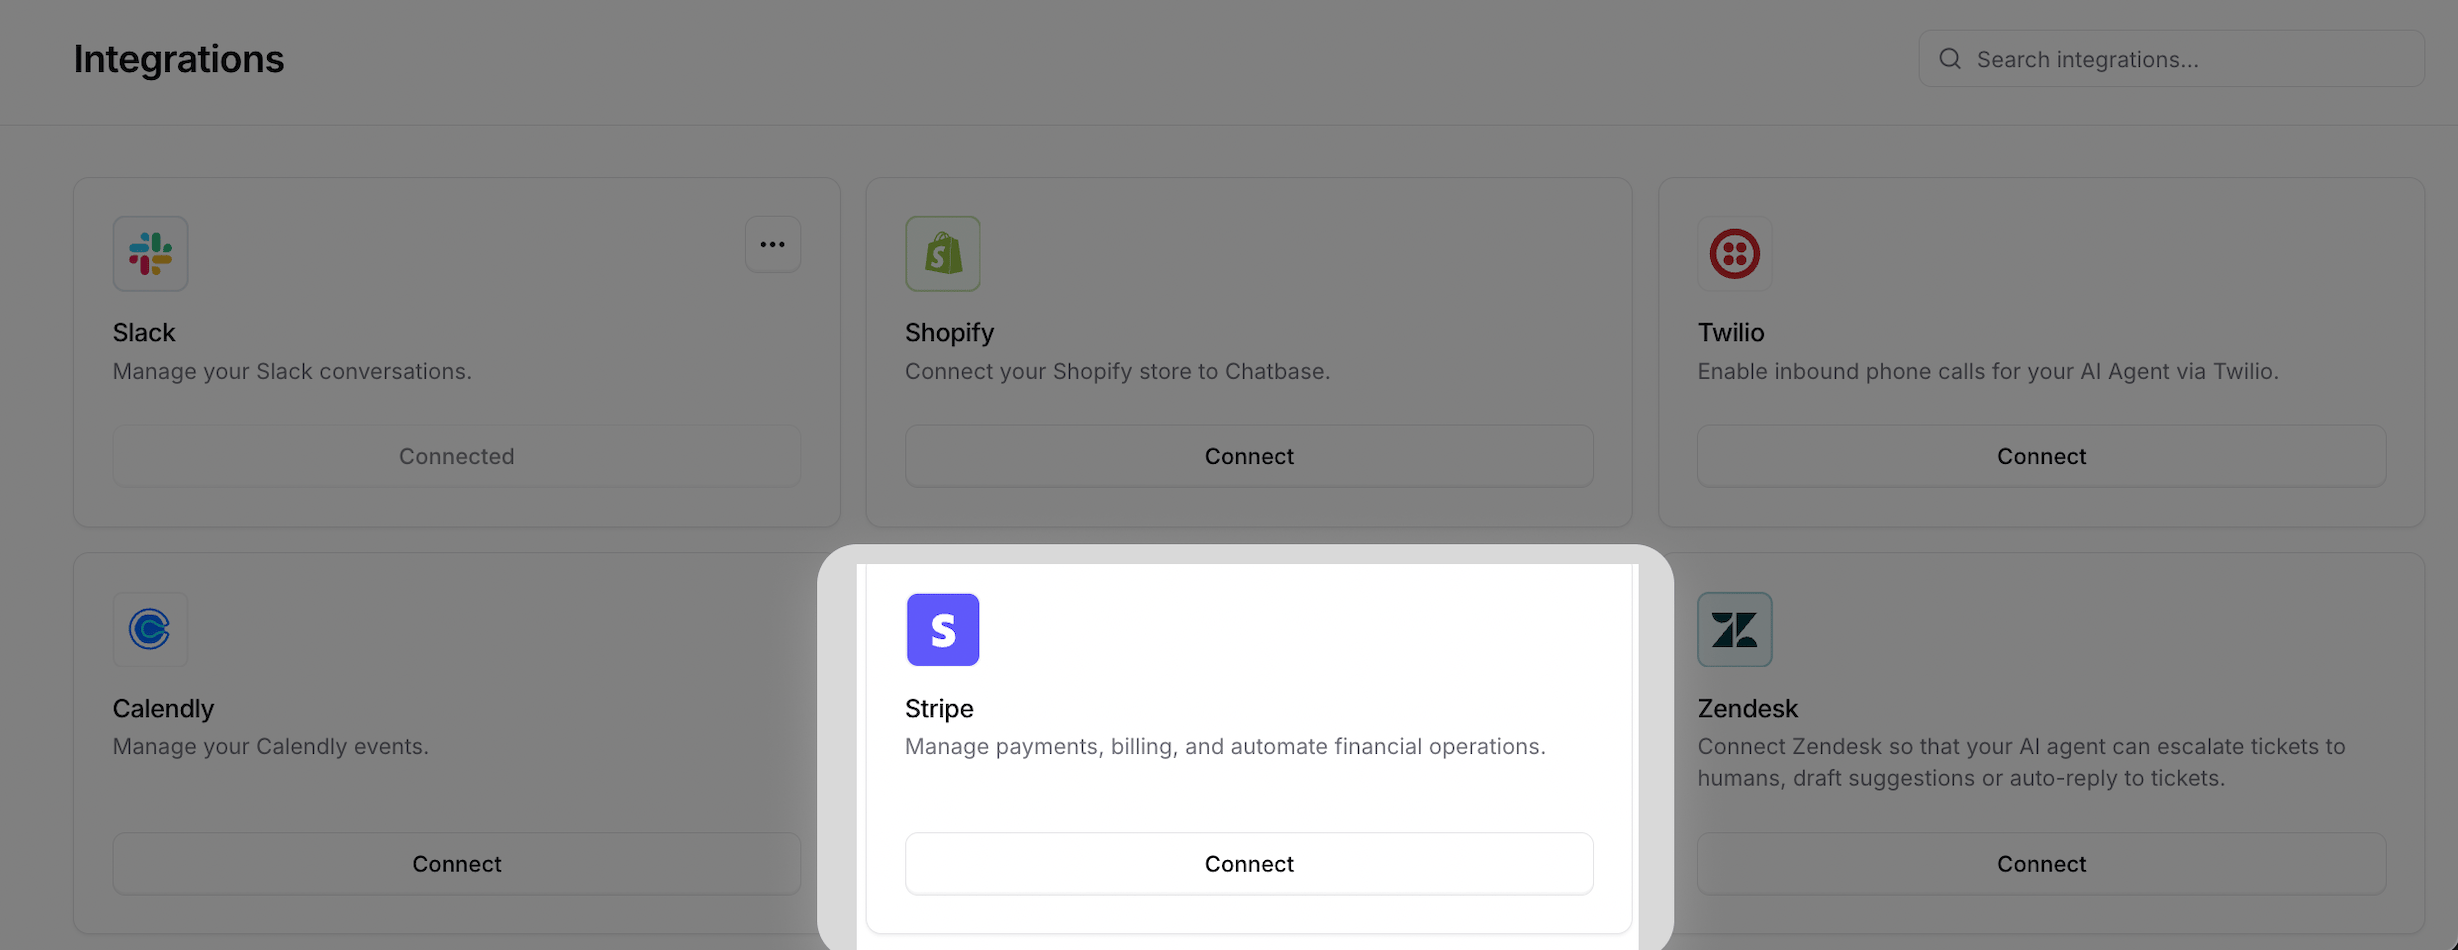
- Click Connect under the Stripe card.
2
Authorize Chatbase
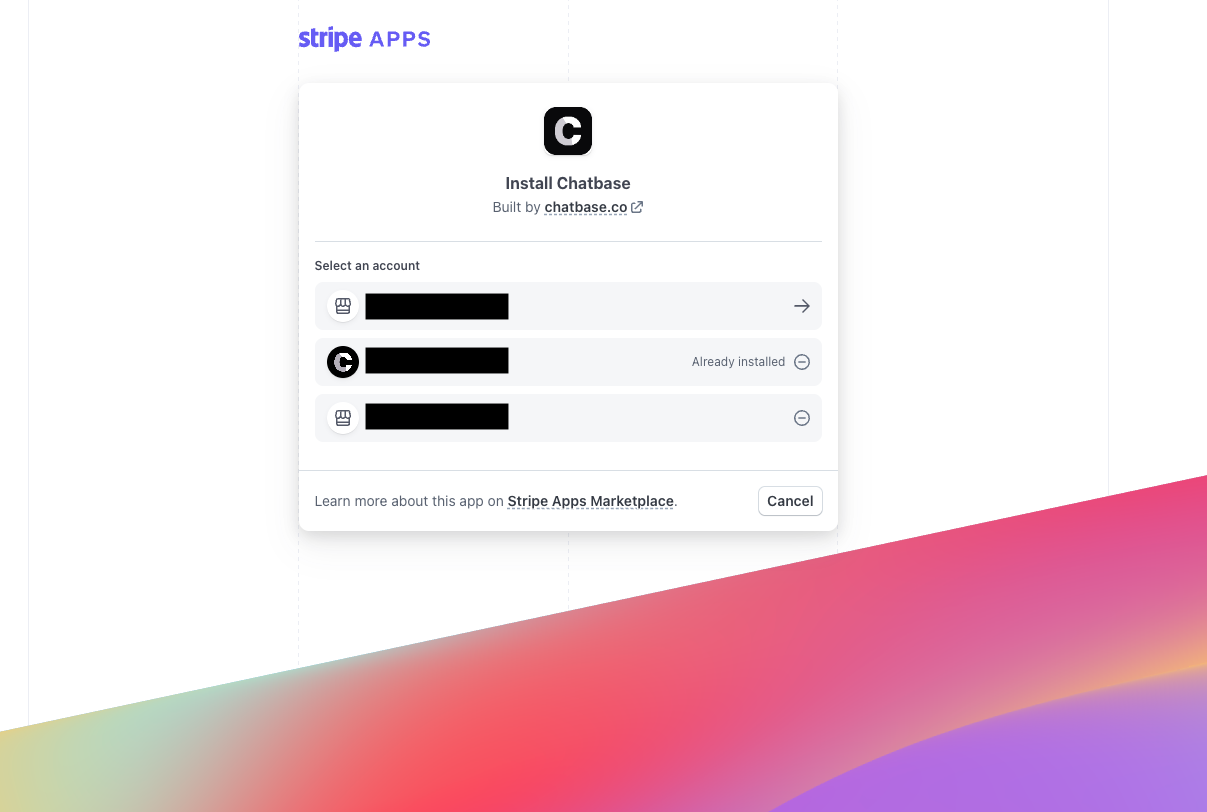
You’ll be asked to authorize Chatbase to access your Stripe account.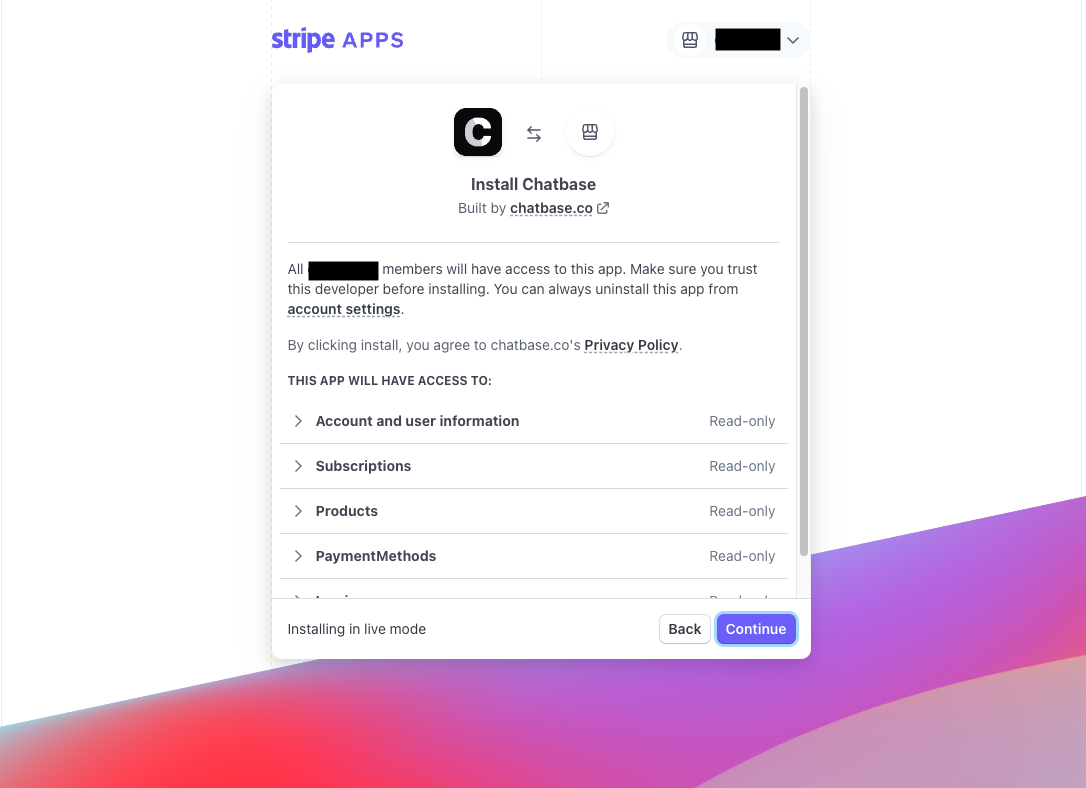
3
Confirm the connection
If all goes well, you’re redirected back to Chatbase with a message saying Stripe integration successful.
4
Add Stripe accounts to your contacts
Add Stripe account IDs to your customers’ contact records. See Contacts for details.
Method 2: Connect with a restricted API key
Connecting with a restricted API key gives you more control, letting you choose exactly which Stripe permissions Chatbase can access.1
Open the Stripe integration
Go to Integrations and select Stripe.
2
Choose restricted API key
Click Connect, then select Use a restricted API key.
3
Configure permissions in Stripe
Create a restricted API key in Stripe and grant the permissions the Actions you plan to use need. Chatbase lists them for the Actions you pick on the connect page.
4
Connect the key
Copy the restricted API key from Stripe and use it to complete the connection in Chatbase.
Connecting through the Stripe app is still the recommended option. Use a restricted API key when you want more granular control over the permissions granted to Chatbase.
Test the integration from your live site, signed in as an identified customer, and confirm the AI agent can retrieve that customer’s subscription details.
Setup checklist
Use this list to go from a connected Stripe account to Stripe Actions working on your site:- Connect Stripe with the Stripe app or a restricted API key.
- Set up identity verification on your website so signed-in customers are identified to your AI agent.
- Make sure each customer’s contact holds their Stripe account ID. Identity verification can add it for you when you include
stripe_accountsin the token: a list of entries, each with alabeland astripe_idorstripe_email. - Create the Stripe Actions you want under Build > Actions, and write a clear When to use for each.
- Turn each Action on for the Chat Bubble channel, the only channel Stripe Actions support.
- Test in the Playground with Chat as user and the User ID of a contact with a valid Stripe account.
- Publish your changes, then test from your live site, signed in as a real customer.
Limitations
- Stripe Actions need an authenticated customer. Each customer must be identified, and matched to a contact record holding their
stripe_accounts. - In the Playground, they only run through Chat as user. Start the conversation with Chat as user and a User ID that matches a contact with a valid
stripe_accountsentry. Action Preview and Compare can’t identify a customer, so the Actions don’t run there.
Frequently asked questions
What can my AI agent do with Stripe?
What can my AI agent do with Stripe?
With Stripe Actions enabled, it can show a signed-in customer their subscription and invoice history, change or cancel their plan, add a payment method, and update their billing details. You choose which of these Actions to turn on.
Should I use the Stripe app or a restricted API key?
Should I use the Stripe app or a restricted API key?
The Stripe app is the recommended option for most businesses. Use a restricted API key when you want granular control over exactly which Stripe permissions Chatbase gets.
Can customers who aren't signed in use Stripe Actions?
Can customers who aren't signed in use Stripe Actions?
No. Stripe Actions need an identified customer whose contact record holds a valid Stripe account ID. Set up identity verification so your site identifies signed-in customers to your AI agent.
Which channels support Stripe Actions?
Which channels support Stripe Actions?
Only the Chat Bubble on your website. Every other channel is incompatible with Stripe Actions.
Which plans include Stripe Actions?
Which plans include Stripe Actions?
Connecting Stripe needs the Basic plan or higher. Stripe Actions count toward your plan’s Action limit: up to 8 Actions on Basic and up to 12 on Business. On Enterprise, the limit is customizable.
Do Stripe Actions use extra message credits?
Do Stripe Actions use extra message credits?
Yes. A reply that triggers an Action costs twice the model’s usual message credits. See Credit usage.
Next steps
Stripe Actions
Enable the Actions that let customers check their subscription, review invoices, change plans, and update billing details from the chat.