

What you can do:
Let the AI resolve routine questions on its own, and hand off to HubSpot the moment a case needs a person, with the full context already attached.
Before you start
- A Chatbase account on the Basic plan or higher.
- A Chatbase AI agent. The connection is per AI agent, and each AI agent can connect one HubSpot account.
- A HubSpot account with permissions to install apps
How to connect HubSpot
1
Open your Chatbase AI agent
Go to your Chatbase dashboard and select the AI agent you want to connect.
2
Connect HubSpot
Go to the Integrations tab, find HubSpot, and click Connect.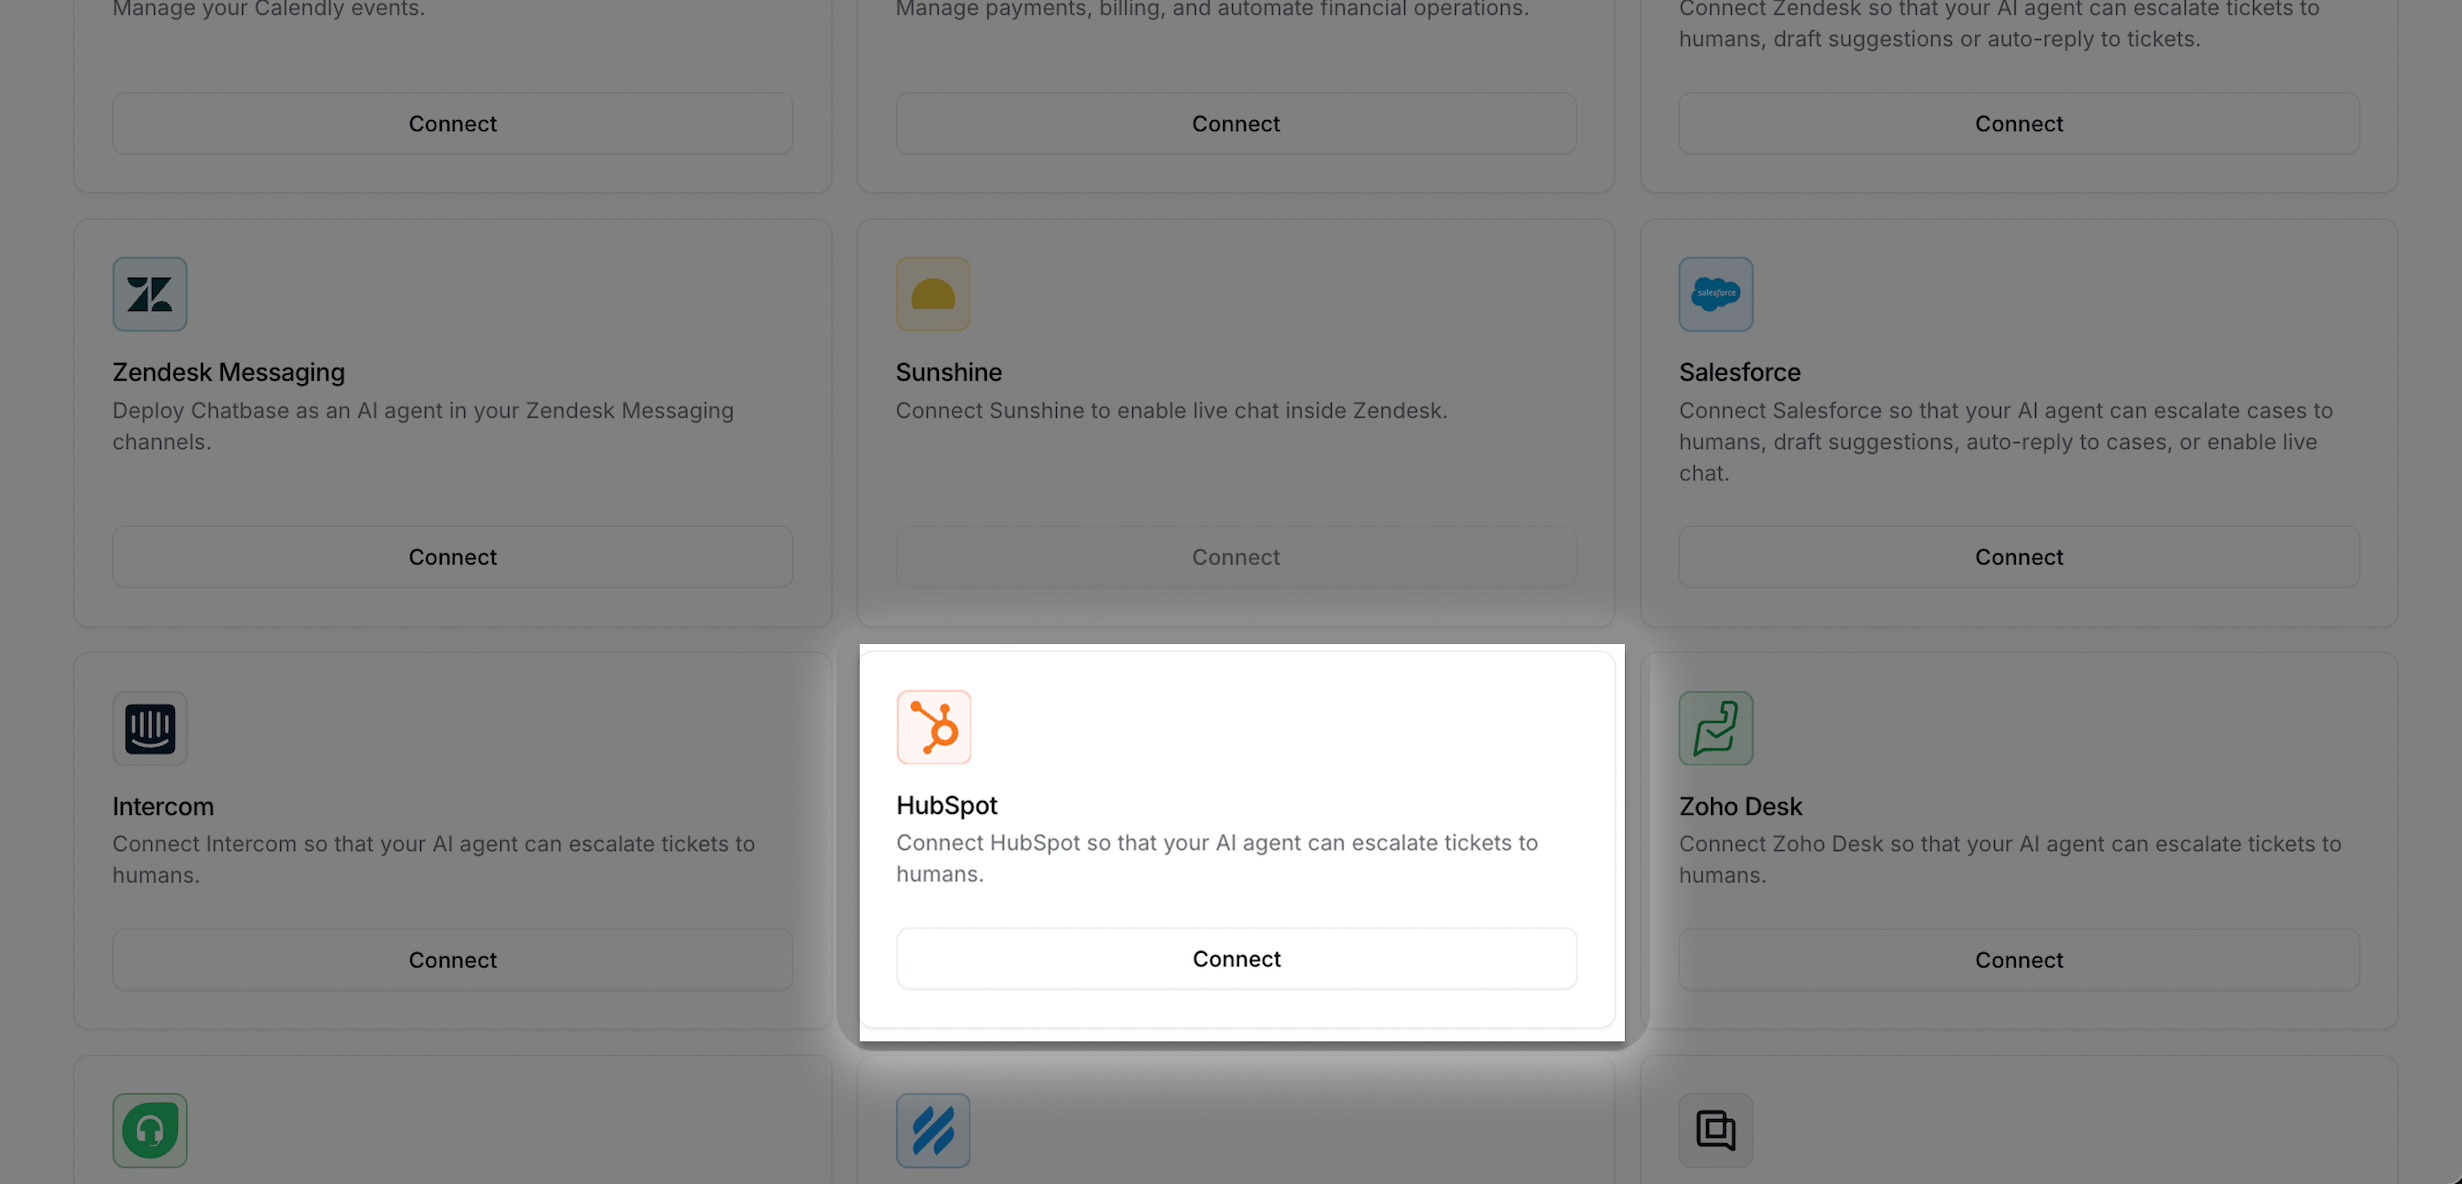
3
Approve the requested scopes
You will be redirected to HubSpot. Review the requested permissions and click Connect app. Chatbase asks for access to tickets and to read and write contacts (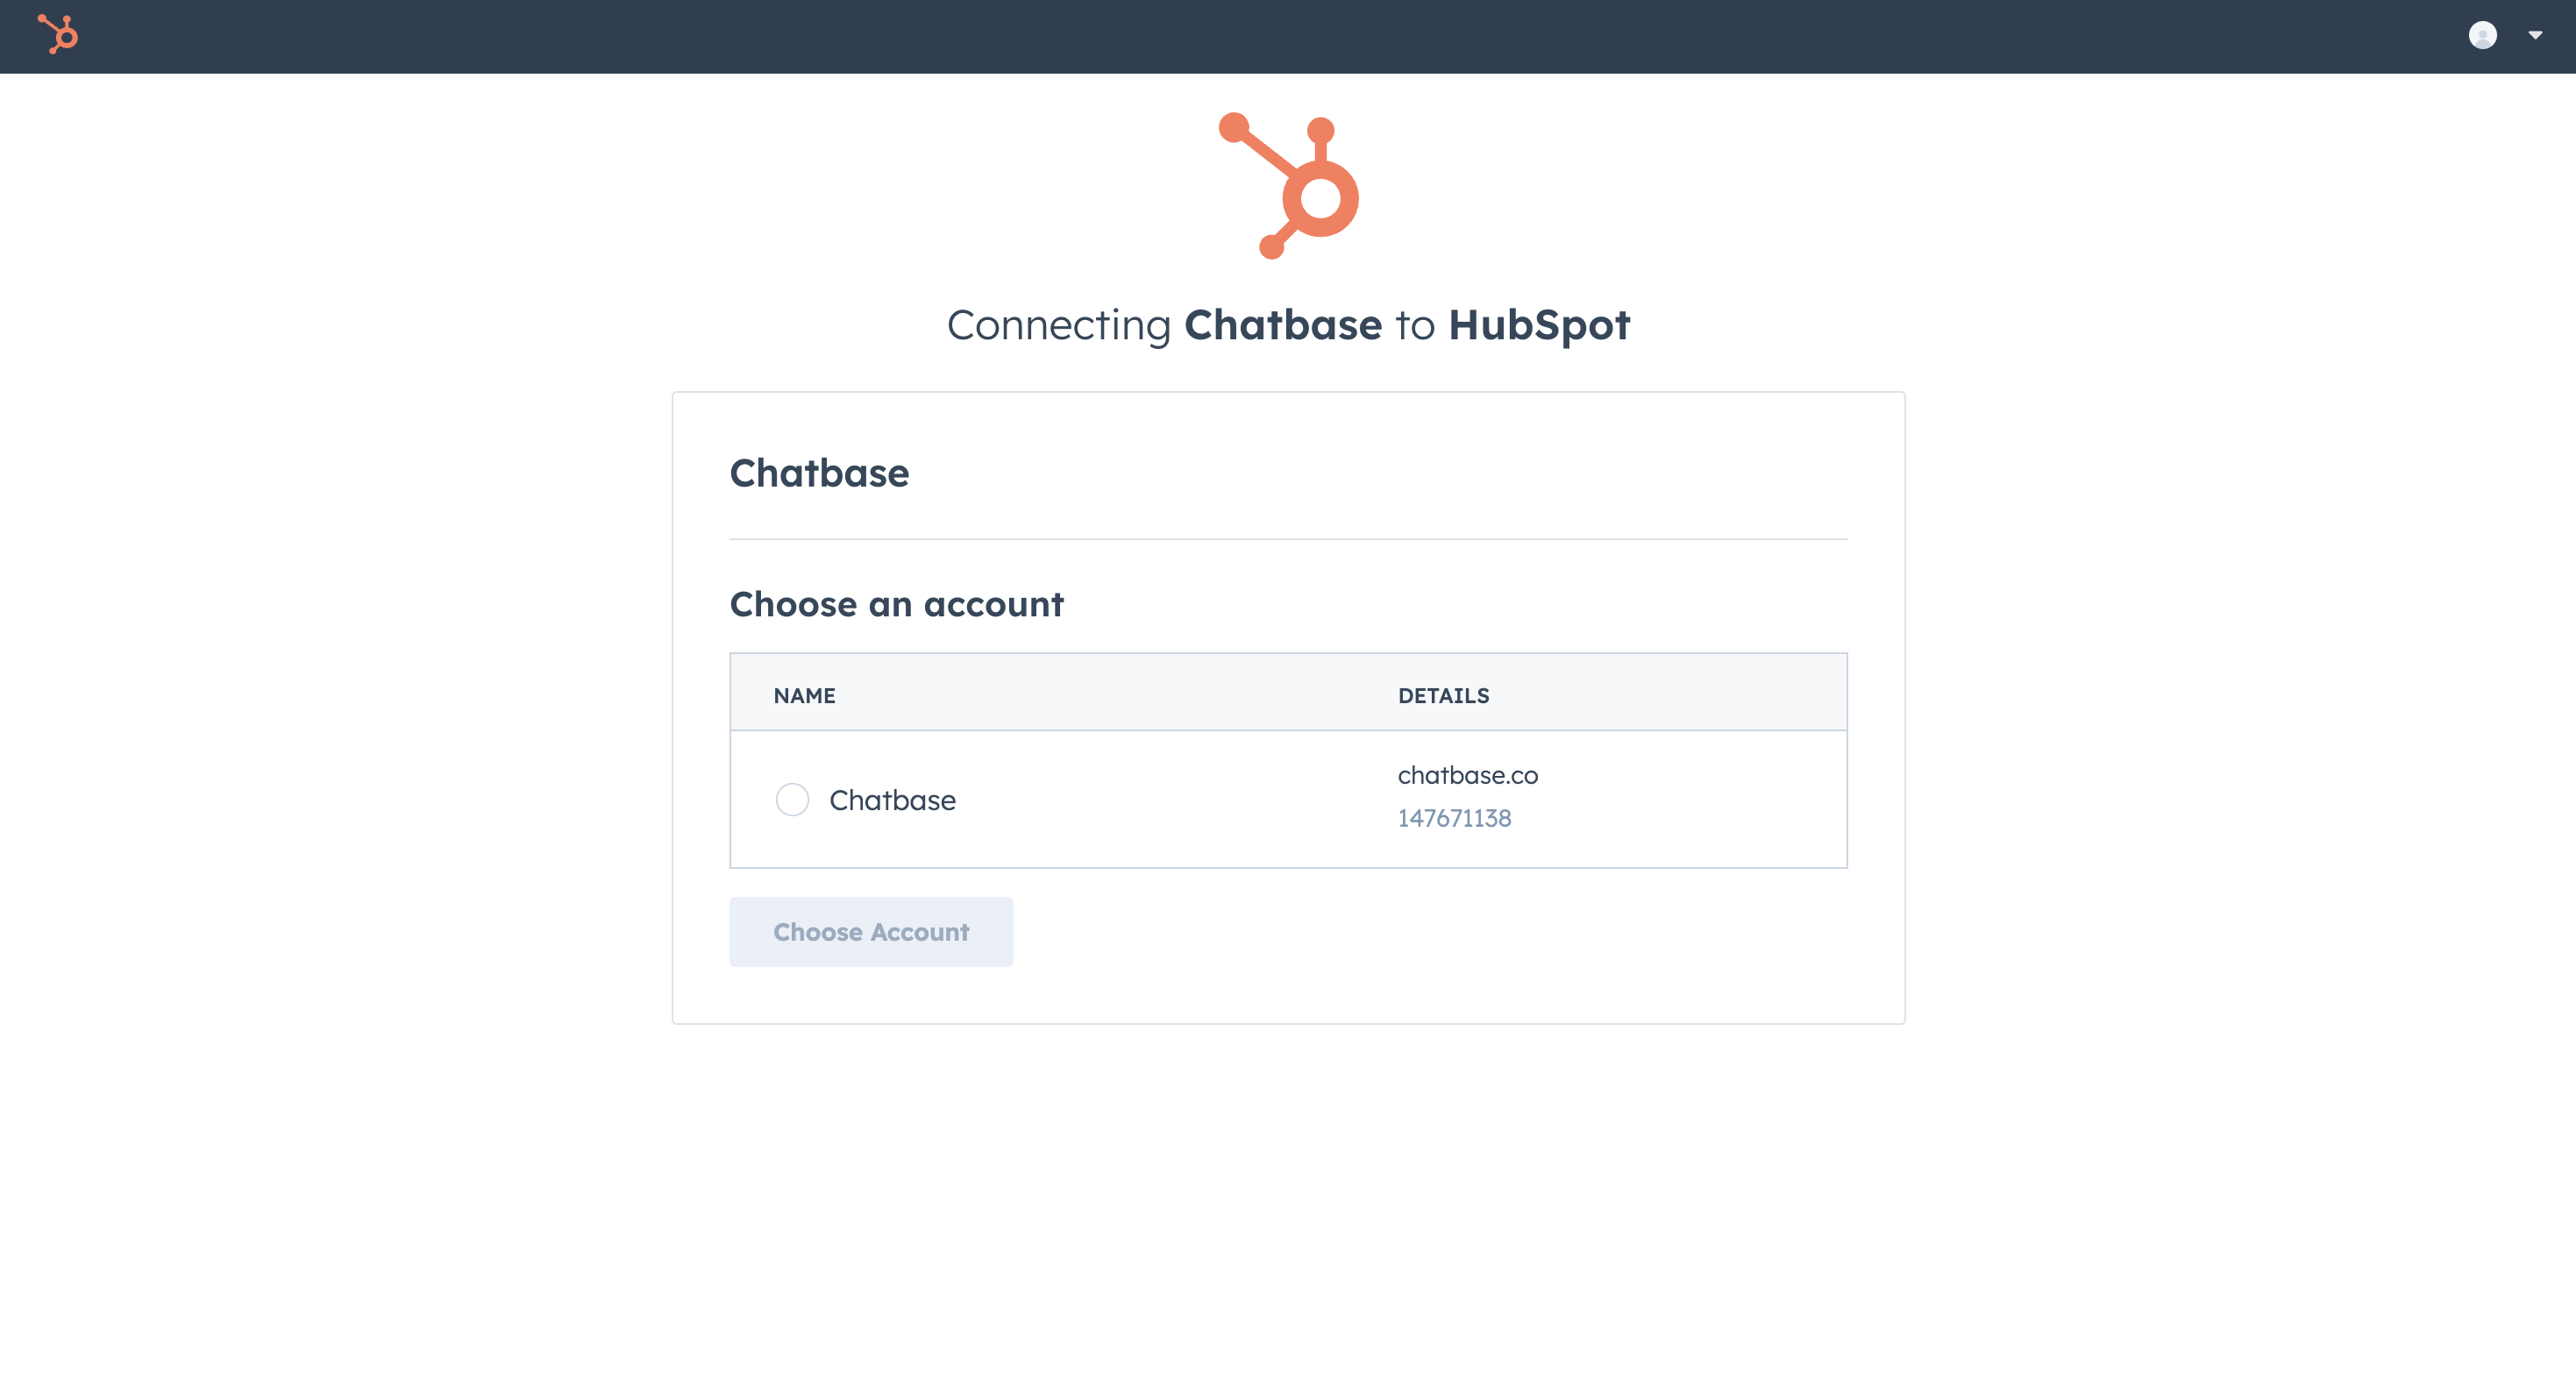
tickets, crm.objects.contacts.read, and crm.objects.contacts.write).4
Confirm the connection
After approval, you will return to Chatbase and see HubSpot marked as Connected.
Create the Escalations Action
Create a ticket Action so your AI agent can open tickets in HubSpot.1
Create a ticket Action
Go to Build > Actions > Create Action, then select Create ticket under Escalations.
2
Select HubSpot
Choose HubSpot as the Ticket Platform. Two HubSpot fields appear:
- HubSpot pipeline ID (optional): the pipeline new tickets go to. Leave it blank to use your portal’s default pipeline.
- HubSpot pipeline stage ID: the stage new tickets start in. If you leave it blank, Chatbase uses stage
1, the New stage of HubSpot’s default Support Pipeline. If your portal uses a custom pipeline, set this to a valid stage ID for that pipeline.
3
Save and test
Save the Action and run a test conversation.
Test the integration by asking your AI agent to speak to a human, and confirm a ticket appears in HubSpot with the conversation details attached.
What the ticket contains
Each HubSpot ticket Chatbase creates has:- Subject: written by the AI agent from the customer’s issue. The customer is never asked for it.
- Description: an AI-written summary of the conversation, in the customer’s language.
- Pipeline and stage: the ones set on the Action, or the defaults above.
- Contact: Chatbase searches your HubSpot contacts by the customer’s email. If none matches, it creates a contact with the customer’s first and last name. It then associates the contact with the ticket.
- Note: a separate note with a link to the full conversation in Chatbase, associated with the ticket.
Example
The following exchange is illustrative. A customer on the Chat Bubble writes “My order arrived damaged and I’d like a replacement.” The AI agent asks for an email and name, the customer replies “Jane Doe, jane@example.com”, and HubSpot receives:- Subject: Damaged order, replacement requested
- Description: The customer received a damaged order and asks for a replacement.
- Pipeline and stage: the default Support Pipeline, New stage
- Contact: Jane Doe (jane@example.com), matched or created and associated with the ticket
- A note with the link to the conversation in Chatbase
What the customer sees
The AI agent asks for the customer’s email and name if it doesn’t already have them, creates the ticket, and tells the customer the ticket number. On the Chat Bubble, Help Page, and Center Stage, a Ticket Created card also shows the ticket number and the customer’s name and email. If creation fails, the card reads Failed to create ticket. Your team works the ticket in HubSpot. Nothing syncs back to the Chatbase conversation, and the AI agent keeps answering in the chat. Creating a ticket uses no extra message credits beyond the AI agent’s normal reply.Managing the integration
Disconnect HubSpot
Go to the Integrations tab, find HubSpot, and click Disconnect. Chatbase lists the HubSpot Create ticket Actions that will be deleted and removes them when you confirm. Disconnecting also uninstalls the app from your HubSpot account and revokes Chatbase’s access.Uninstall the app
To uninstall Chatbase from HubSpot, follow HubSpot’s uninstall guide. Also click Disconnect in Chatbase, so the HubSpot card and your Create ticket Actions are cleaned up.Troubleshooting
Connecting fails with "Failed to connect to HubSpot"
Connecting fails with "Failed to connect to HubSpot"
Errors appear as a message starting with HubSpot integration failed. Make sure your HubSpot user has permission to install apps, then click Connect again.
Tickets stopped being created, but the card still says Connected
Tickets stopped being created, but the card still says Connected
The card shows Connected as long as a saved connection exists, even if HubSpot no longer accepts it (for example, after access was revoked in HubSpot). Tickets then fail, the customer sees Failed to create ticket, and nobody is notified. Open the conversation in Activity and check the Create ticket Action’s Result for the error, then disconnect and connect again.
Frequently asked questions
Which HubSpot pipeline and stage do tickets go to?
Which HubSpot pipeline and stage do tickets go to?
The pipeline and stage set on the Create ticket Action. Without them, tickets go to your portal’s default pipeline, in stage
1 (the New stage of the default Support Pipeline).Does Chatbase create HubSpot contacts?
Does Chatbase create HubSpot contacts?
Yes, when needed. Chatbase looks up the contact by email, creates one if none matches, and associates it with the ticket. No company is associated.
Which Chatbase plan do I need for HubSpot?
Which Chatbase plan do I need for HubSpot?
The Basic plan or higher.
Do replies from HubSpot show up in the Chatbase chat?
Do replies from HubSpot show up in the Chatbase chat?
No. Nothing syncs back to Chatbase. The only thing the chat shows is the ticket number when the ticket is created.
Can I set the ticket priority or owner?
Can I set the ticket priority or owner?
No. The Action only has the pipeline and stage fields.
Next steps
Escalations Action
Configure when your AI agent escalates, which details it collects first, and which channels it can escalate from.