

What you can do:
Send what your AI agent captures into any app viaSocket supports, triggered by a Chatbase webhook the moment it happens.
Before you start
- A Chatbase account with an AI agent, on a paid plan, which webhooks need. If you haven’t built an AI agent yet, follow Your first AI agent.
- A viaSocket account.
- For the lead example, a Collect Leads Action on your AI agent.
Which Chatbase events you can send
Where you add the viaSocket webhook URL depends on the event:
See Webhooks for each event’s payload.
What you can automate
How to connect viaSocket
1
Set up a trigger in viaSocket
- Sign in to your viaSocket account.
- Click Create New Flow in the top-left corner of the viaSocket homepage.
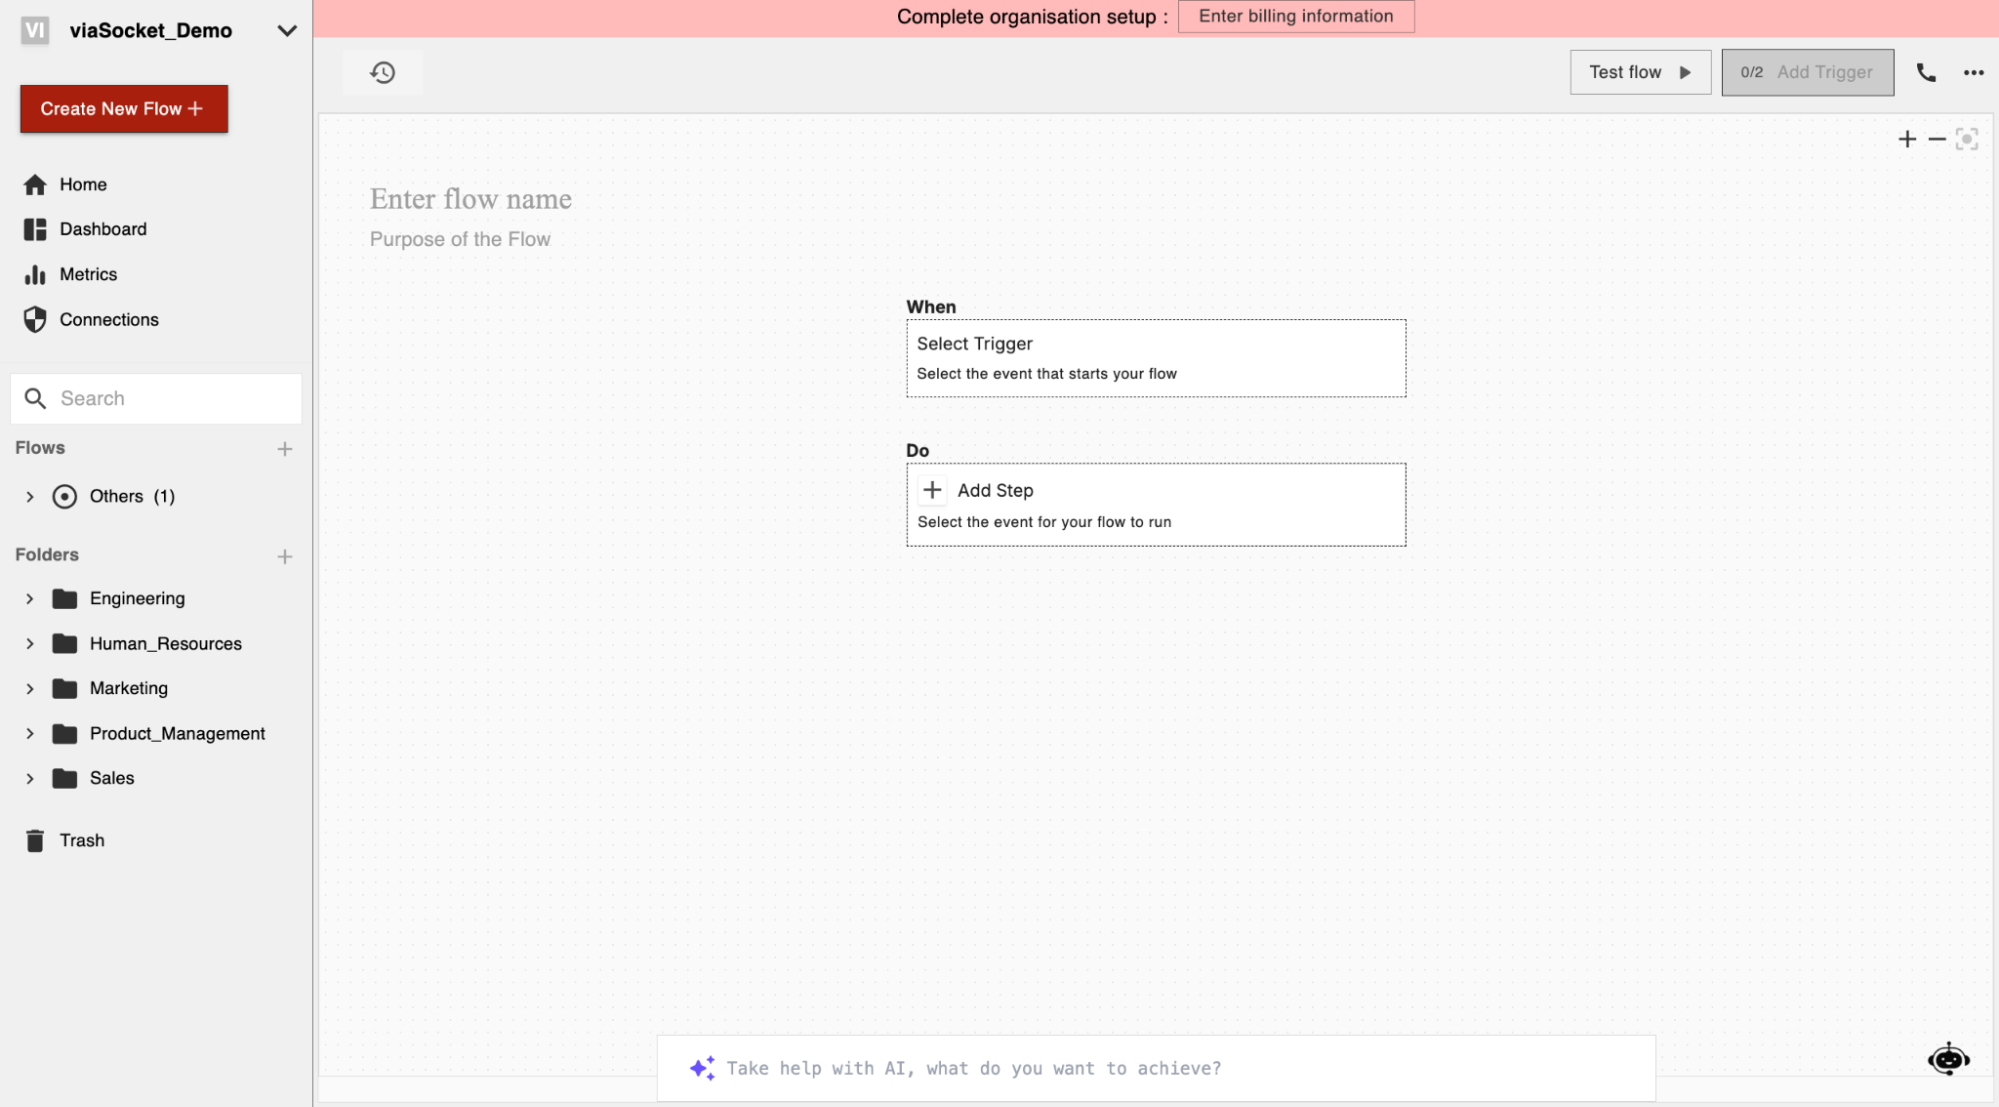
- In the Flow editor, click Select Trigger.
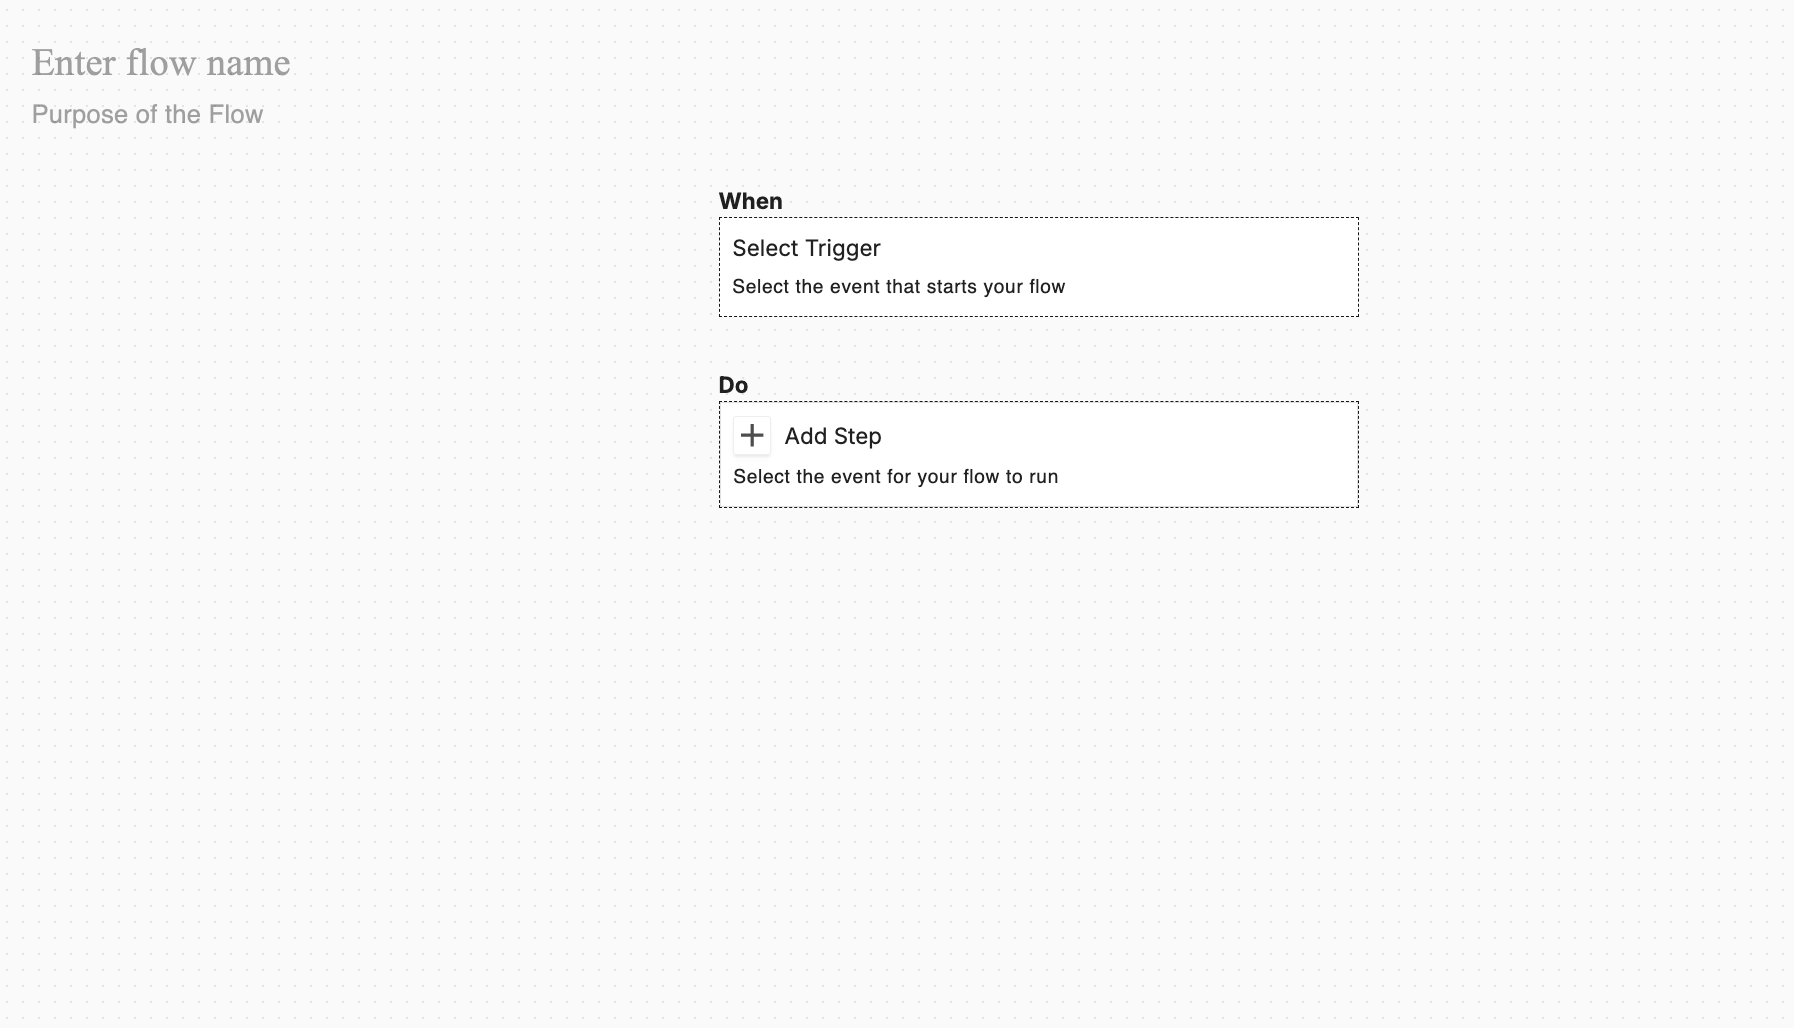
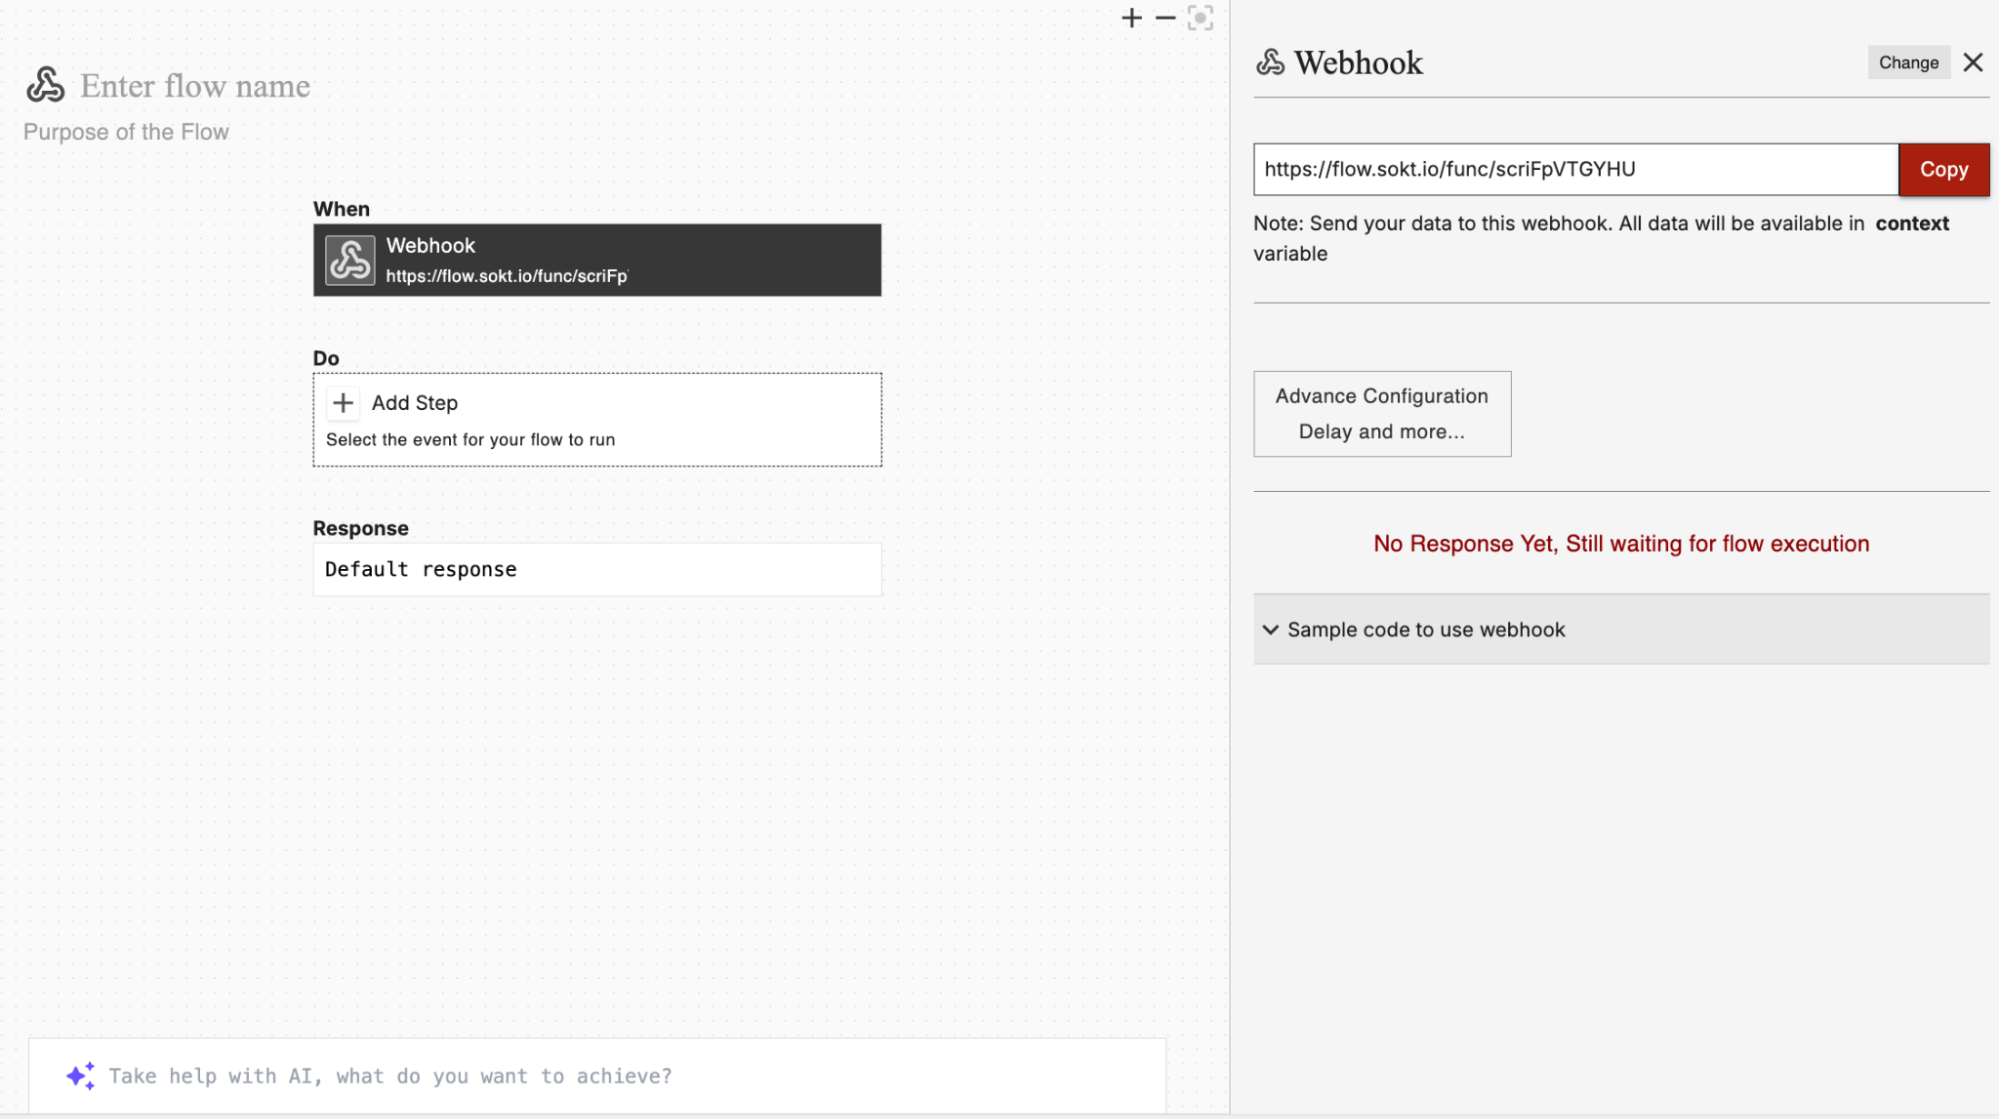
- Select Webhook as the trigger, then copy the generated Webhook URL.
2
Configure the trigger in Chatbase
For leads, add the webhook to your Collect Leads Action: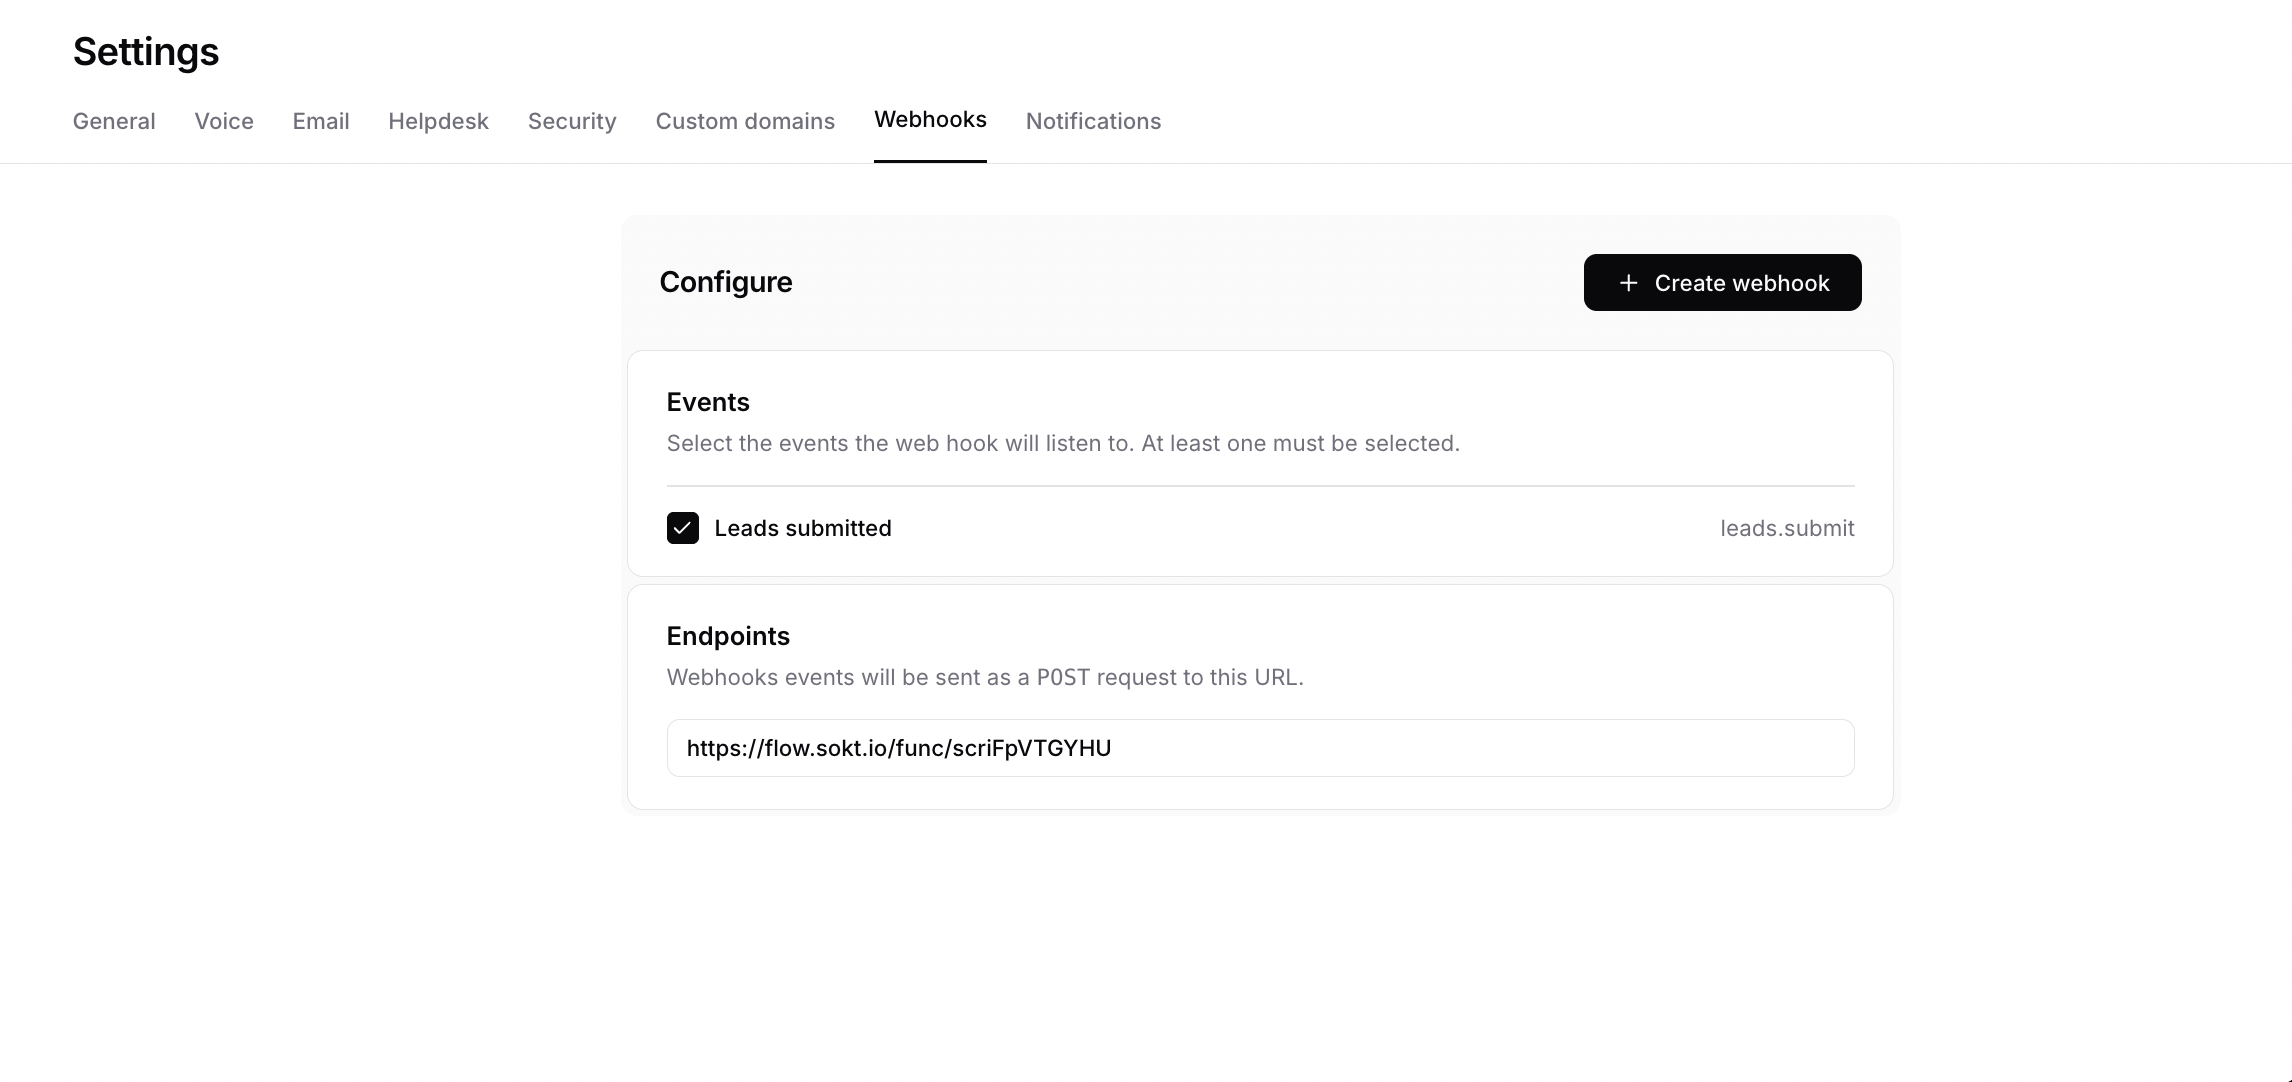
- Navigate to your Chatbase dashboard.
- Click the AI agent you wish to integrate with viaSocket.
- Go to Build > Actions and open your Collect Leads Action.
- Open the Destinations section, paste the copied Webhook URL, click Create webhook, then save your changes. See Destinations.
3
Set up an action to automate tasks
- Go back to the viaSocket Flow Builder and click Select Action.
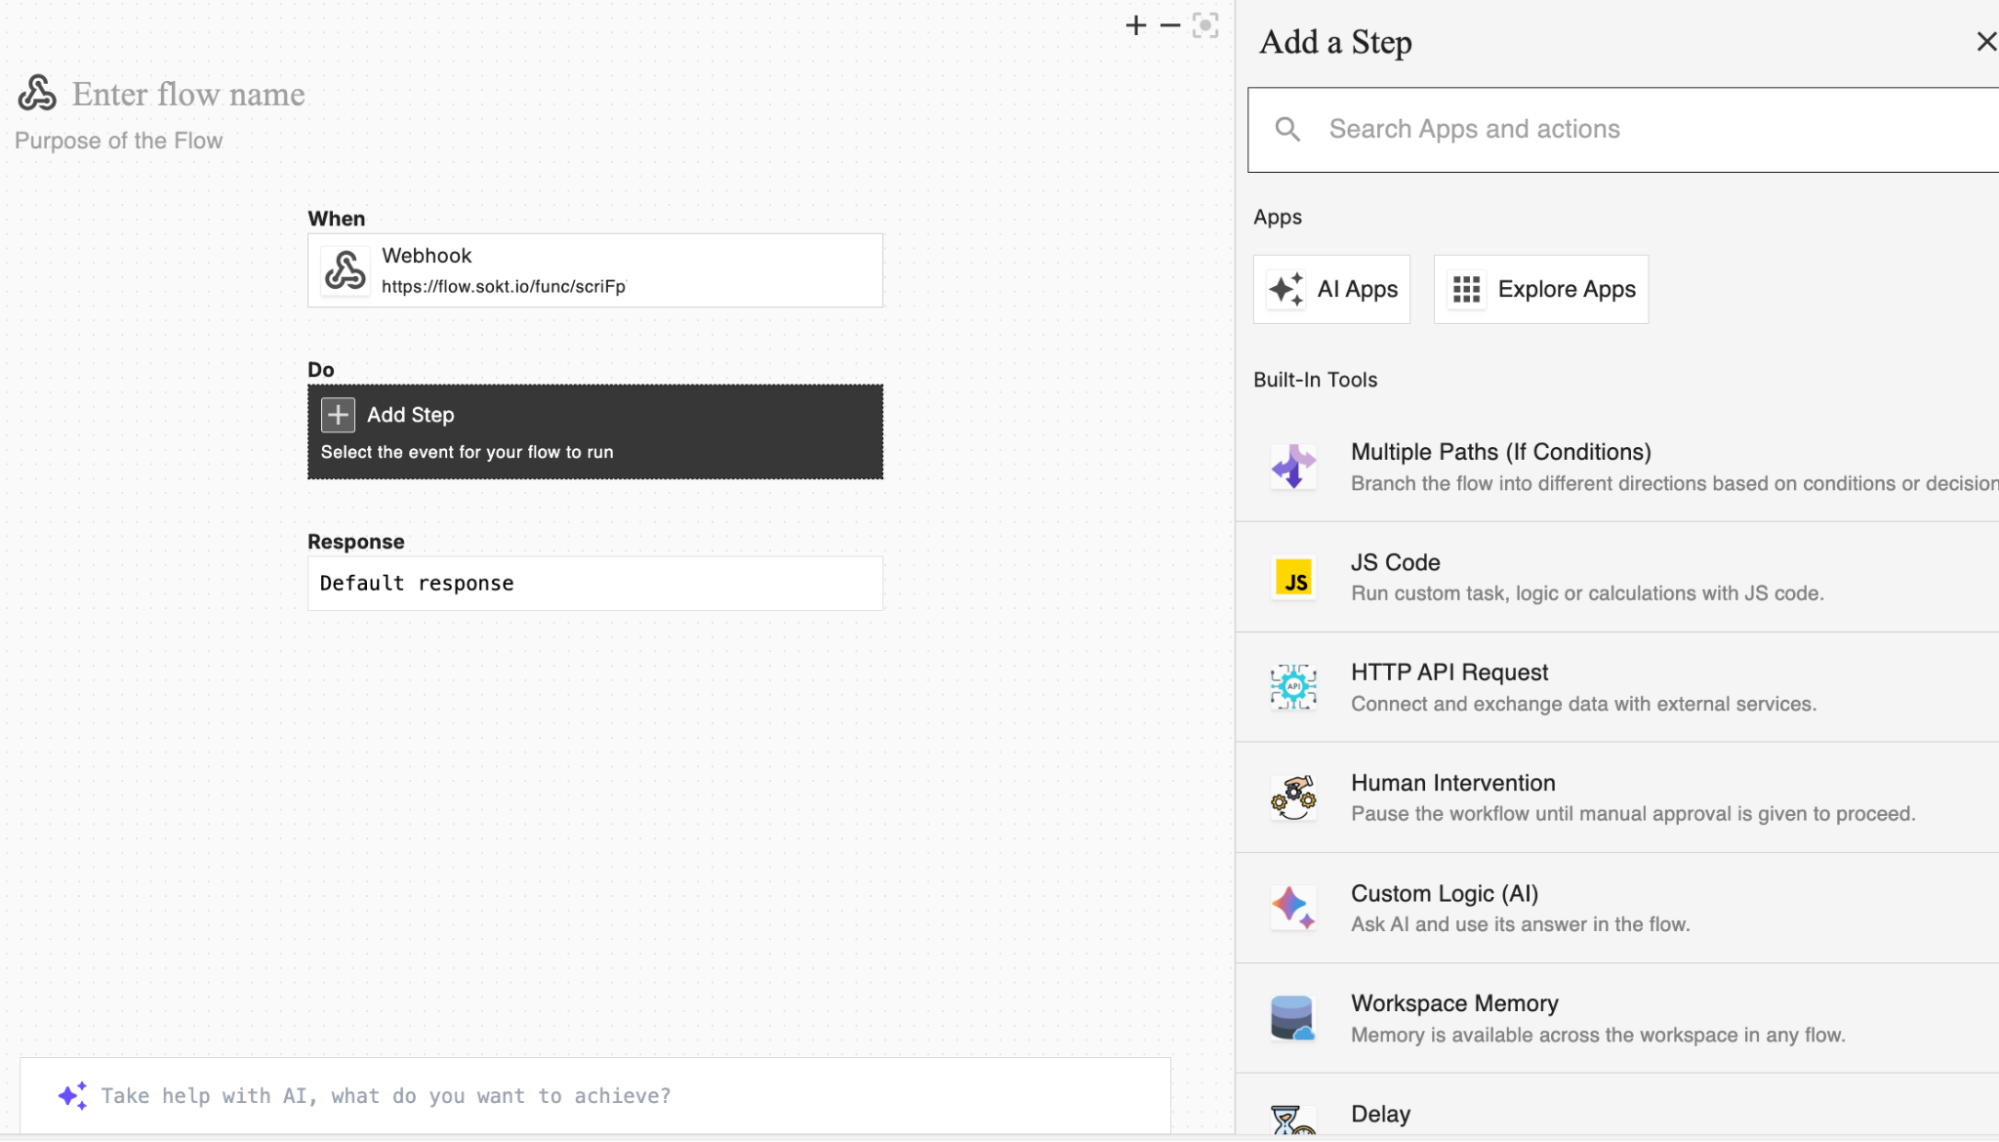
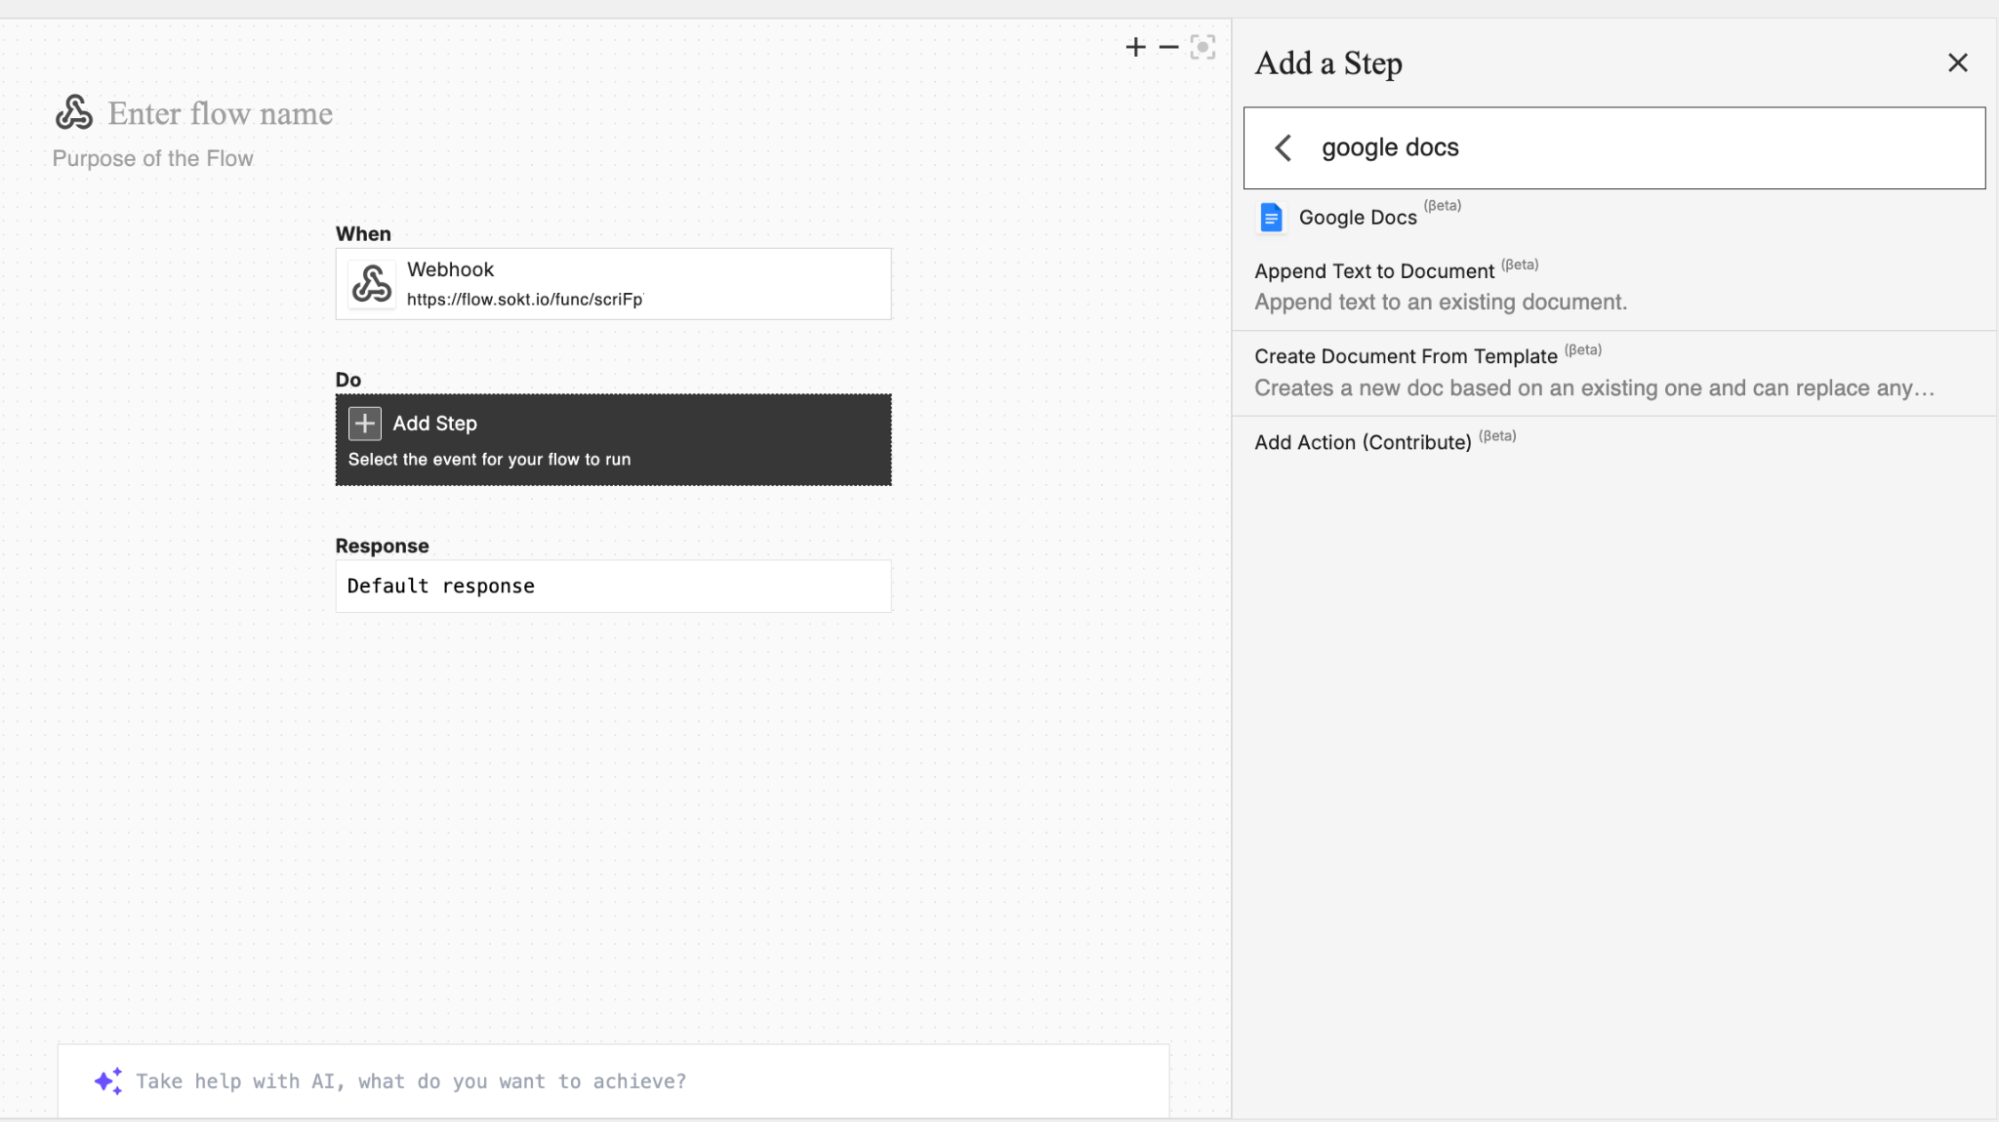
- Choose the Google Docs action: Append Text to Document.
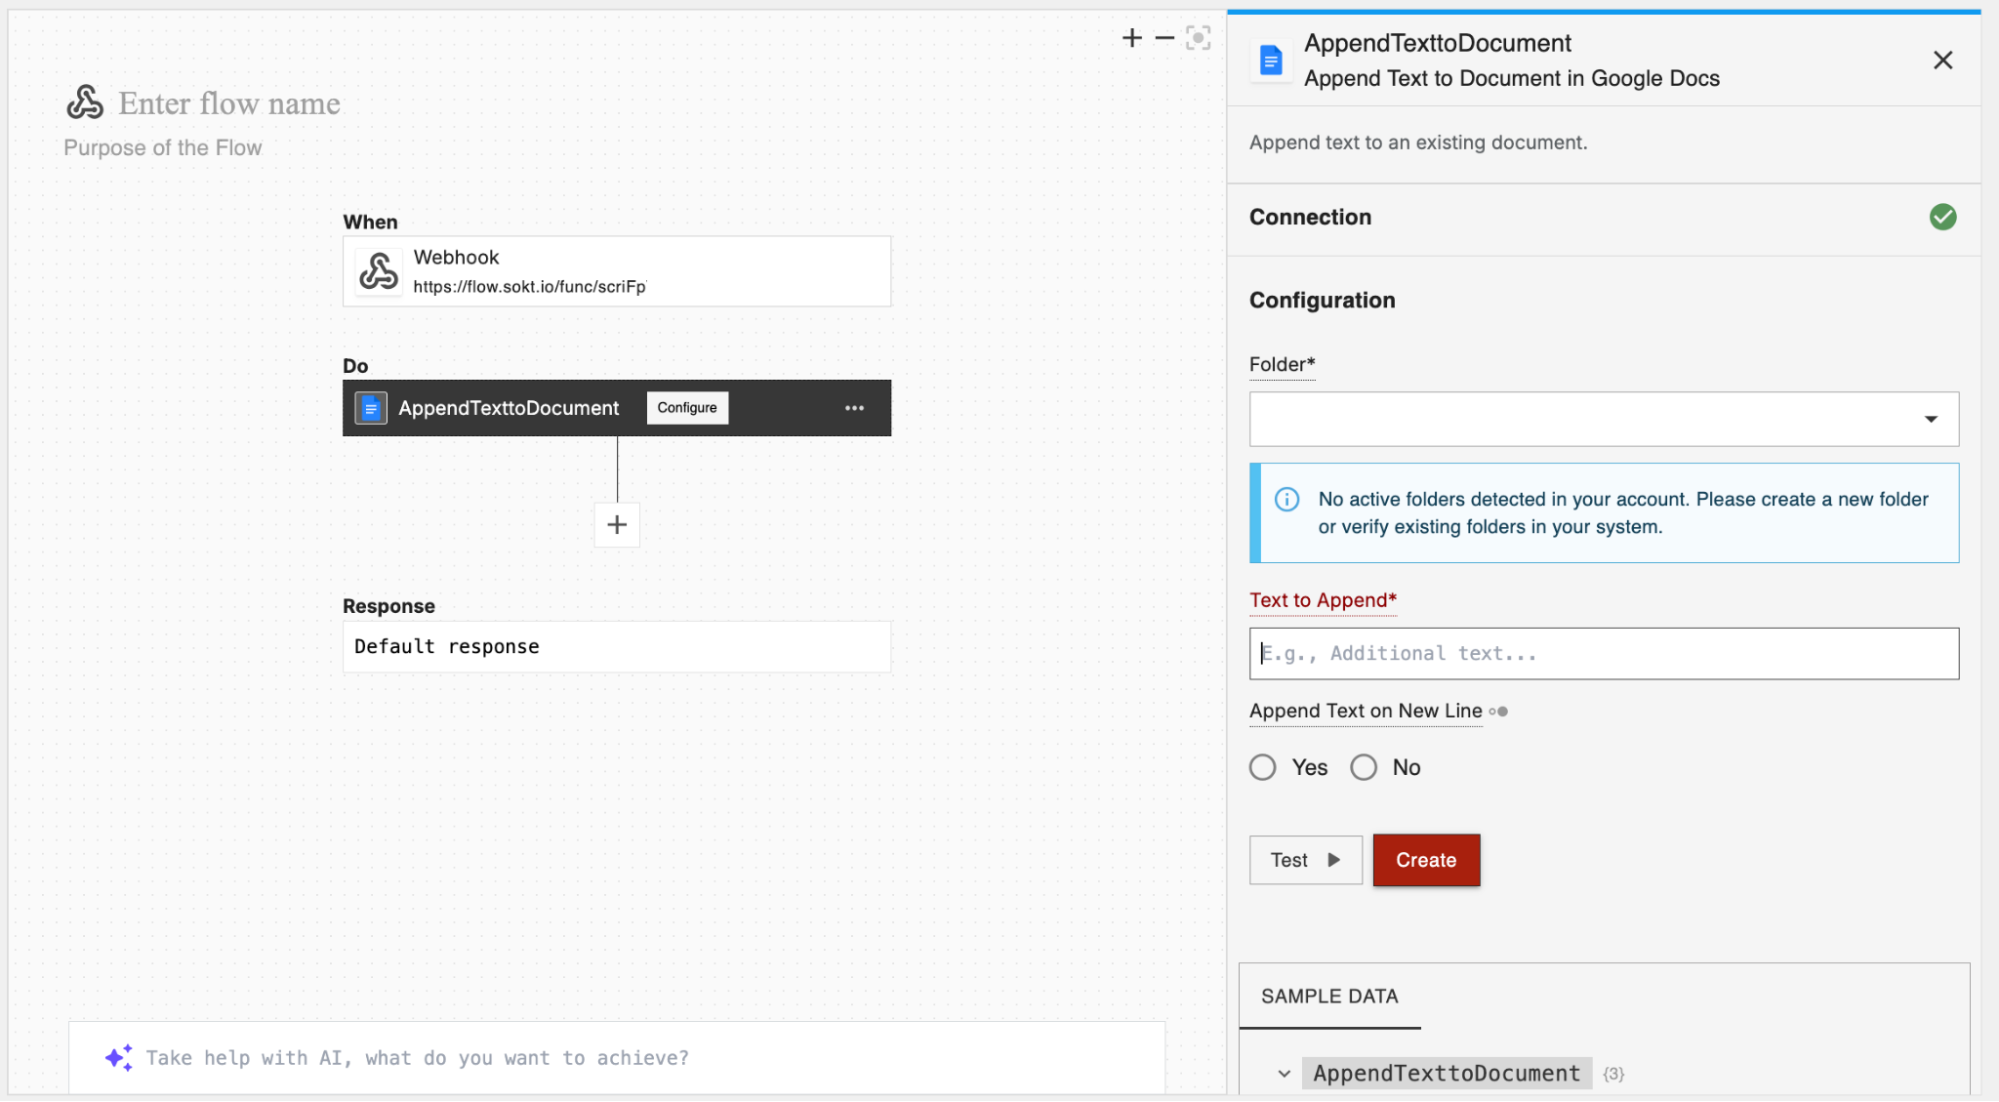
- Establish a connection and configure your action with the required details.
4
Test and publish the flow
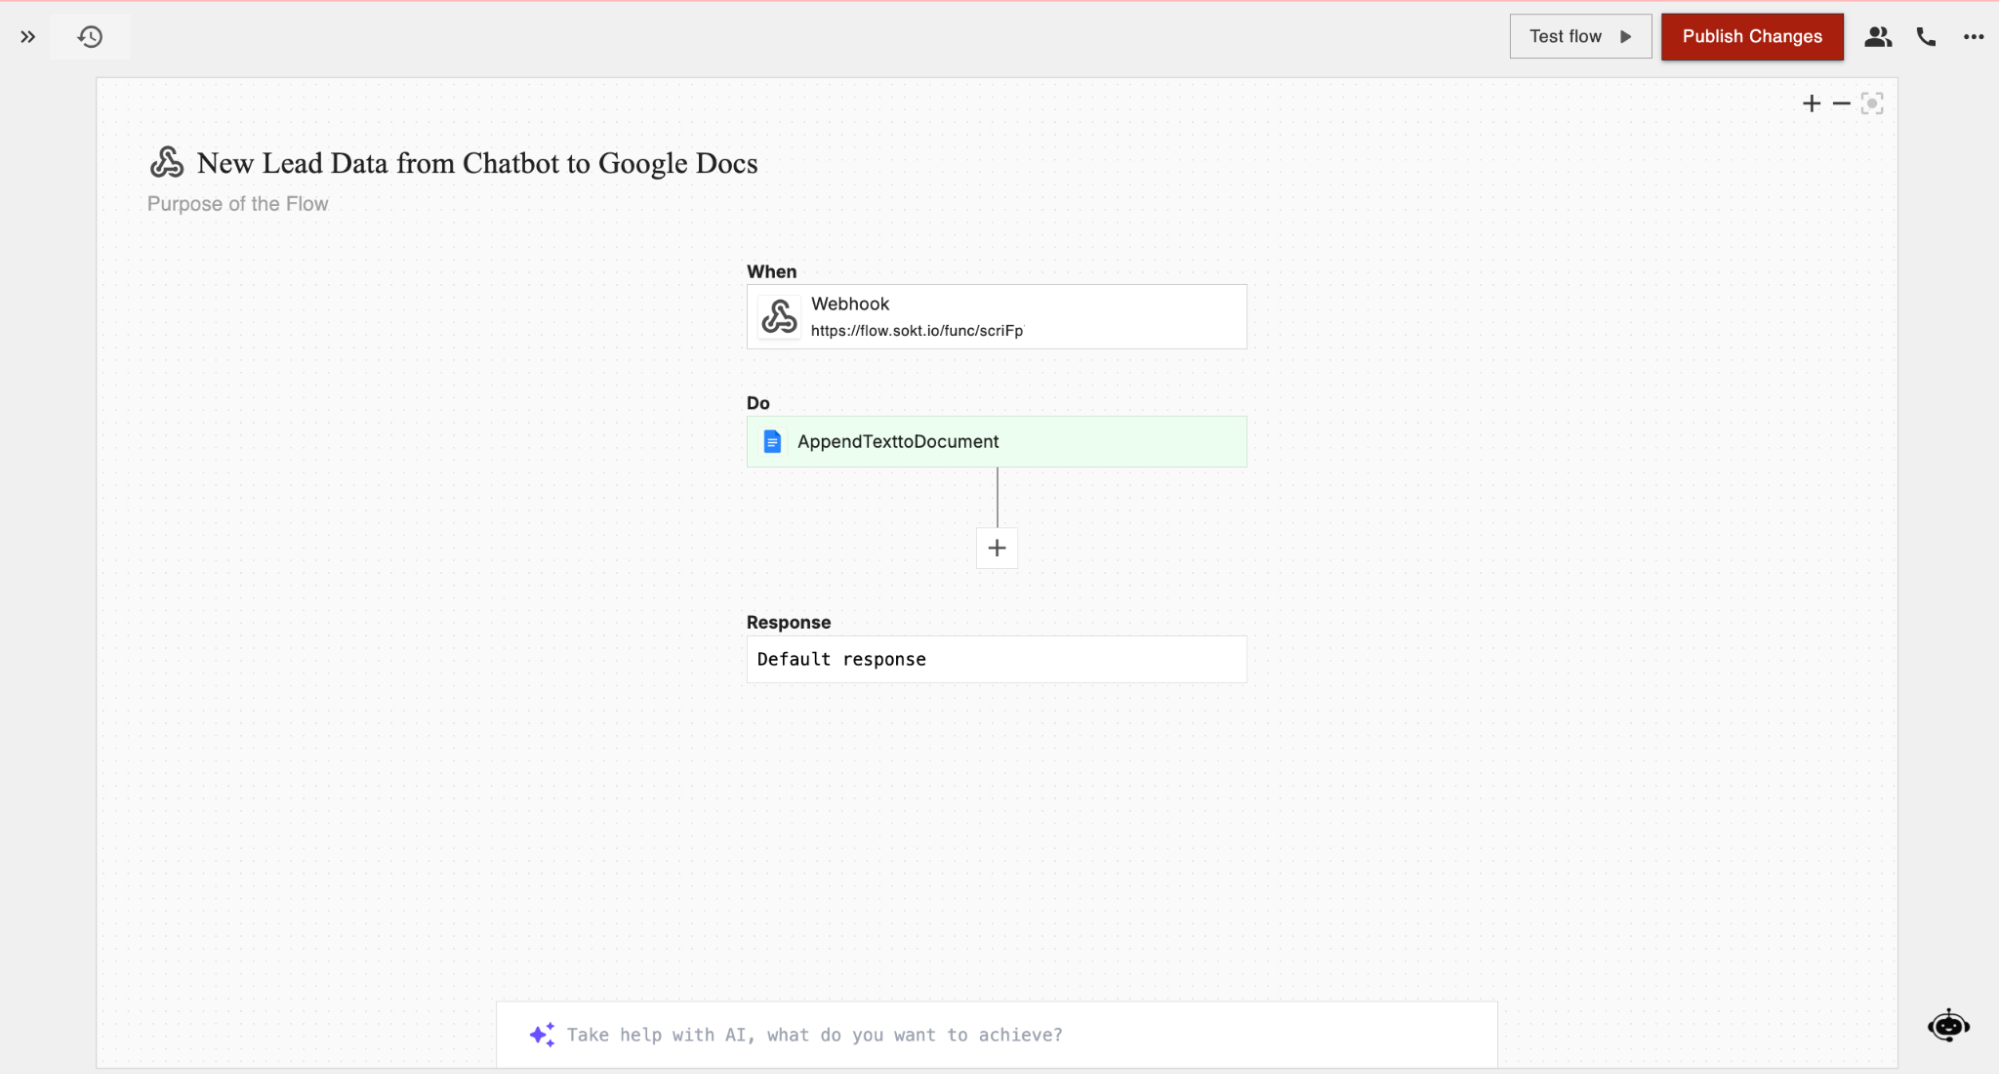
Trigger a lead capture on your site and confirm it’s added to your designated Google Docs file.
Frequently asked questions
Which Chatbase plan do I need to use viaSocket?
Which Chatbase plan do I need to use viaSocket?
Any paid plan, because the connection uses Chatbase webhooks, which need one.
Why don't leads show up under Settings > Webhooks?
Why don't leads show up under Settings > Webhooks?
Lead and Collect Data webhooks are managed in each Action’s editor, under Destinations. Settings > Webhooks covers custom forms, phone call summaries, and Helpdesk events.
What data does viaSocket receive for a lead?
What data does viaSocket receive for a lead?
Each lead arrives as a
POST request with eventType (leads.submit), chatbotId (your Agent ID), and a payload with the customer’s name, email, phone, the conversation ID, and any custom fields on your Collect Leads Action. See Webhooks.Should I use viaSocket or Zapier?
Should I use viaSocket or Zapier?
Either works for leads. Zapier has a Chatbase app with a Form Submission trigger and a Send Prompt action. With viaSocket, you connect through webhooks, which also cover Collect Data, custom form, phone call summary, and Helpdesk events. See Zapier.
Next steps
Webhooks
See every event Chatbase can send, and what each payload contains.
Zapier
An alternative no-code automation platform, with a native Chatbase app.